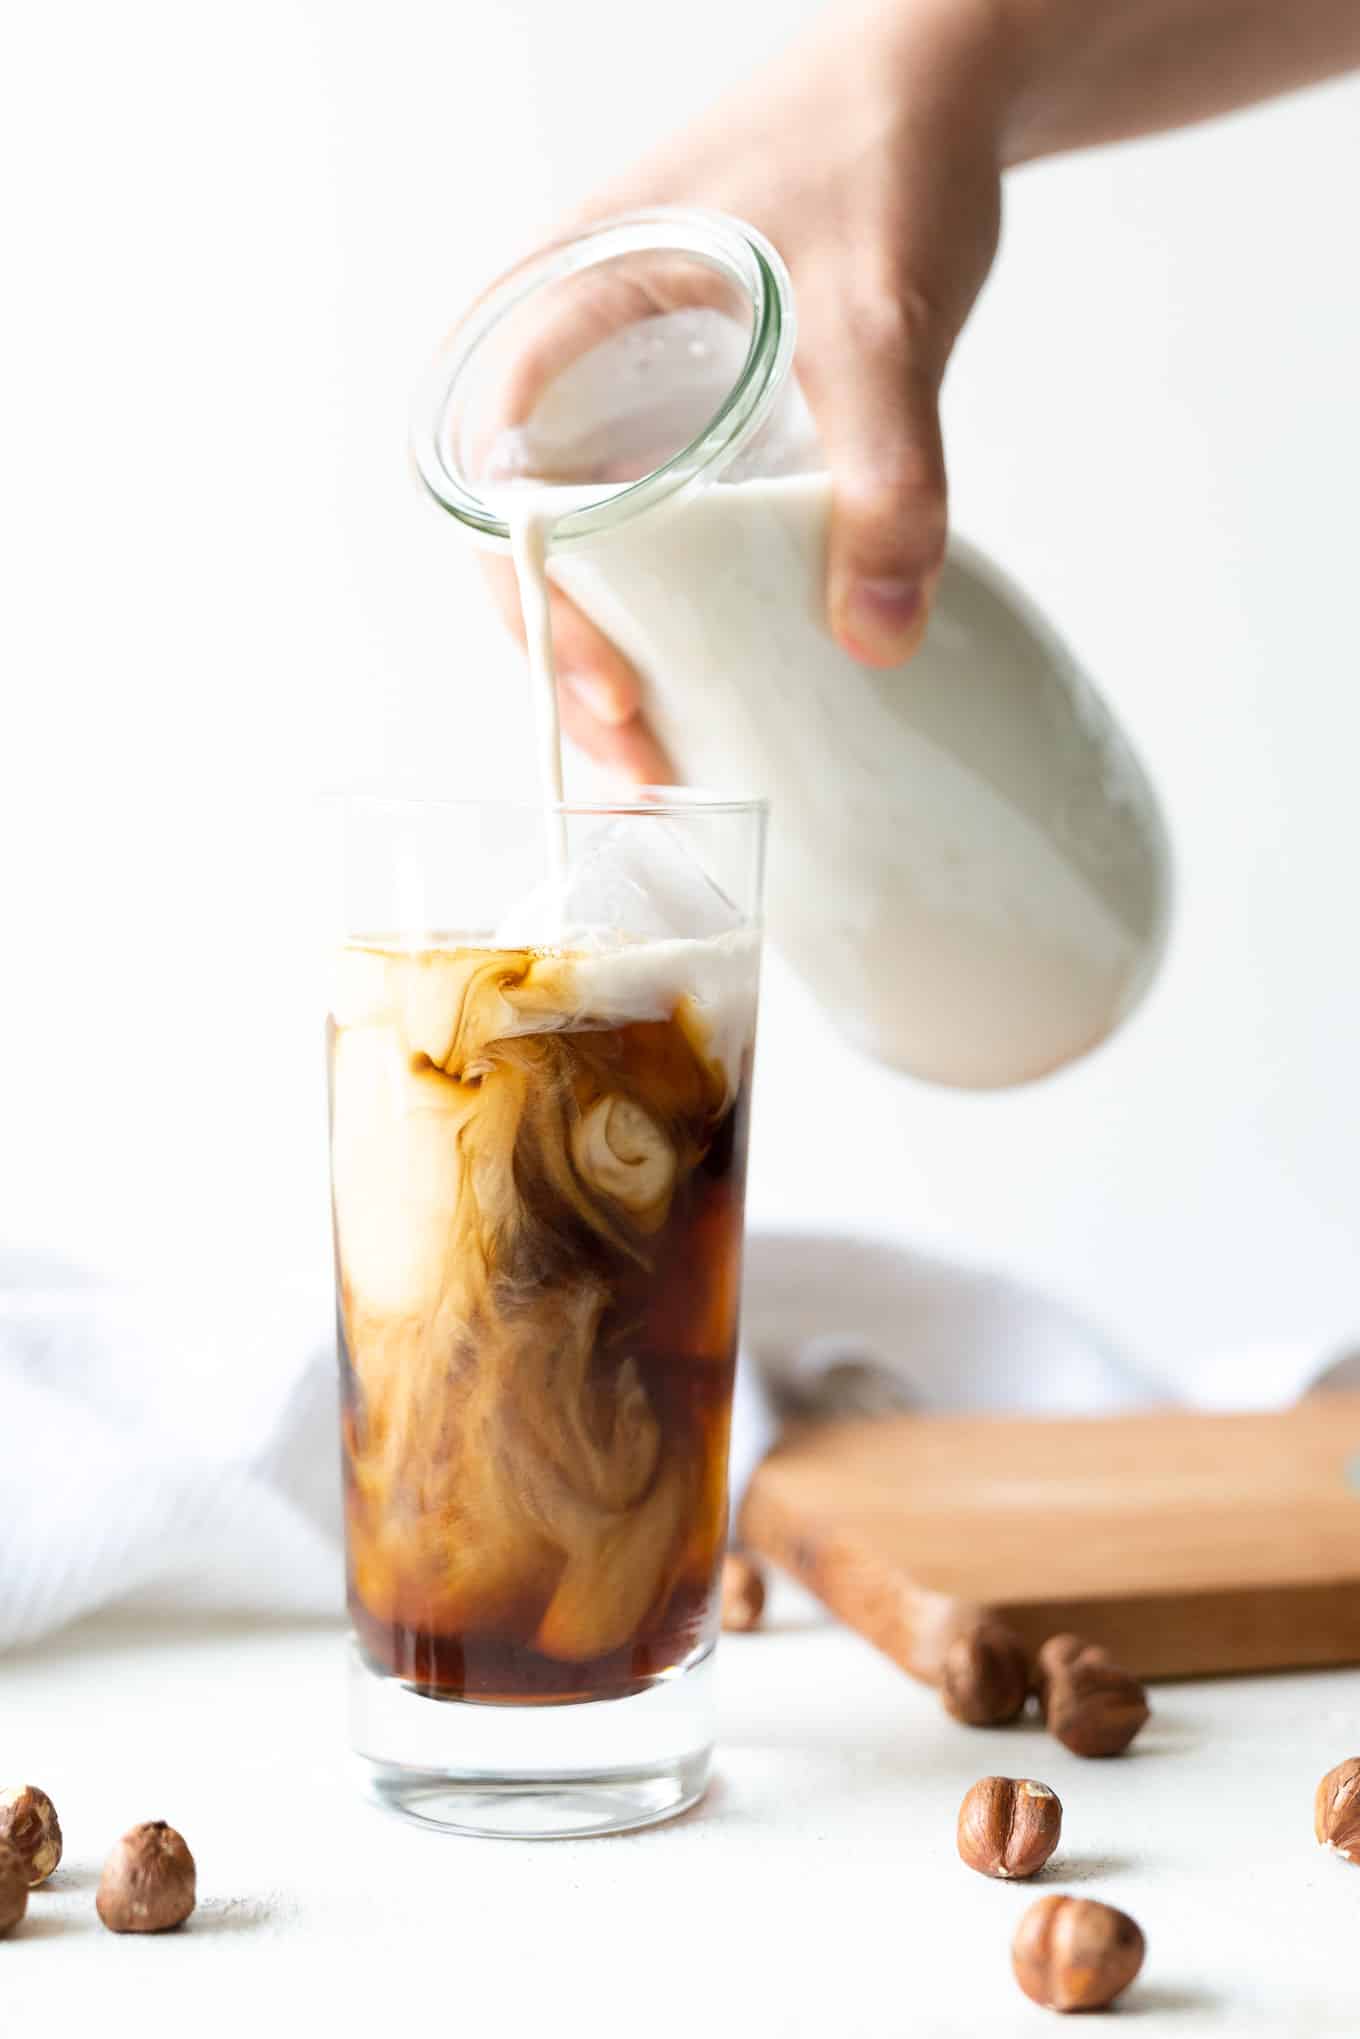
How to Make Hazelnut Milk
Homemade Hazelnut Milk is so simple to make – just soak, blend, strain, and enjoy! This step-by-step guide walks you through exactly how to make raw hazelnut milk at home!
Print
Pin
Servings: 1 .5 Liters
Calories:
Ingredients
- 2 ½ c raw hazelnuts
- 6 c water plus more for soaking
OPTIONAL ADD-INS:
- pinch of salt
- vanilla
- cinnamon
- dates*
Instructions
- SOAK THE HAZELNUTS OVERNIGHT: Or for at least 8 hours. Do this by placing the hazelnuts in a small bowl and covering them with filtered water. It doesn't matter exactly how much water as long as they are covered. Loosely cover with a dish towel or lid (do not seal) and leave to soak until ready to use.
- BLEND THEM UP: Drain the soaking water from the hazelnuts and give them a quick rinse to remove any tannins or anti-nutrients pulled out during the soaking process. Then add the 6 cups of fresh filtered water and the soaked hazelnuts to a high powered blender, cover and blend for 1-2 min or until fully blended. Start at a slower speed and then gradually increase it.
- STRAIN: Use a large mixing bowl and a nut milk bag to strain the blender contents into hazelnut milk. Place the nut milk bag in the bowl and pour the mixture directly down into it. Then lift the bag out of the bowl and twist & knead the bag to get the rest of the liquid out. Do this until the pulp is mostly dry and crumbly. The easiest way to transfer the milk to smaller mouthed containers (like a jar) is to rinse out the blender cup and then pour the milk from the mixing bowl back into the blender. Then use the spout on the blender cup to easily transfer the milk into lidded containers. Store in the fridge for up to a week.
Notes
*You can use dates, honey, maple syrup, coconut nectar, agave, stevia or other sweetener of choice if you prefer to have a sweetened nut milk
Nutrition
Serving: 1cup