Homemade Hazelnut Milk is SO simple to make – just soak, blend, strain, and get sippin! This step-by-step guide walks you through exactly how to make raw hazelnut milk AND talks about why it’s worth it to make your own nut milk at home. The short story? It helps you avoid added sweeteners, preservatives, gums, fillers, and other unhealthy // unwanted ingredients...

I’m sharing a step-by-step guide for how to make hazelnut milk (or really ANY nut milk) at home! I used to be on the ain’t-nobody-got-time-for-that train when it came to making my own nut milk. And honestly some weeks I roll with store bought and some weeks I’m all about the made-from-scratch kind.
Here’s why I’m so obsessed with making this nut milk:
First of all – it’s downright delicious. I first tried hazelnut milk at my parents’ house (my mom always has the best ideas). A splash of it in my coffee and I.was.sold. Unbeatably creamy with a hint of (NATURAL) hazelnut flavor. It's easily my favorite coffee creamer.

One of THE biggest advantages of making nut milk at home is that YOU get to control the ingredients.
I don’t know if you’ve ever flipped over a carton / jug of store bought nut milk lately but you’ll often find a larger-than-necessary list of ingredients. Many store bought brands contain things like – guar gum, xantham gum, carrageenan, cane sugar, or “natural” flavors. All of which can cause problems for people who are sensitive to those ingredients, who might be trying to limit their daily sugar intake, or who are simply trying to whittle down the number of processed foods they bring into their homes.
While there are some brands that have made the switch away from gums and sweeteners (like Califia) and those that have extra extra clean ingredients because they make it JUST like homemade (like my personal favorite Three Trees) – there’s still quite a lot more companies out there that haven’t made those strides yet. And depending on where you live, you may not have a ton of brands on the shelf to pick from.
THIS is why homemade nut milk is SO GLORIOUS.
This recipe below just has TWO INGREDIENTS. Two. Total. Which is what makes those super long ingredient lists so perplexing.
But here’s the great news - when you make your own nut milk at home it means you get to cut out all the fillers, gums, additives, preservatives, stabilizers, and sweeteners! Aka all the nonsense. You just get to focus on the delicious + healthy simplicity that comes from making and eating REAL FOOD.
Plus it gives you the power to customize it completely – you can choose if / how to sweeten it, flavor it, AND you can make it even creamier than store bought.
You can sweeten it with your sweetener of choice, to your own taste – choosing from natural sweeteners like dates, maple syrup, coconut nectar, agave, honey, and stevia.
And you can add things to flavor it too! Ingredients like vanilla extract, vanilla bean paste, cinnamon, turmeric, cacao powder, pinch of salt - anything you want that creates the flavor profile you’re craving.
A huge bonus I’ve found is that you can also customize the level of creaminess to suit your needs.
If you’ve ever tried to make the switch from regular dairy creamer to almond milk, taken that first sip and felt well…bummed out - here’s why it probably happened…
Flip over the carton/ container of almond milk to the nutrition label (I know, again – I’m SORRY and I pinky swear it’s the last time I’m gonna ask today!). If the fat content is 3 g or less per 1 cup serving - it ain’t gonna cut it for coffee. If it’s not measuring up to the fat content of another creamer then it isn’t going to measure up to the creamy taste or mouthfeel you’re used to either. If you’re going store bought then look for a much higher fat content, between 9-11 g (at least) if you intend to add it to coffee or tea.
Thinner nut milks with lower fat content are fine for things like cereal, smoothies, or oatmeal but they tend to not be as full-bodied or as satisfying for sippable beverages like your morning latte.
That’s why my recipe has such a high volume of hazelnuts in it. So if you make a nut milk recipe at home and you’re left feeling underwhelmed about it - consider adding even more soaked nuts to the next batch!
Now let’s dive in to the full step-by-step guide on how to make nut milk at home!
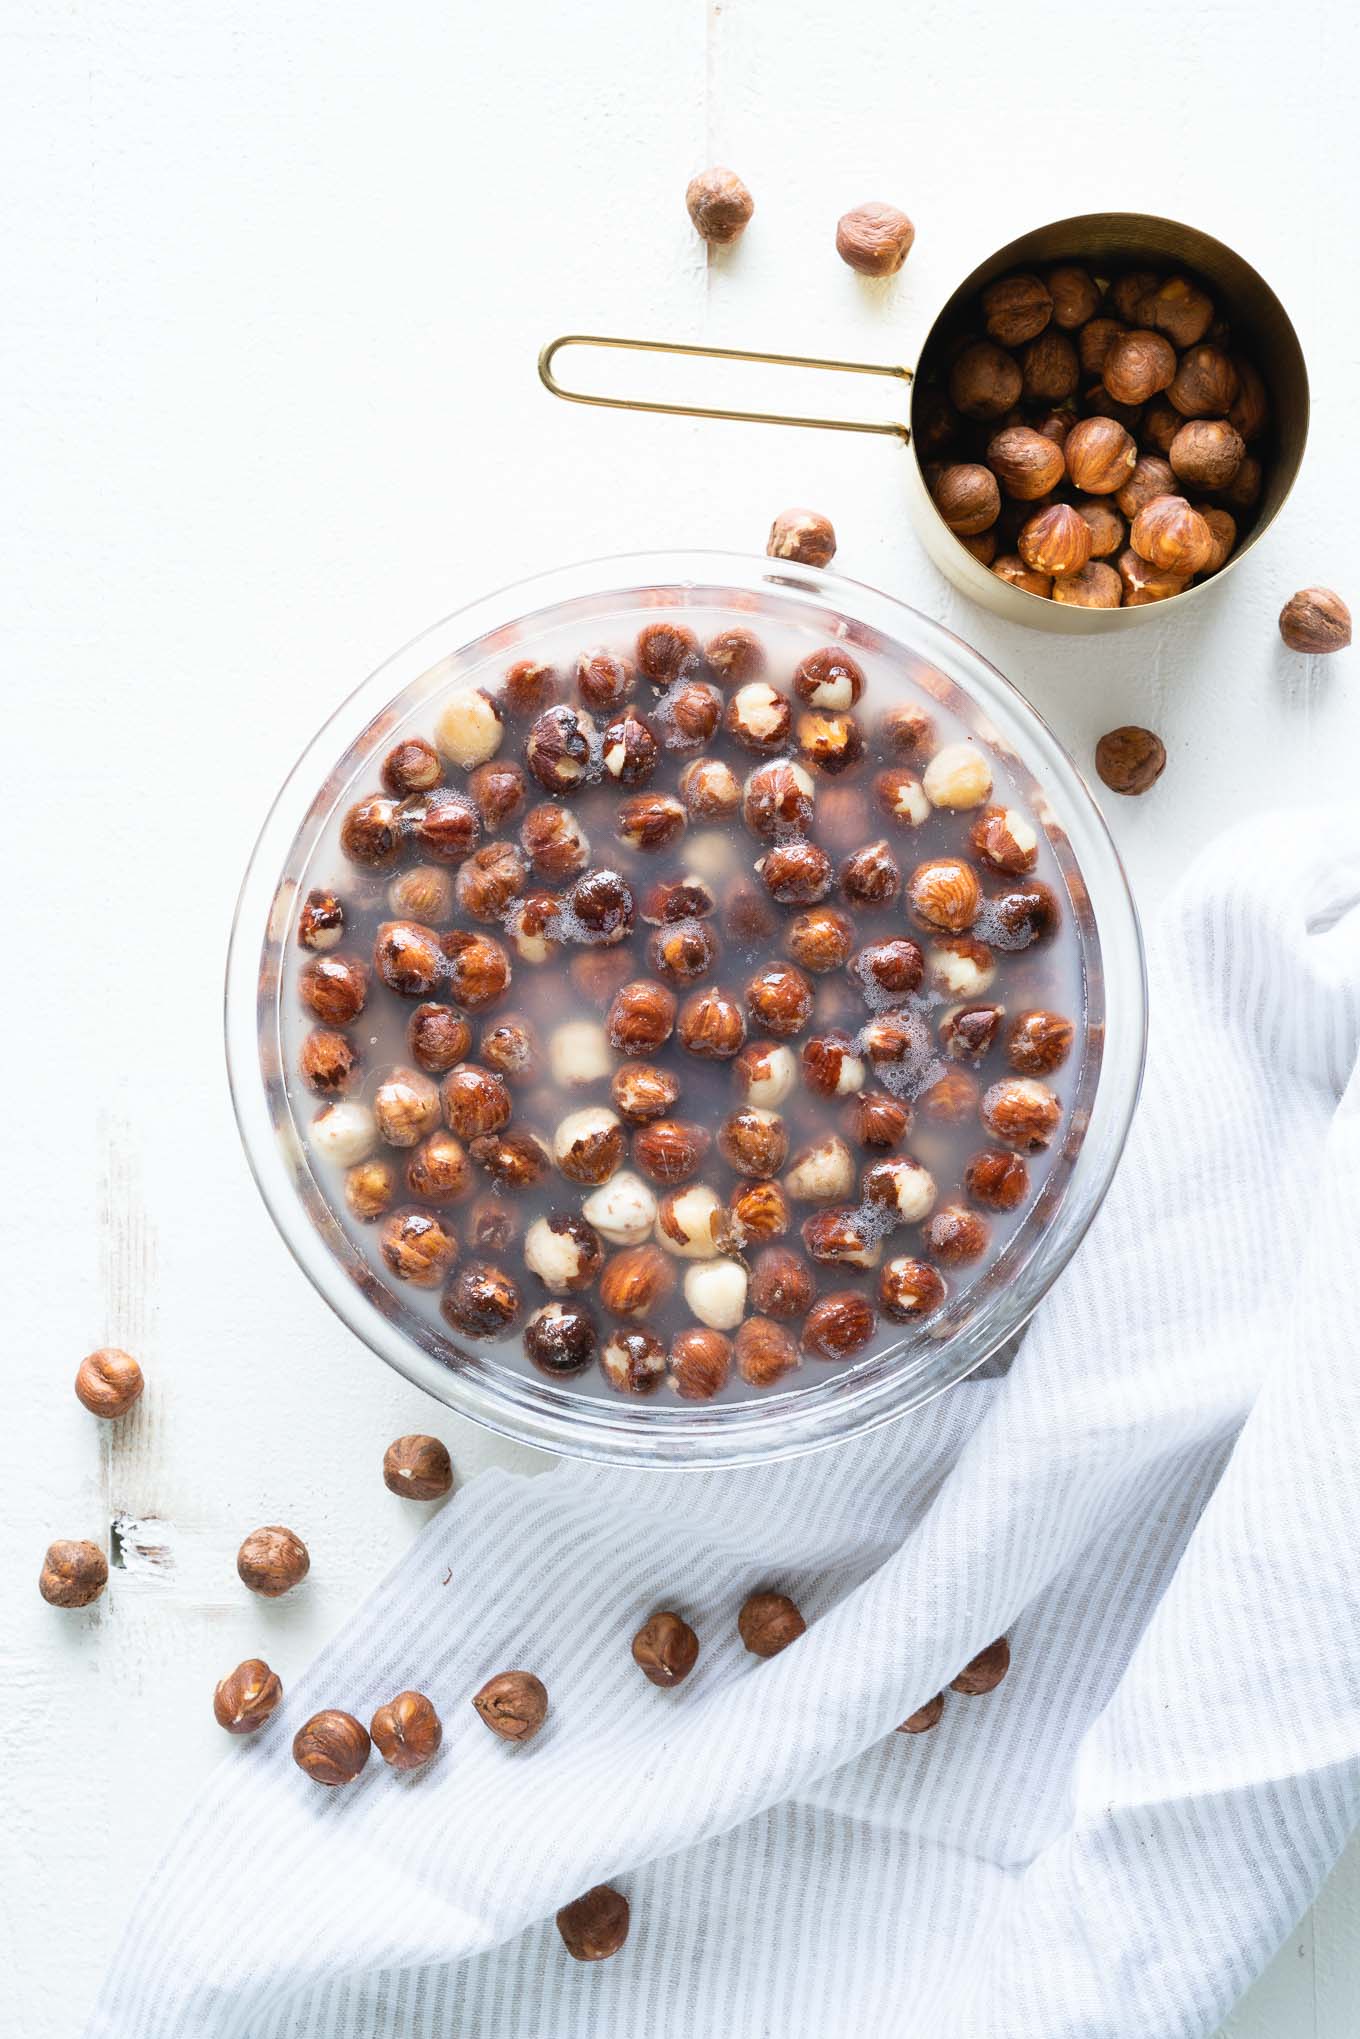
STEP 1 – Soak Hazelnuts Overnight in Water
Or for at least 8 hours. I find it easiest to just set up a bowl to soak on the countertop before I go to sleep, and then it’s all ready for me the next day when I’m ready to make it.
Soaking them couldn’t be easier, the hardest part of this step is just remembering to do it the day before you want to make homemade hazelnut milk.
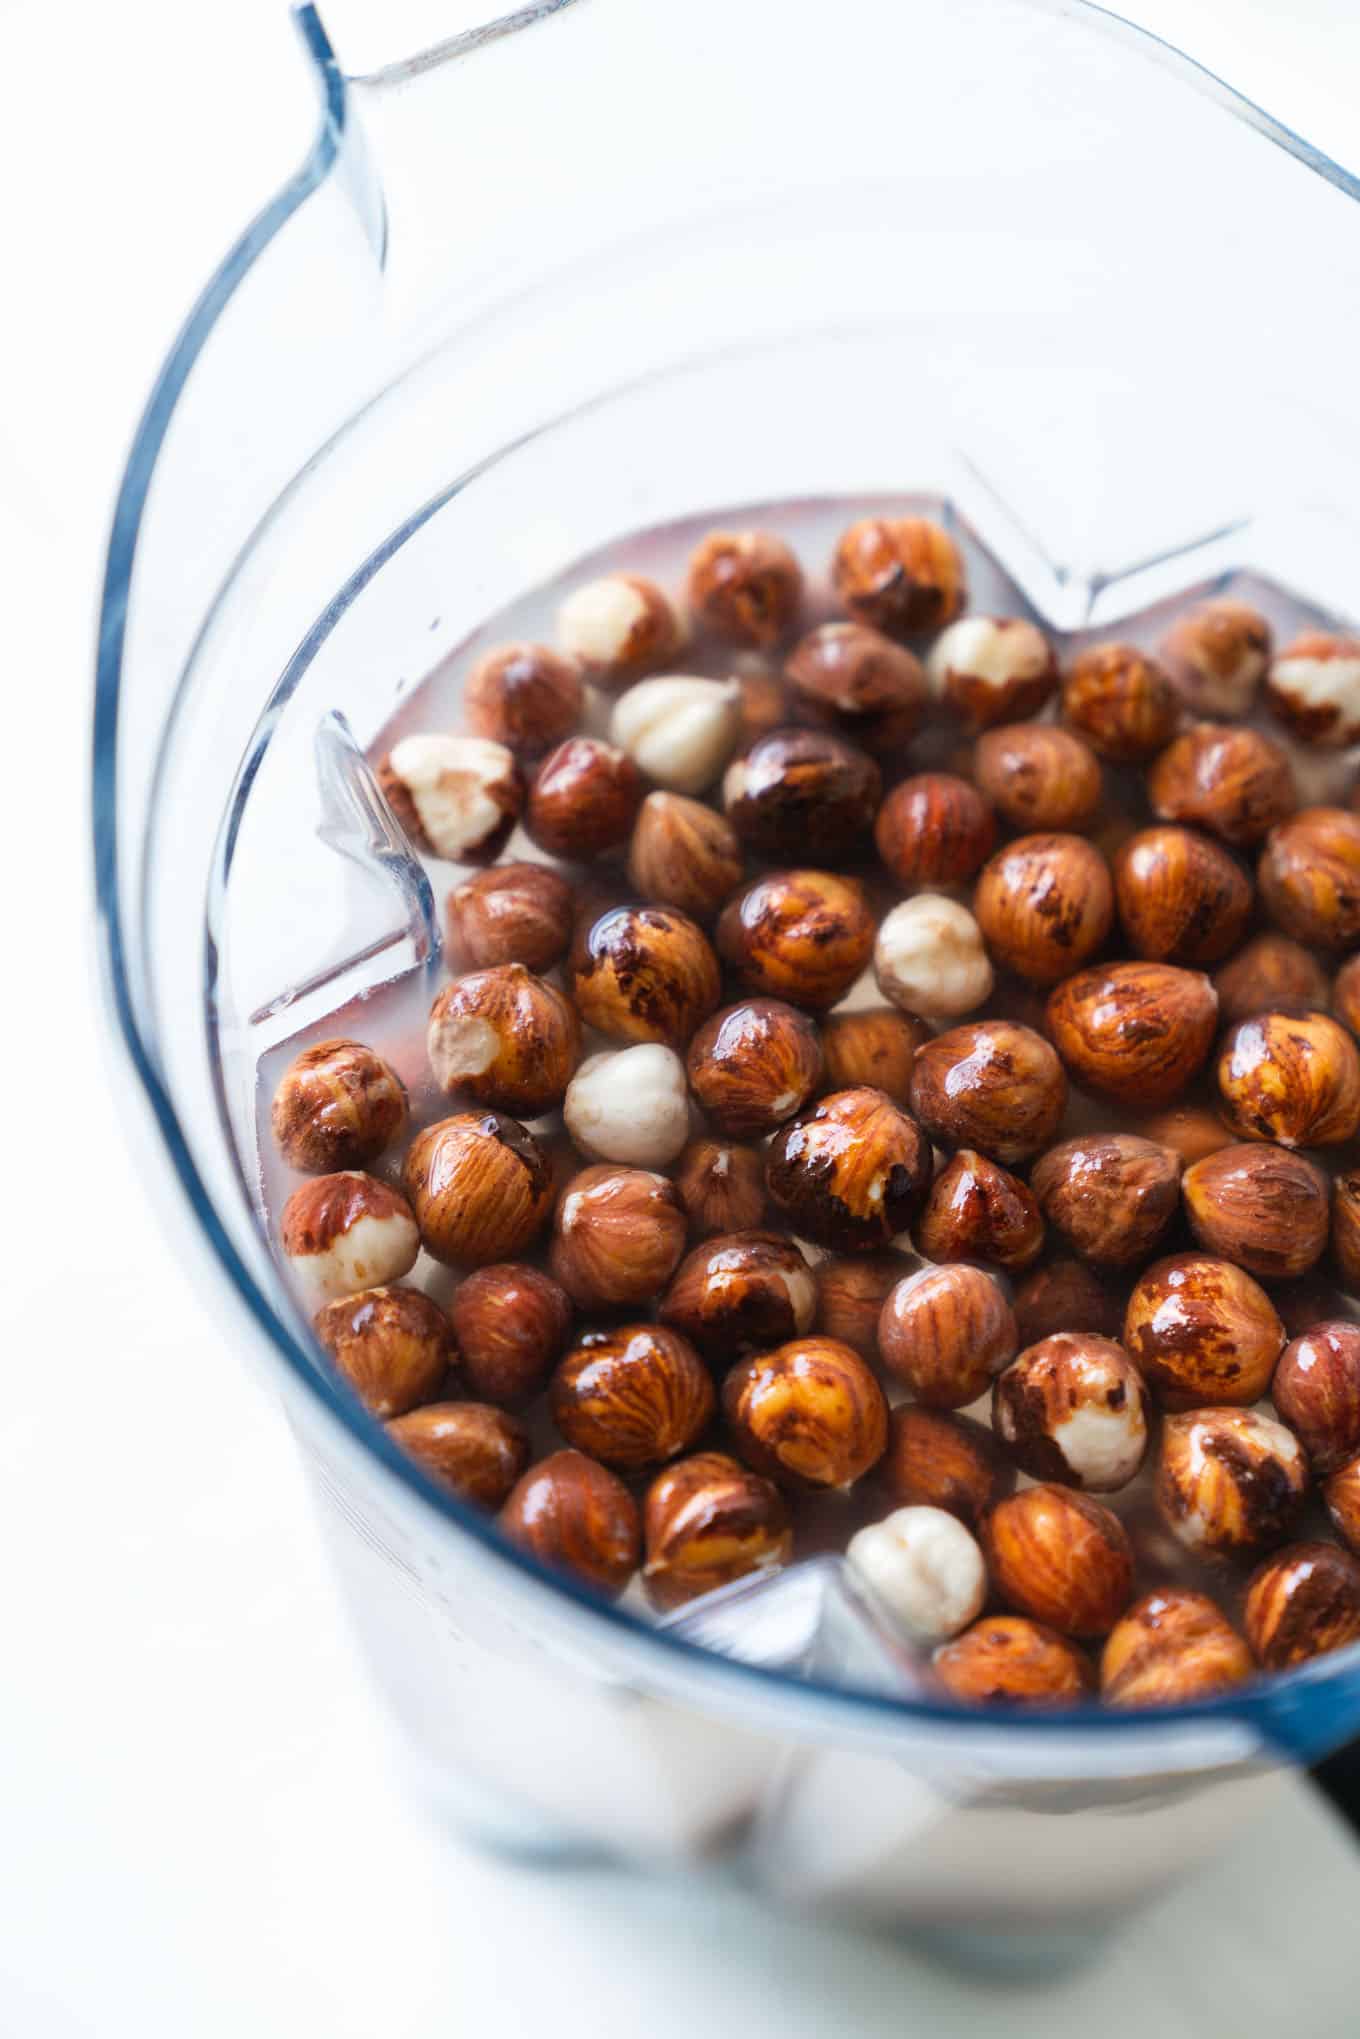
Grab a bowl, fill it with the hazelnuts, and cover them in water. While it’s totally fine to give produce or grains a quick rinse under the tap, you might want to use filtered water for this step. Since you’ll be drinking the nut milk and they will be soaking up the water over the next several hours, you’ll want to make sure that this is drinking quality water. Depending on where you live that may mean using filtered water instead of tap water.
Soaking nuts overnight at room temp is totally safe to do by the way – people sprout nuts and seeds for days on end or when they’re fermenting fresh produce (like with kimchi or sauerkraut) those jars are out for weeks at a time.
TIP: Cover your bowl lightly with a cloth or loose-fitting lid like a Tupperware lid, just place it gently on top and it’ll keep any bugs or dust from falling in.
STEP 2: Drain + Add Water + Blend
After the nuts have soaked for at least 8 hours – it’s time to drain off the soaking water.
Why not use the same water as it was soaked in?
Soaking nuts draws out things like phytic acid, tannins, goitrogens, and enzyme inhibitors (substances naturally produced by plants to protect their seeds). These can act as anti-nutrients or make raw nuts difficult to digest. Soaking or partially sprouting nuts removes these, making it easier to digest them and making their nutrients even more bioavailable to us.
And while I have to confess that I don’t know the exact science behind where those things go or how they are removed, I do know that tannins in particular can be bitter. And if the water is rich in tannins, it’s not going to make for a great tasting nut milk. So I recommend always discarding the water you’ve used to soak nuts or seeds, and then rinsing the nuts afterwards.
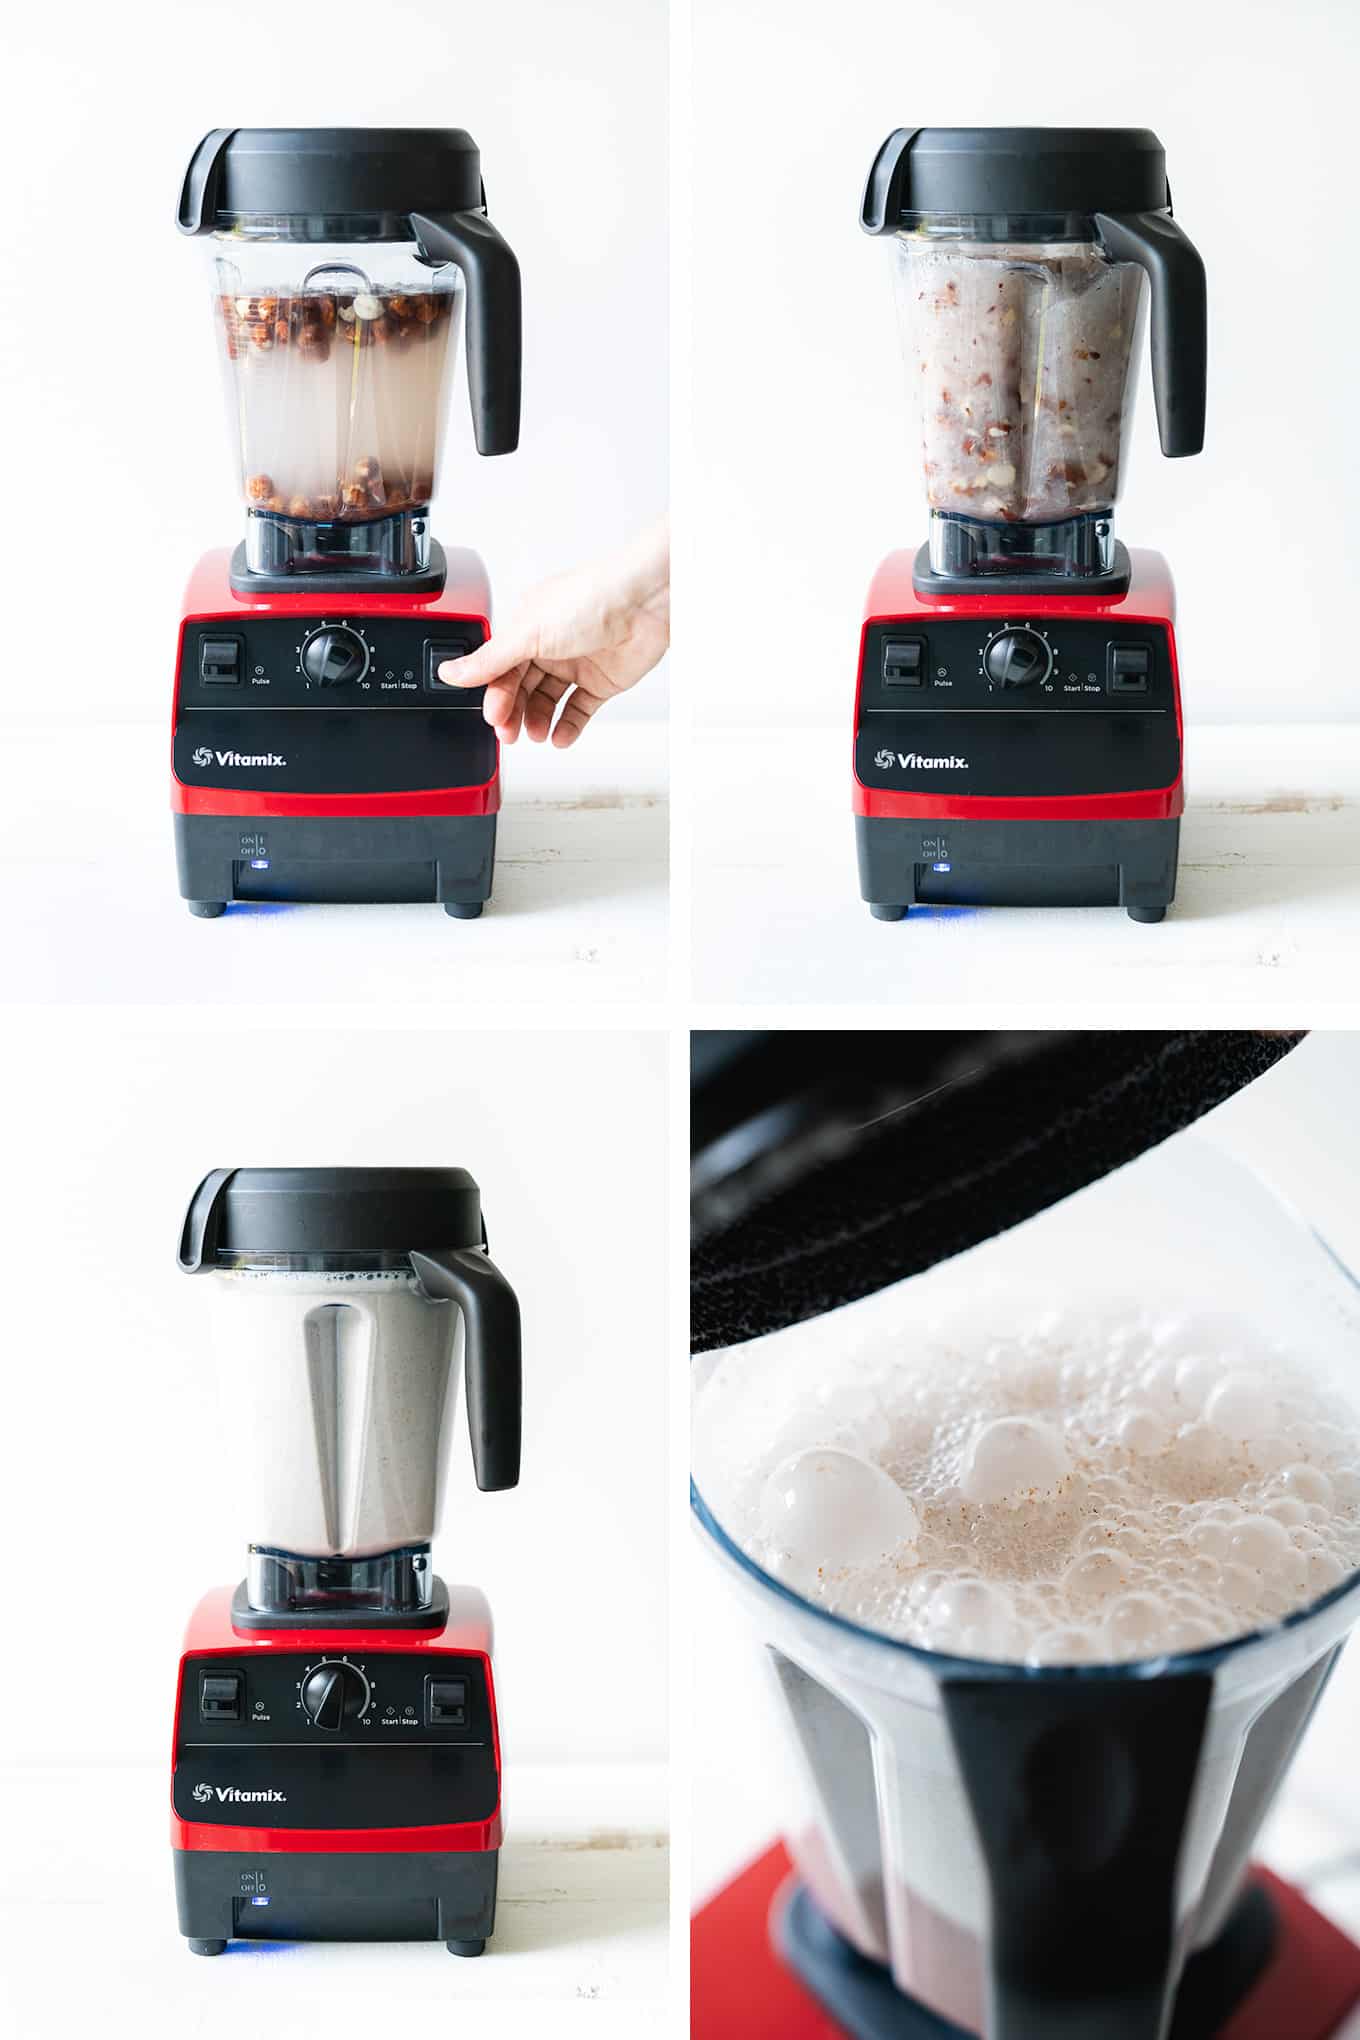
Add the drained + rinsed hazelnuts to the blender, add fresh filtered water on top, and blend baby BLEND. This works best in a larger sized and high-powered blender (like a Vitamix, Blendtec, Ninja, etc). If you have a smaller blender, it's doable but you may have to work in batches. Blend for about 1-2 minutes or until good and smooth. Starting at a low speed (on my Vitamix this is a 1) and then slowly turning it up to a higher speed (on my Vitamix I only go as high as 6/7). You’ll still see little flecks of brown from the hazelnut skins and you’ll notice that the color of the liquid is now milky white. Depending on your blender you may need to adjust the amount of time that you blend it.
STEP 3: Strain + Store + Enjoy
You can skip straining it altogether but if you want to go this route, you might want to reduce the amount of nuts. And prepare for a bit more texture in your beverage (if adding to something you’d sip like a latte).
To strain it (my favorite version) you’ll need a nut milk bag and a large mixing bowl to do the straining (without making a huge mess). You can try to use a fine mesh strainer but in order to get the most liquid out of it and ensure that you’re straining out most of the solid material, a nut milk bag is the way to go.
I found mine on amazon and it was super affordable (and backed by a ton of great reviews) - it's the Ellie's Best Bigger Better Nut Milk Bag. It’s easy to use and easy to clean / dry / store and you can use it to strain other things (like juice made in your blender).
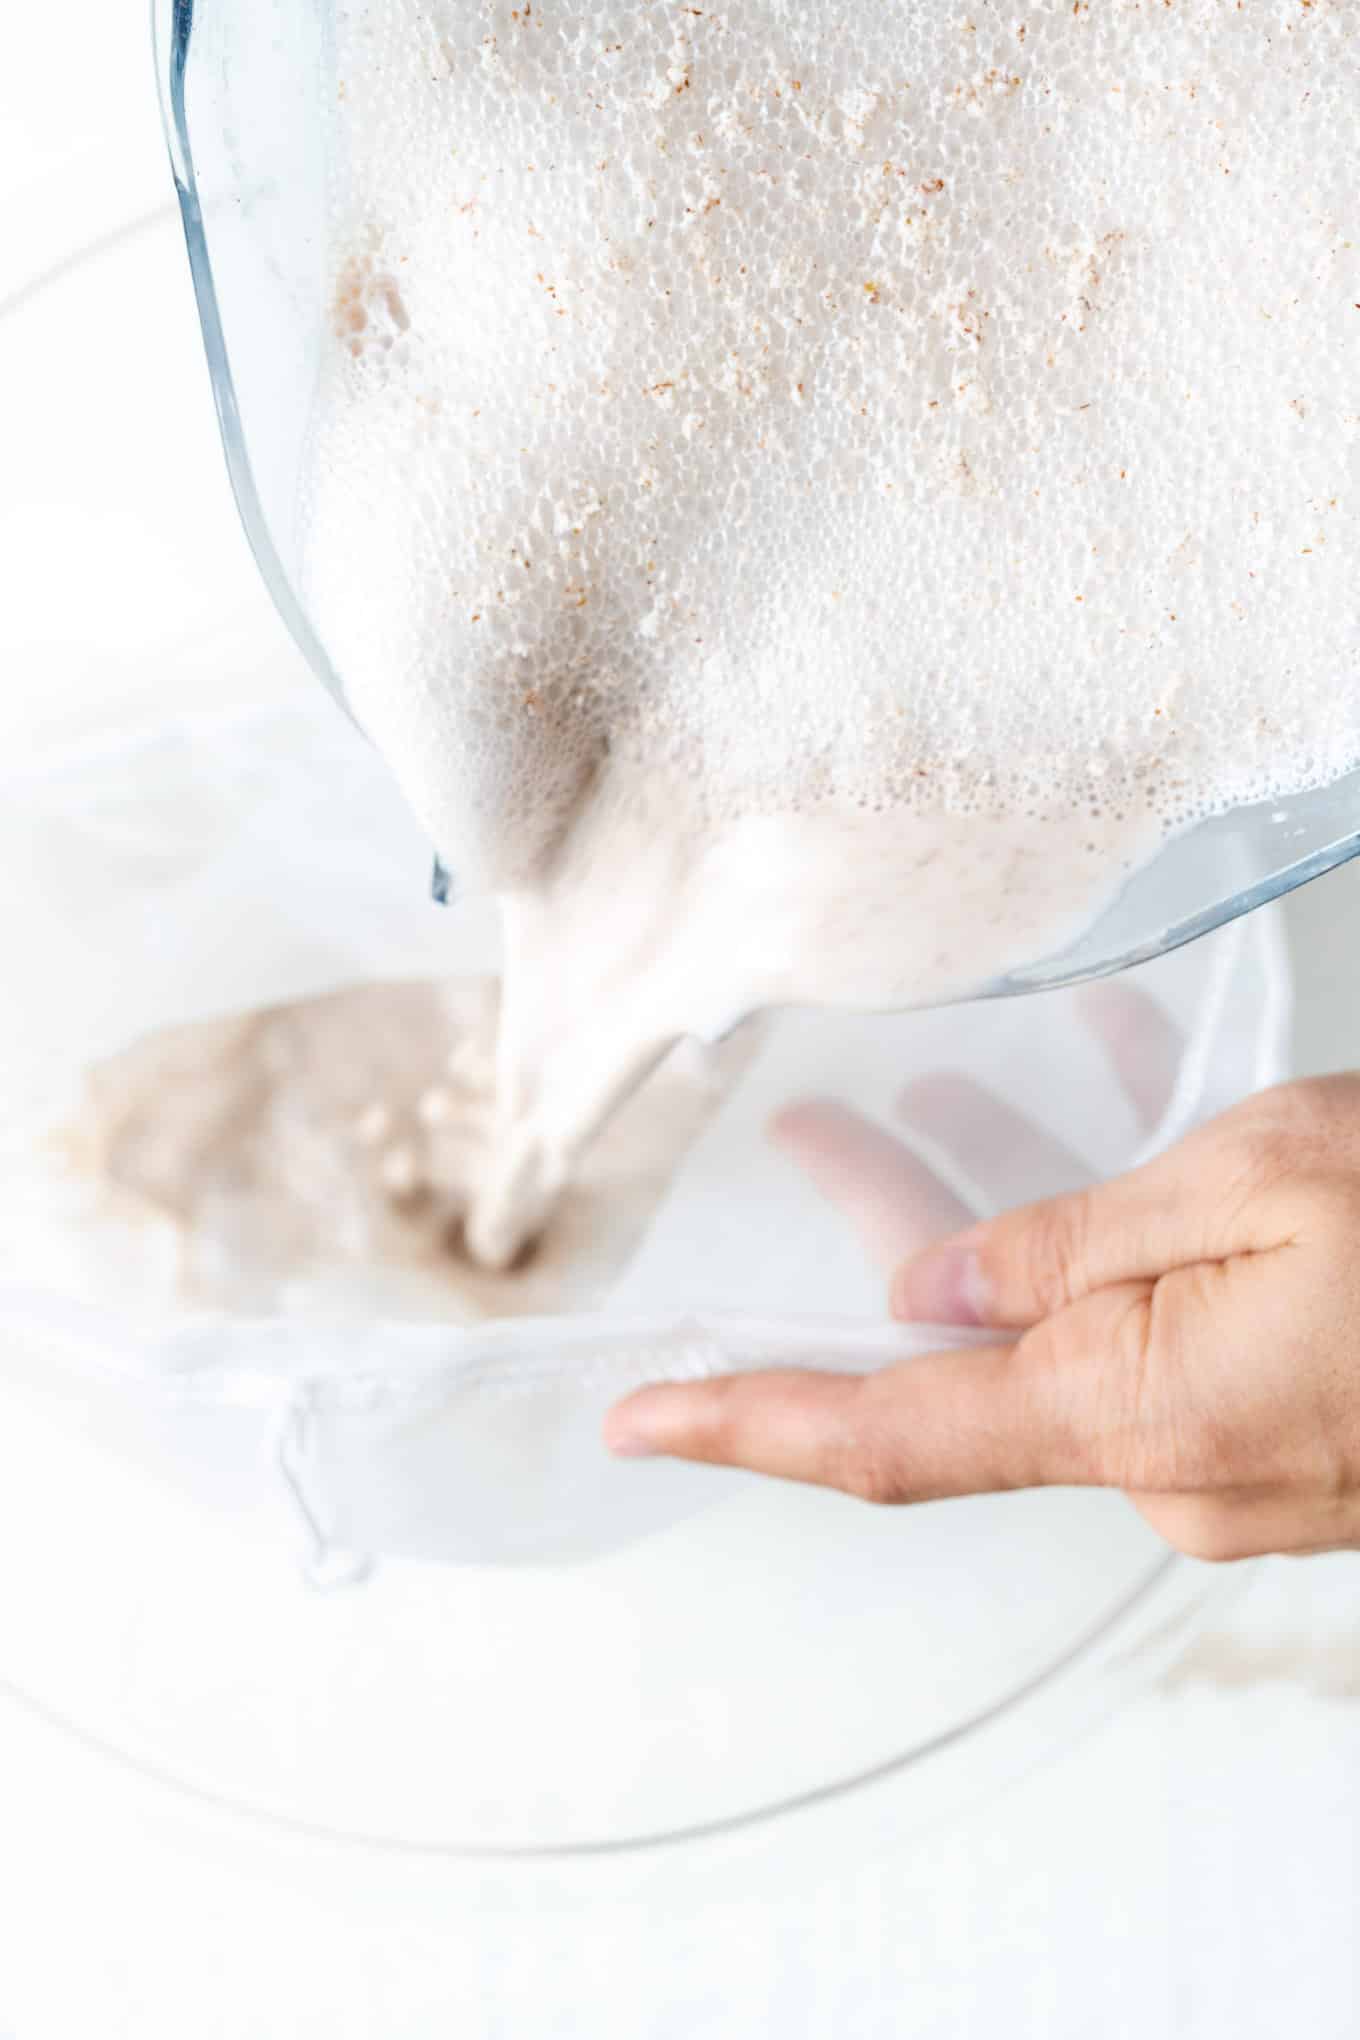
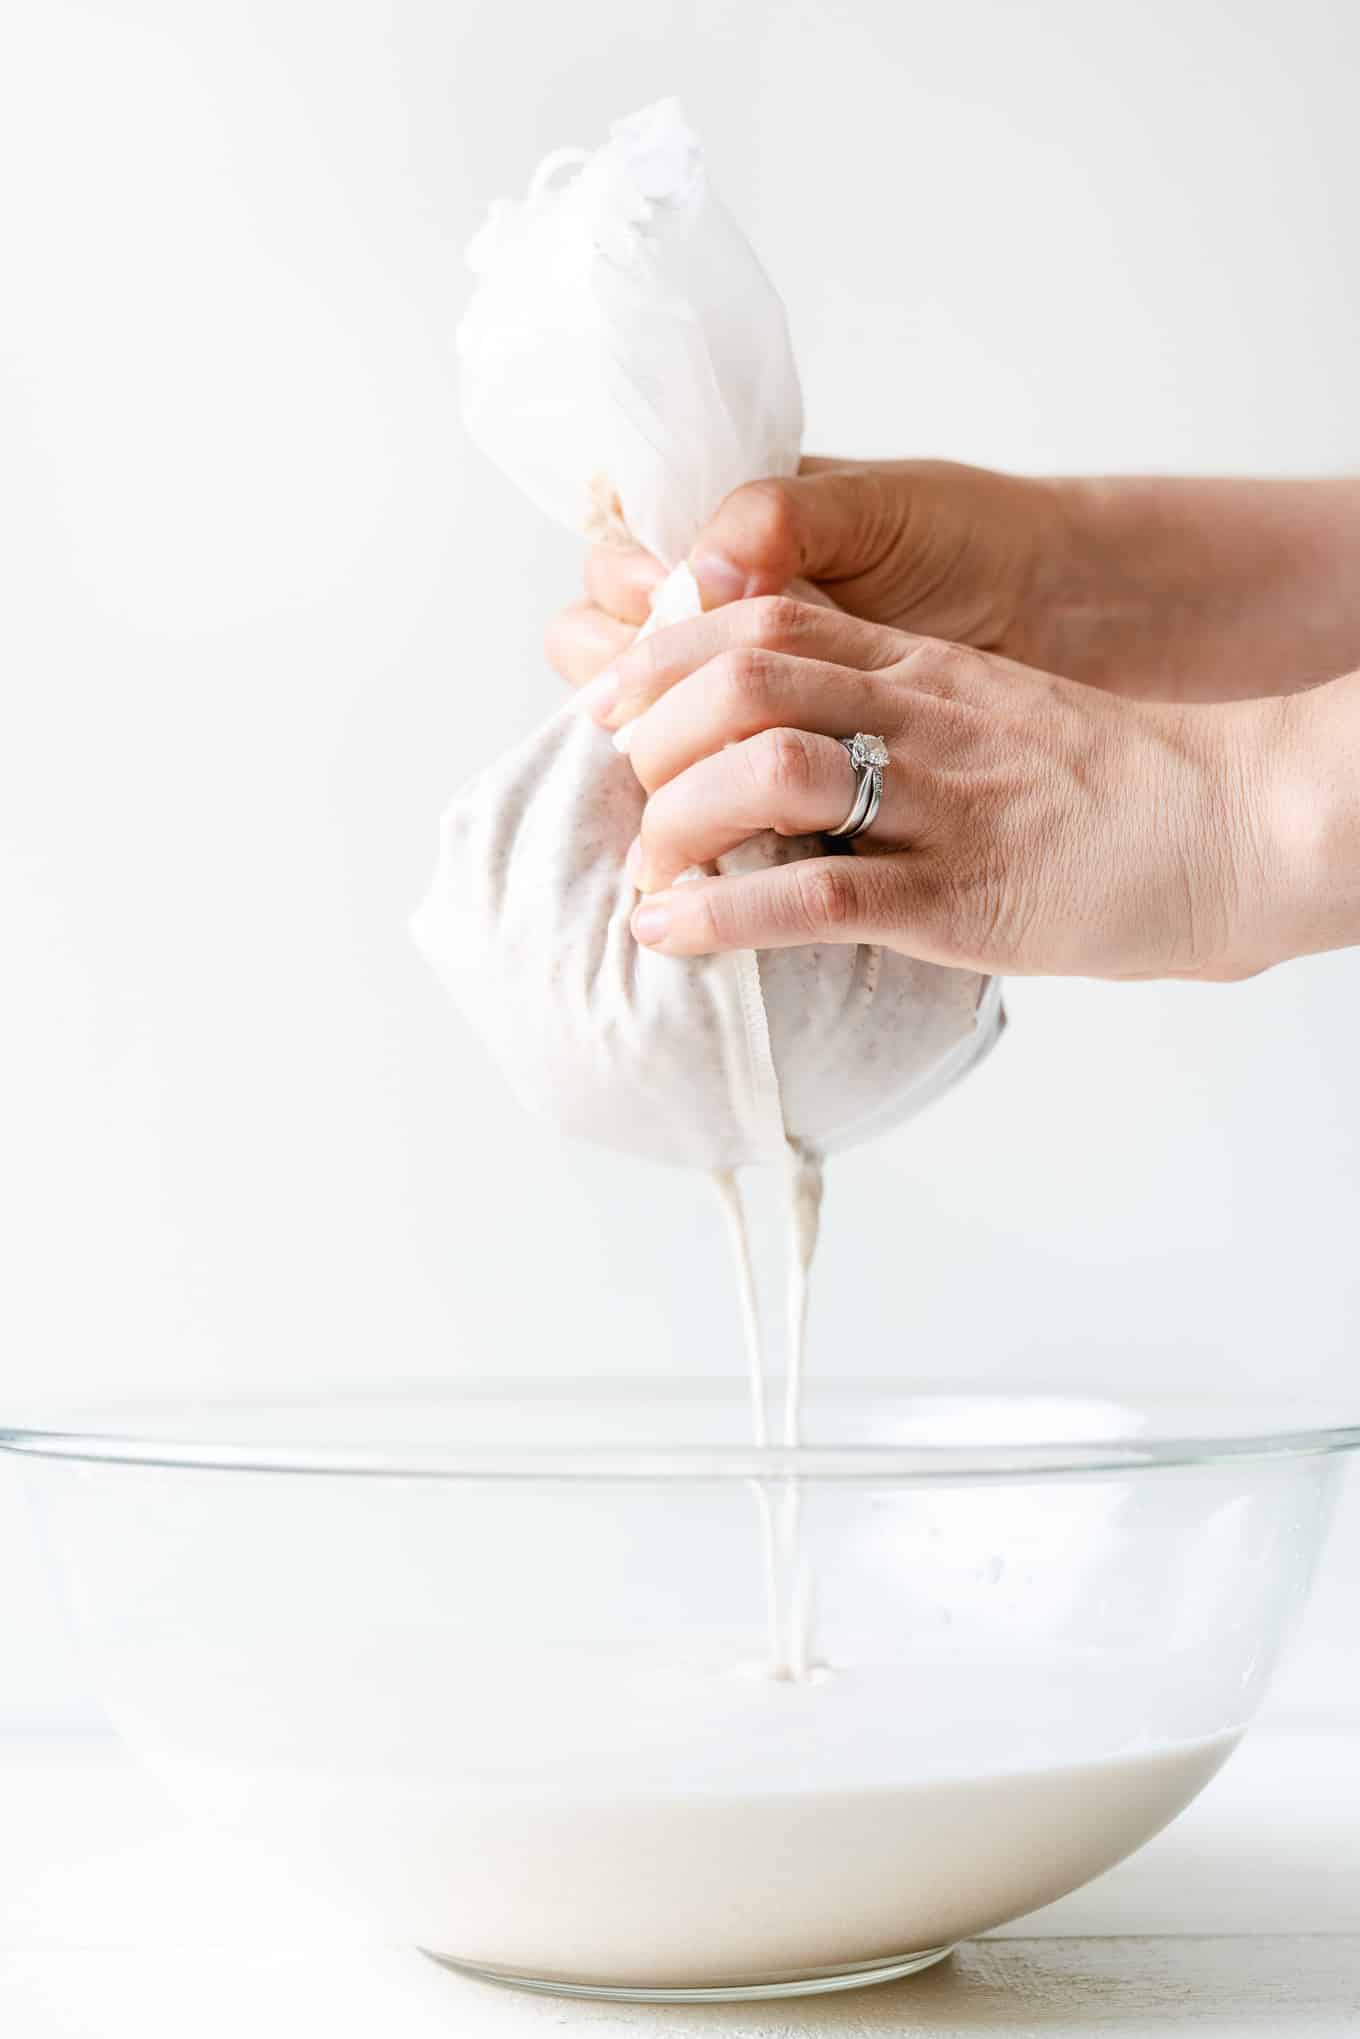
I place the nut milk bag in the bowl, and use the blender to pour it all straight into the bag. A lot of liquid will strain itself out immediately but you’ll need to knead and twist the bag to get the rest out. Instead of letting it all pile up at the bottom of the bag, you’ll want to leave a little room so you can knead the bag and give the pulp room to move around.
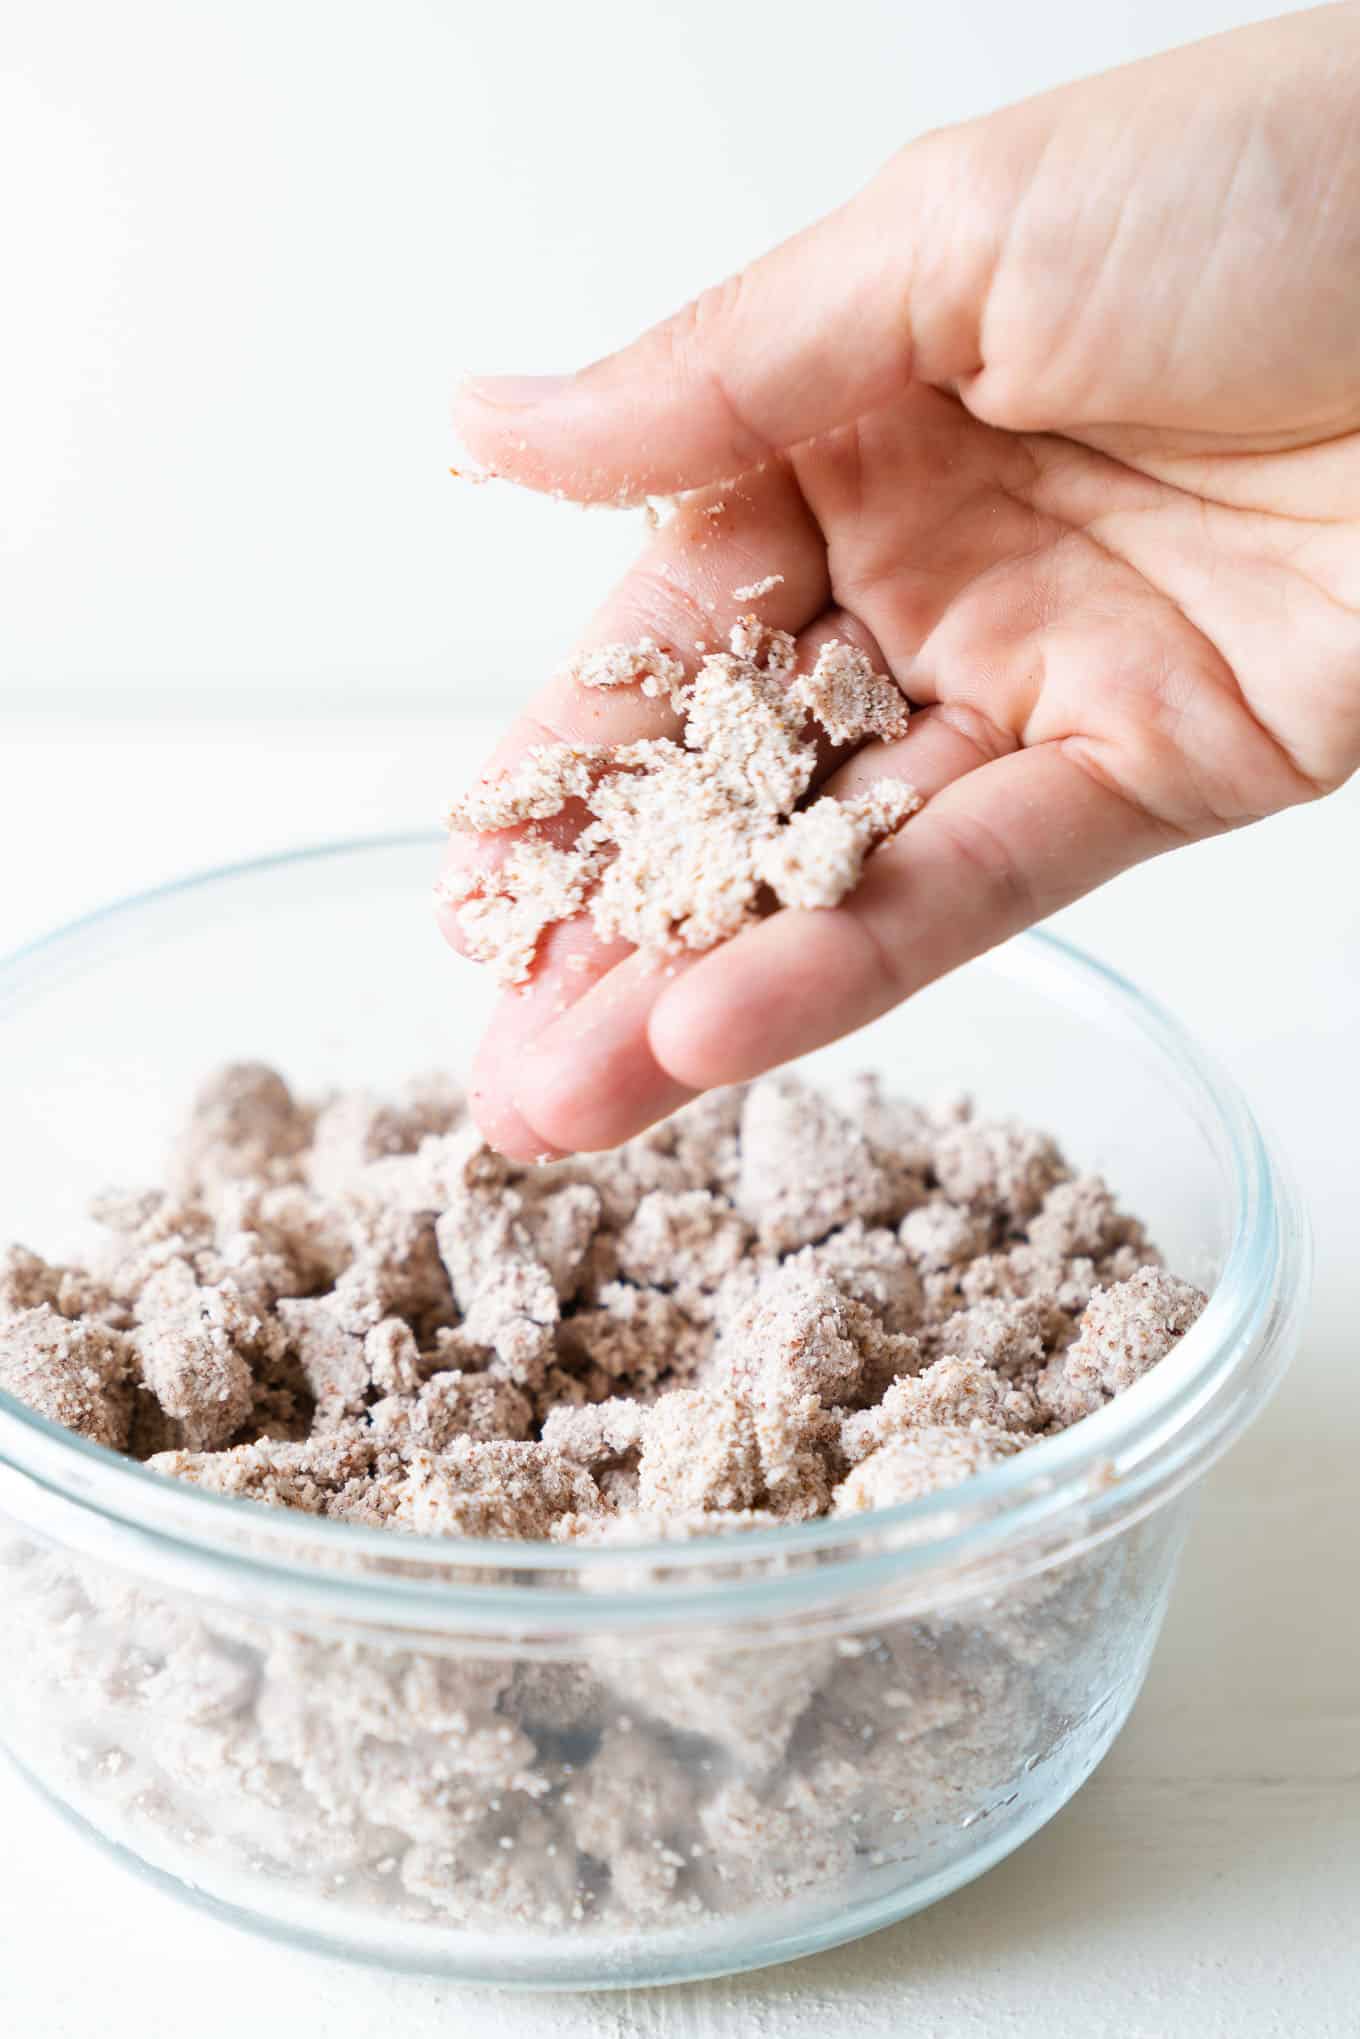
This method will help you get out more liquid in less time. You’ll want to do this until the pulp inside is fairly dry and crumbly, kind of like the texture of slightly wet sand. Or until you get tired – that’s fine too 😊
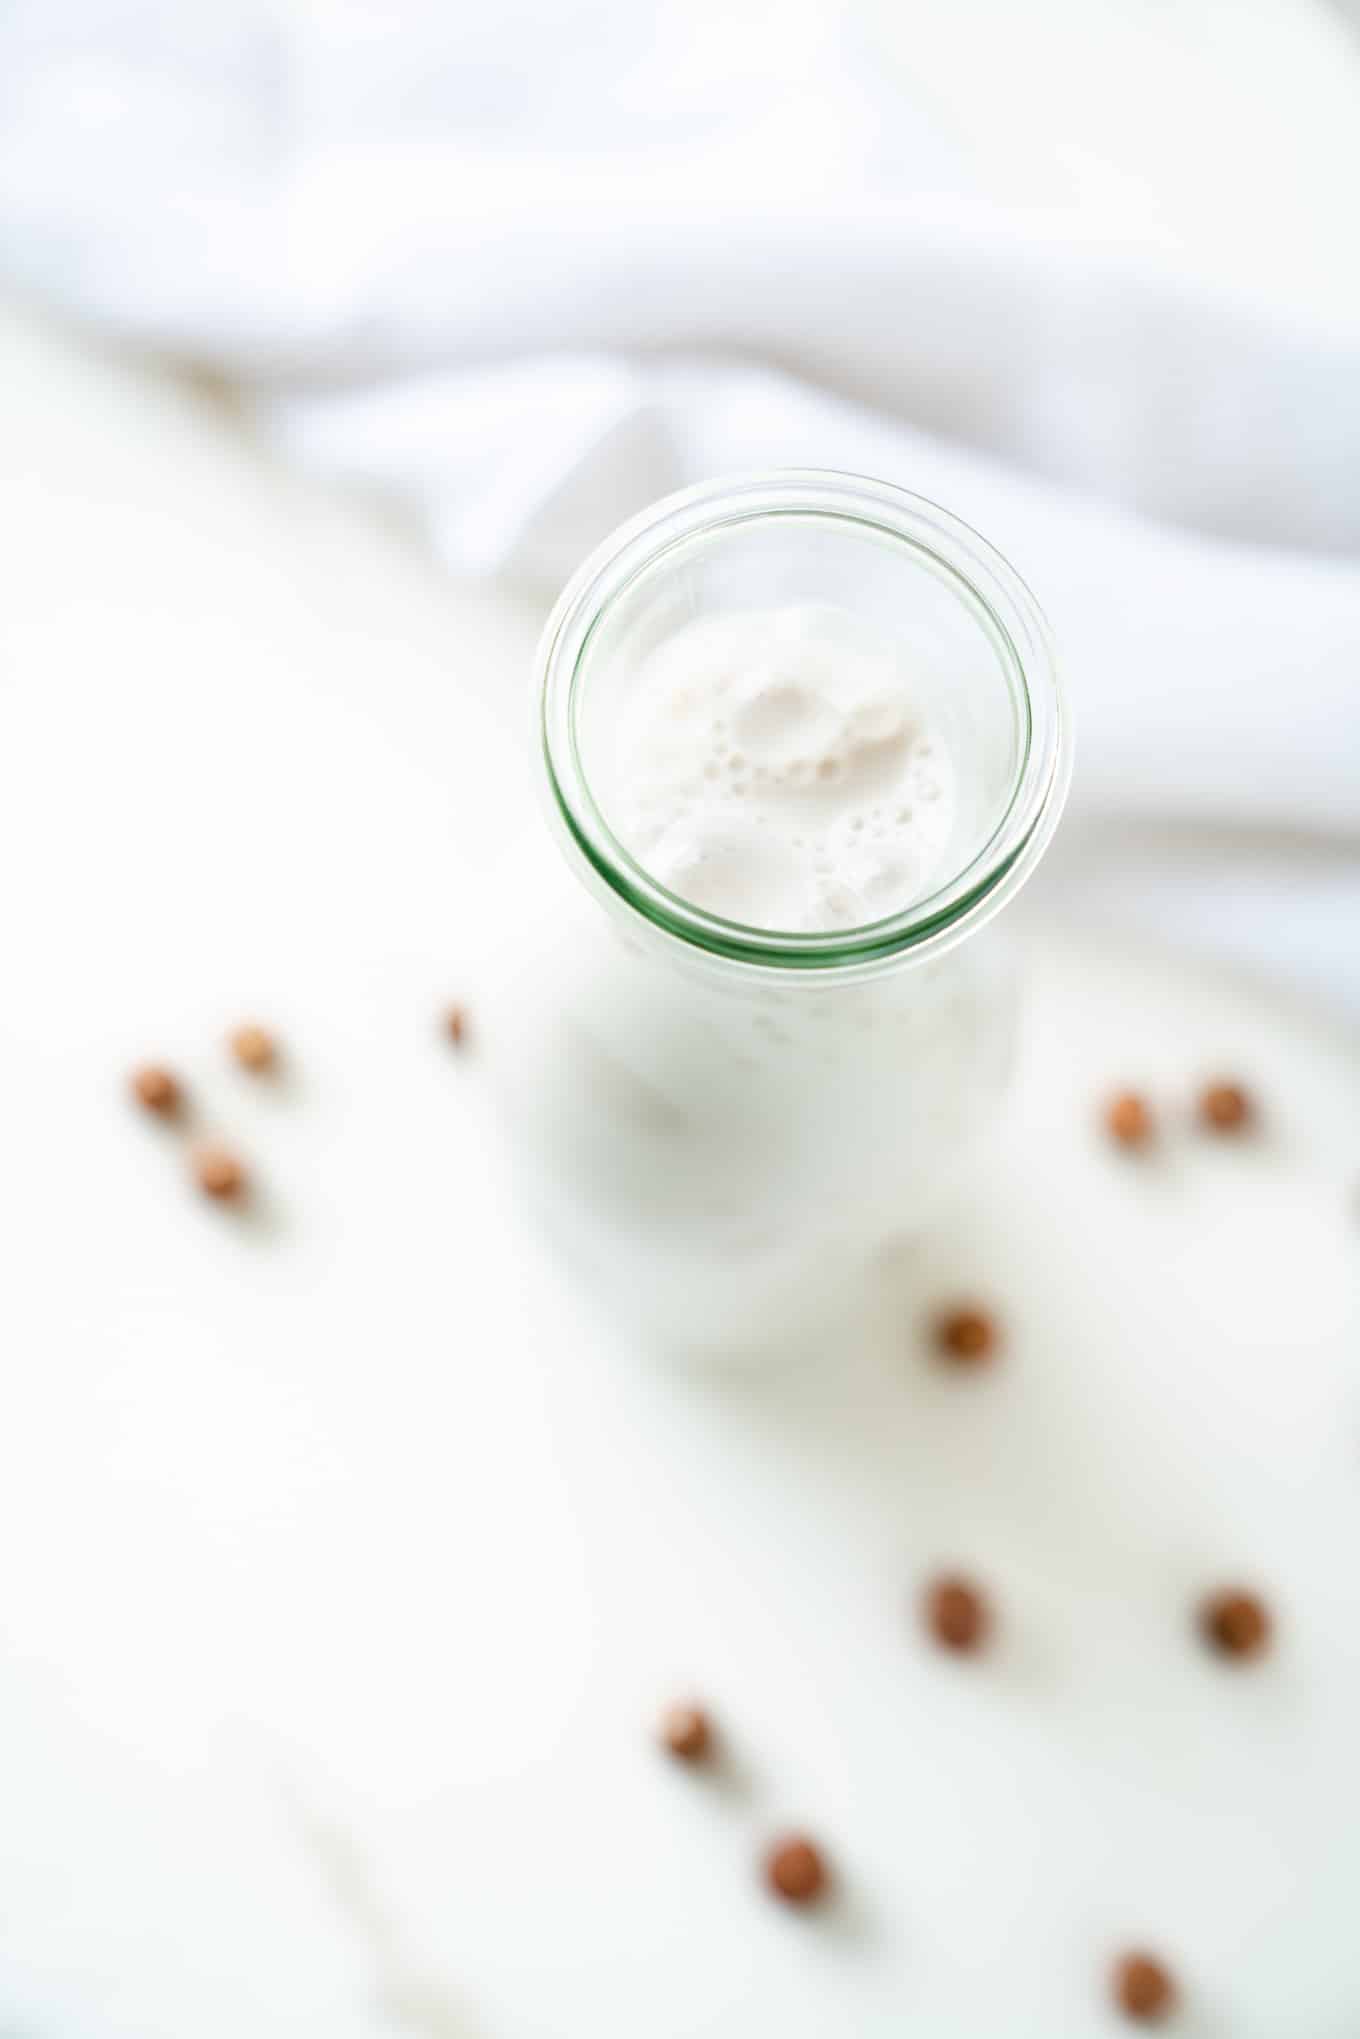
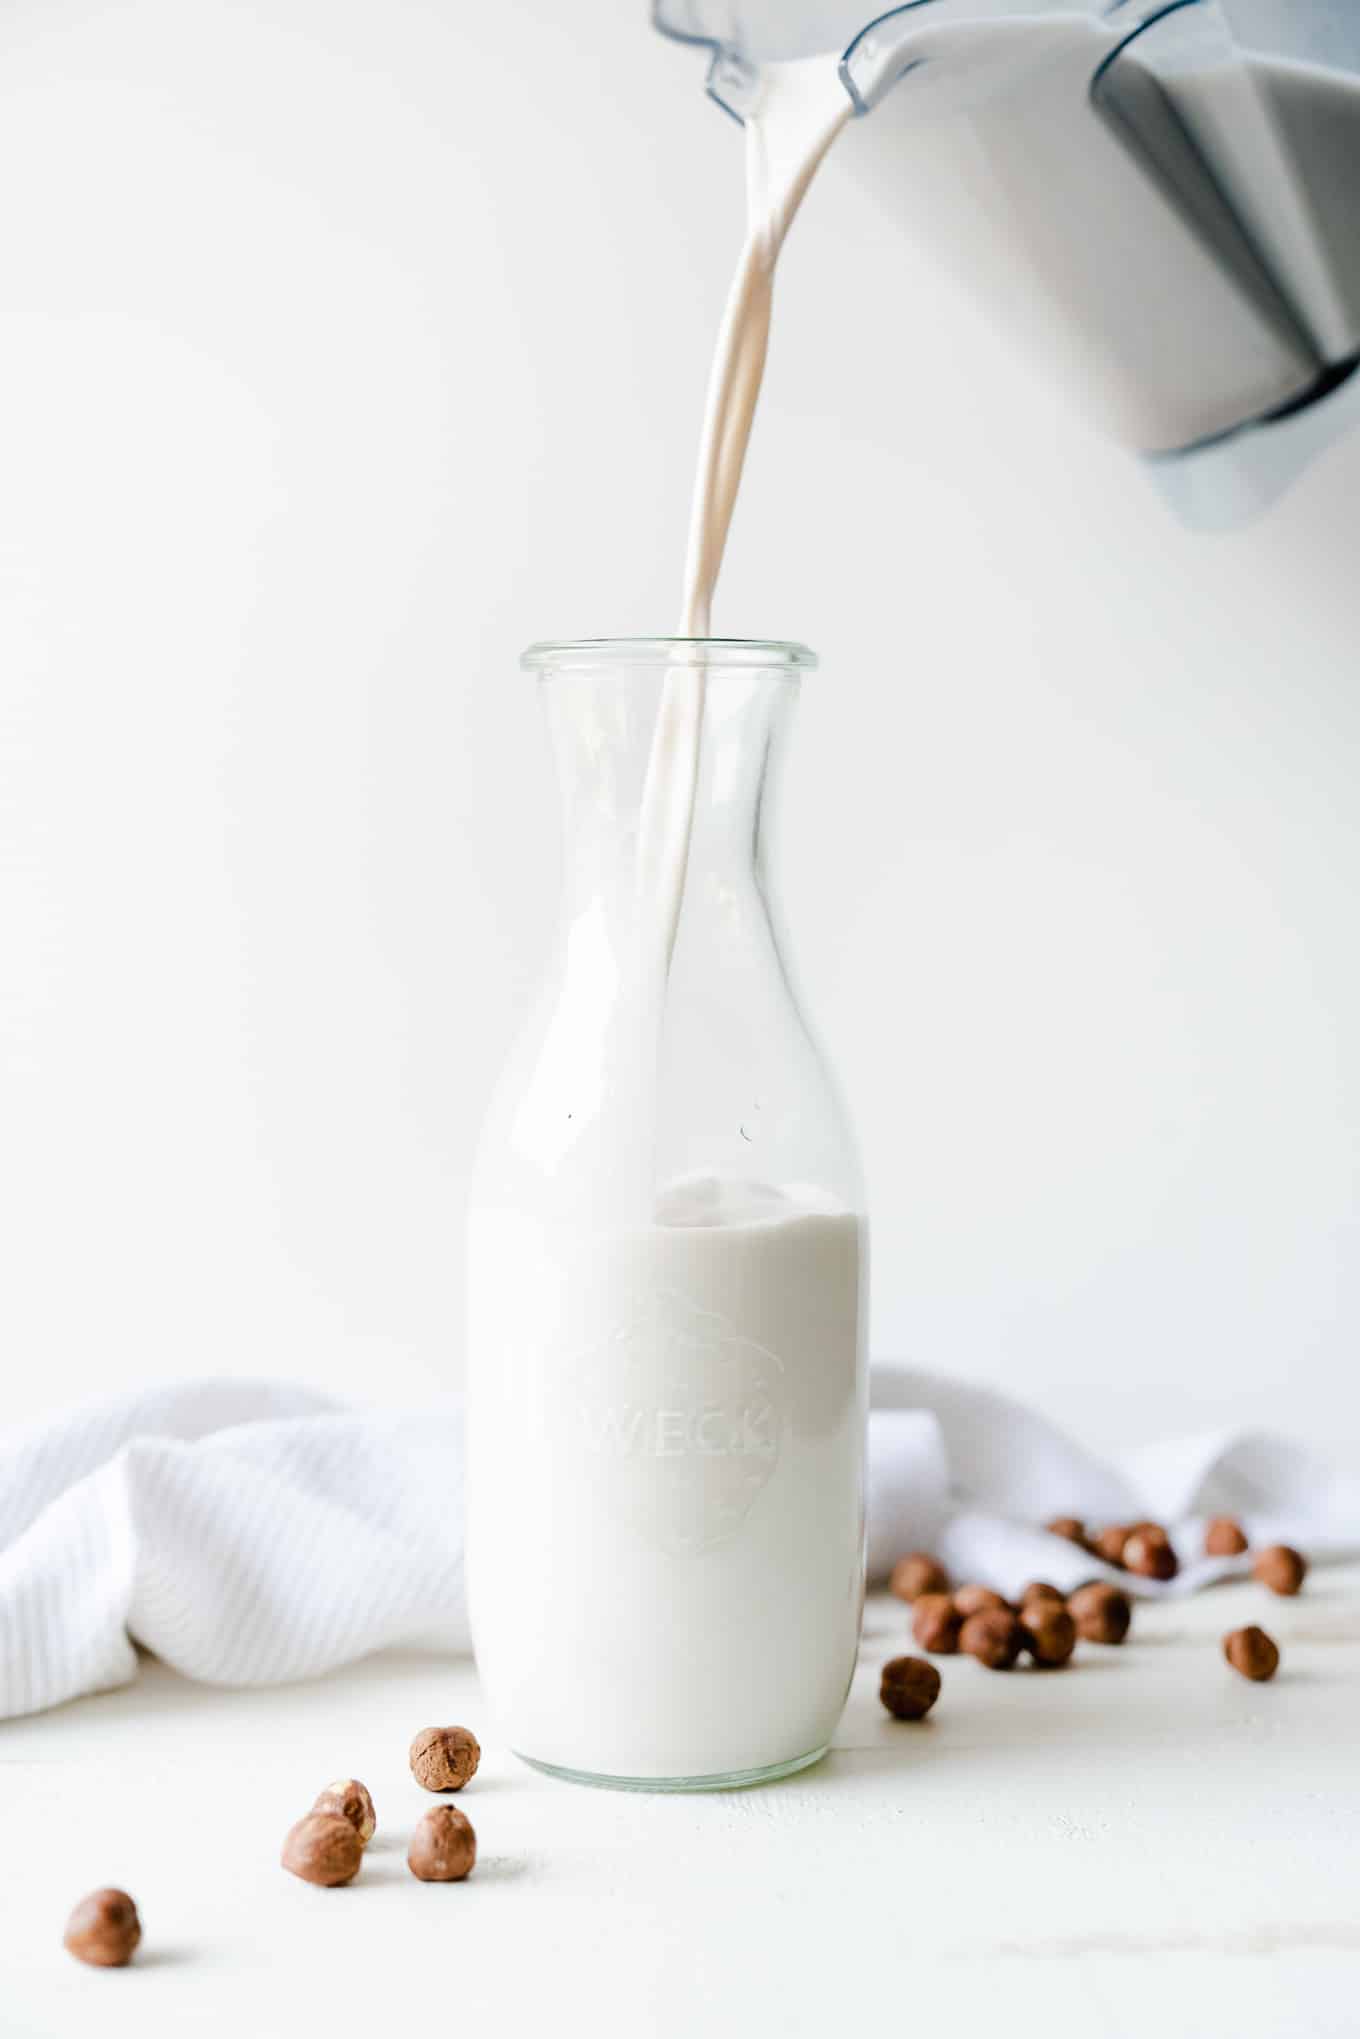
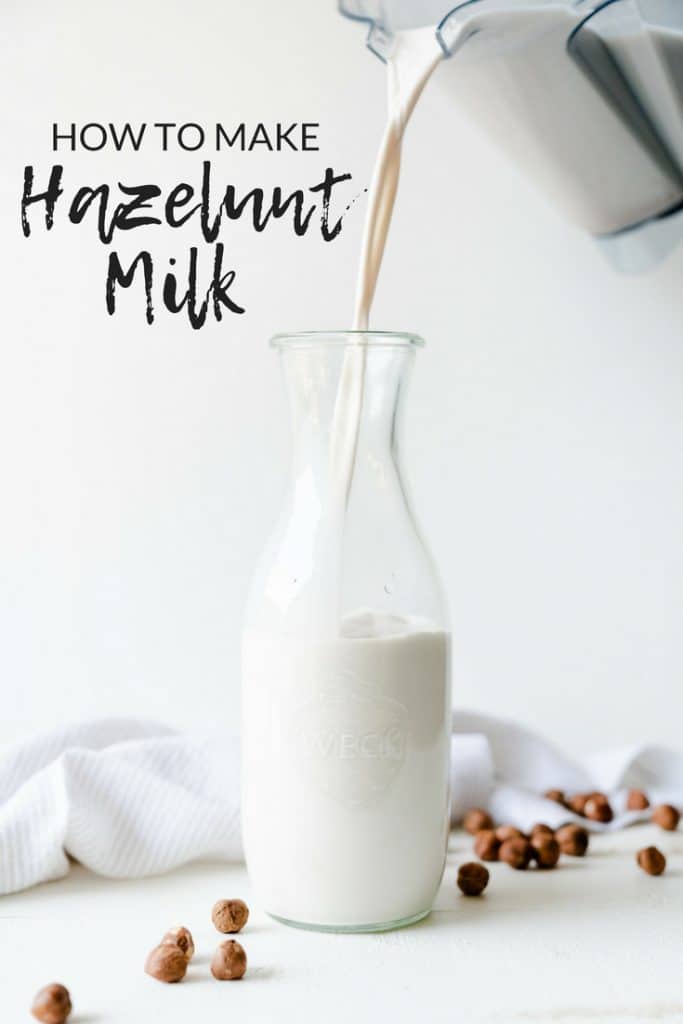
Then rinse out your blender cup and dump the milk into it. It’s easier to transfer from the mixing bowl to the blender cup, and then use the spout on the blender cup to transfer it to smaller mouthed container to store in the fridge. I use a carafe or jar – like these glass lidded Weck Jars that I also found on amazon (the set comes in a full size and a half size and this recipe perfectly fills them both up). You could also fill up several mason jars with it.
Store them in the fridge and use them throughout the week the way you’d use regular milk – like in your smoothies, protein shakes, lattes, oatmeal, and cereal bowls!
A few other notes:
- A tip for my zero waste warriors out there – save the dry pulp instead of discarding it. There’s plenty of ways to make it into a no waste situation and still enjoy creamy, strained nut milk. I use mine in smoothies or turn it into edible “cookie dough” by combining it with coconut nectar + sun butter + cacao powder + mini chocolate chips. Other people have very cleverly found ways to use it like almond meal by baking it into cookies or muffins. You can always store it in the fridge until you figure out a use for it.
- One of the most affordable ways to buy organic nuts is in bulk quantities on amazon – the price per ounce is usually much cheaper and you’ll get much more than what you’ll find in the store. This is the brand we usually get
- Don’t forget to clean your nut milk bag right after using it – makes it so much easier to clean if you rinse it while the bits of pulp clinging to the bag are still a little wet. I hang mine up to dry using the bag drawstring on our kitchen cabinet knobs. This way it dries thoroughly before putting it away.
And that’s it! I tried to make it as thorough as possible in case any of you were making this for the first time at home – I wanted to take as much of the guesswork out of it as I could. But really it’s as simple as soak + blend + strain + sip! And if I left something out and you still have some lingering questions - drop all your questions down in the comments below!

Here’s a list of the tools + ingredients I used in this recipe:
Ellie’s Best Bigger Better Nut Milk Bag
Vitamix Blender
Weck Jars
Organic Raw Hazelnuts
.
OTHER RECIPES YOU COULD MAKE WITH NUT MILK:
- Berry Green Smoothie
- Easy Overnight Oats
- Purple Sweet Potato Smoothie
- Pumpkin Pie Overnight Oats
- Chai Coconut Chia Pudding
Pin + save this recipe for later!

How to Make Hazelnut Milk
Ingredients
- 2 ½ c raw hazelnuts
- 6 c water plus more for soaking
OPTIONAL ADD-INS:
- pinch of salt
- vanilla
- cinnamon
- dates*
Instructions
- SOAK THE HAZELNUTS OVERNIGHT: Or for at least 8 hours. Do this by placing the hazelnuts in a small bowl and covering them with filtered water. It doesn't matter exactly how much water as long as they are covered. Loosely cover with a dish towel or lid (do not seal) and leave to soak until ready to use.
- BLEND THEM UP: Drain the soaking water from the hazelnuts and give them a quick rinse to remove any tannins or anti-nutrients pulled out during the soaking process. Then add the 6 cups of fresh filtered water and the soaked hazelnuts to a high powered blender, cover and blend for 1-2 min or until fully blended. Start at a slower speed and then gradually increase it.
- STRAIN: Use a large mixing bowl and a nut milk bag to strain the blender contents into hazelnut milk. Place the nut milk bag in the bowl and pour the mixture directly down into it. Then lift the bag out of the bowl and twist & knead the bag to get the rest of the liquid out. Do this until the pulp is mostly dry and crumbly. The easiest way to transfer the milk to smaller mouthed containers (like a jar) is to rinse out the blender cup and then pour the milk from the mixing bowl back into the blender. Then use the spout on the blender cup to easily transfer the milk into lidded containers. Store in the fridge for up to a week.


Maria says
Can I use toasted hazelnuts?
Lauren Kenson says
Hi Maria, this is a great question - thank you for asking! I haven't tested this recipe using toasted nuts but roasting them will dry them out a bit and may result in a less creamy nut milk. Also, roasting helps bring out more flavor which is great for snacking but can create a more bitter flavor and result in a less sweet end product. Hope that helps! - Lauren
Jen says
Delicious in smoothies!
Lauren Kenson says
I agree, Jen!! Love how creamy this makes my smoothies!!
xo, Lauren
Key says
Hi, thx for the recipe. Do you cook/boil the milk before you put in the fridge like soybean milk like my mom's used to do when she make soybean milk?
Lauren Kenson says
Hi Key! I don't cook or boil the milk - it's a fully raw recipe!! Hope that helps
-Lauren
Kim says
How did u use dates to sweeten? Did you add to the blending and if so, how many dates did u use?
Lauren Kenson says
Hi Kim! Great question. The amount of dates you use depends on how sweet you like it - blending in 2-3 dates for a big batch in the blender should do the trick to add a bit of natural sweetness throughout. If you like it sweeter then add another one next time around.
-Lauren