Simple, healthy recipe for cooking a whole chicken in your Instant Pot! This Instant Pot Whole Chicken is similar to a roasted chicken but without any fussy prep required. I love that it comes out tender every time and is great for those who like to prepare a bunch of protein as part of their weekly meal prep.

I tend to use this recipe more as a form of weekly meal prep than as a special entrée – I know this bird isn’t the prettiest when he comes out of the Instant Pot but in terms of taste and texture, it’s exactly what I’m after.
A lot of tender chicken - that I can pull apart, store in the fridge, and use to build easy healthy meals all week long. You can use this chicken in salads, casseroles, pasta dishes, stir fries, wraps – anywhere you would normally use leftover pulled pieces of rotisserie chicken.
Unlike an oven roasted chicken – this recipe doesn’t require any added oil to have tender meat. But you could use some if you want extra taste. The point is less ingredients, less fuss, more simplified food prep.

If you're after that crispy, browned skin here’s a few things you can do to mimic a regular roasted chicken!
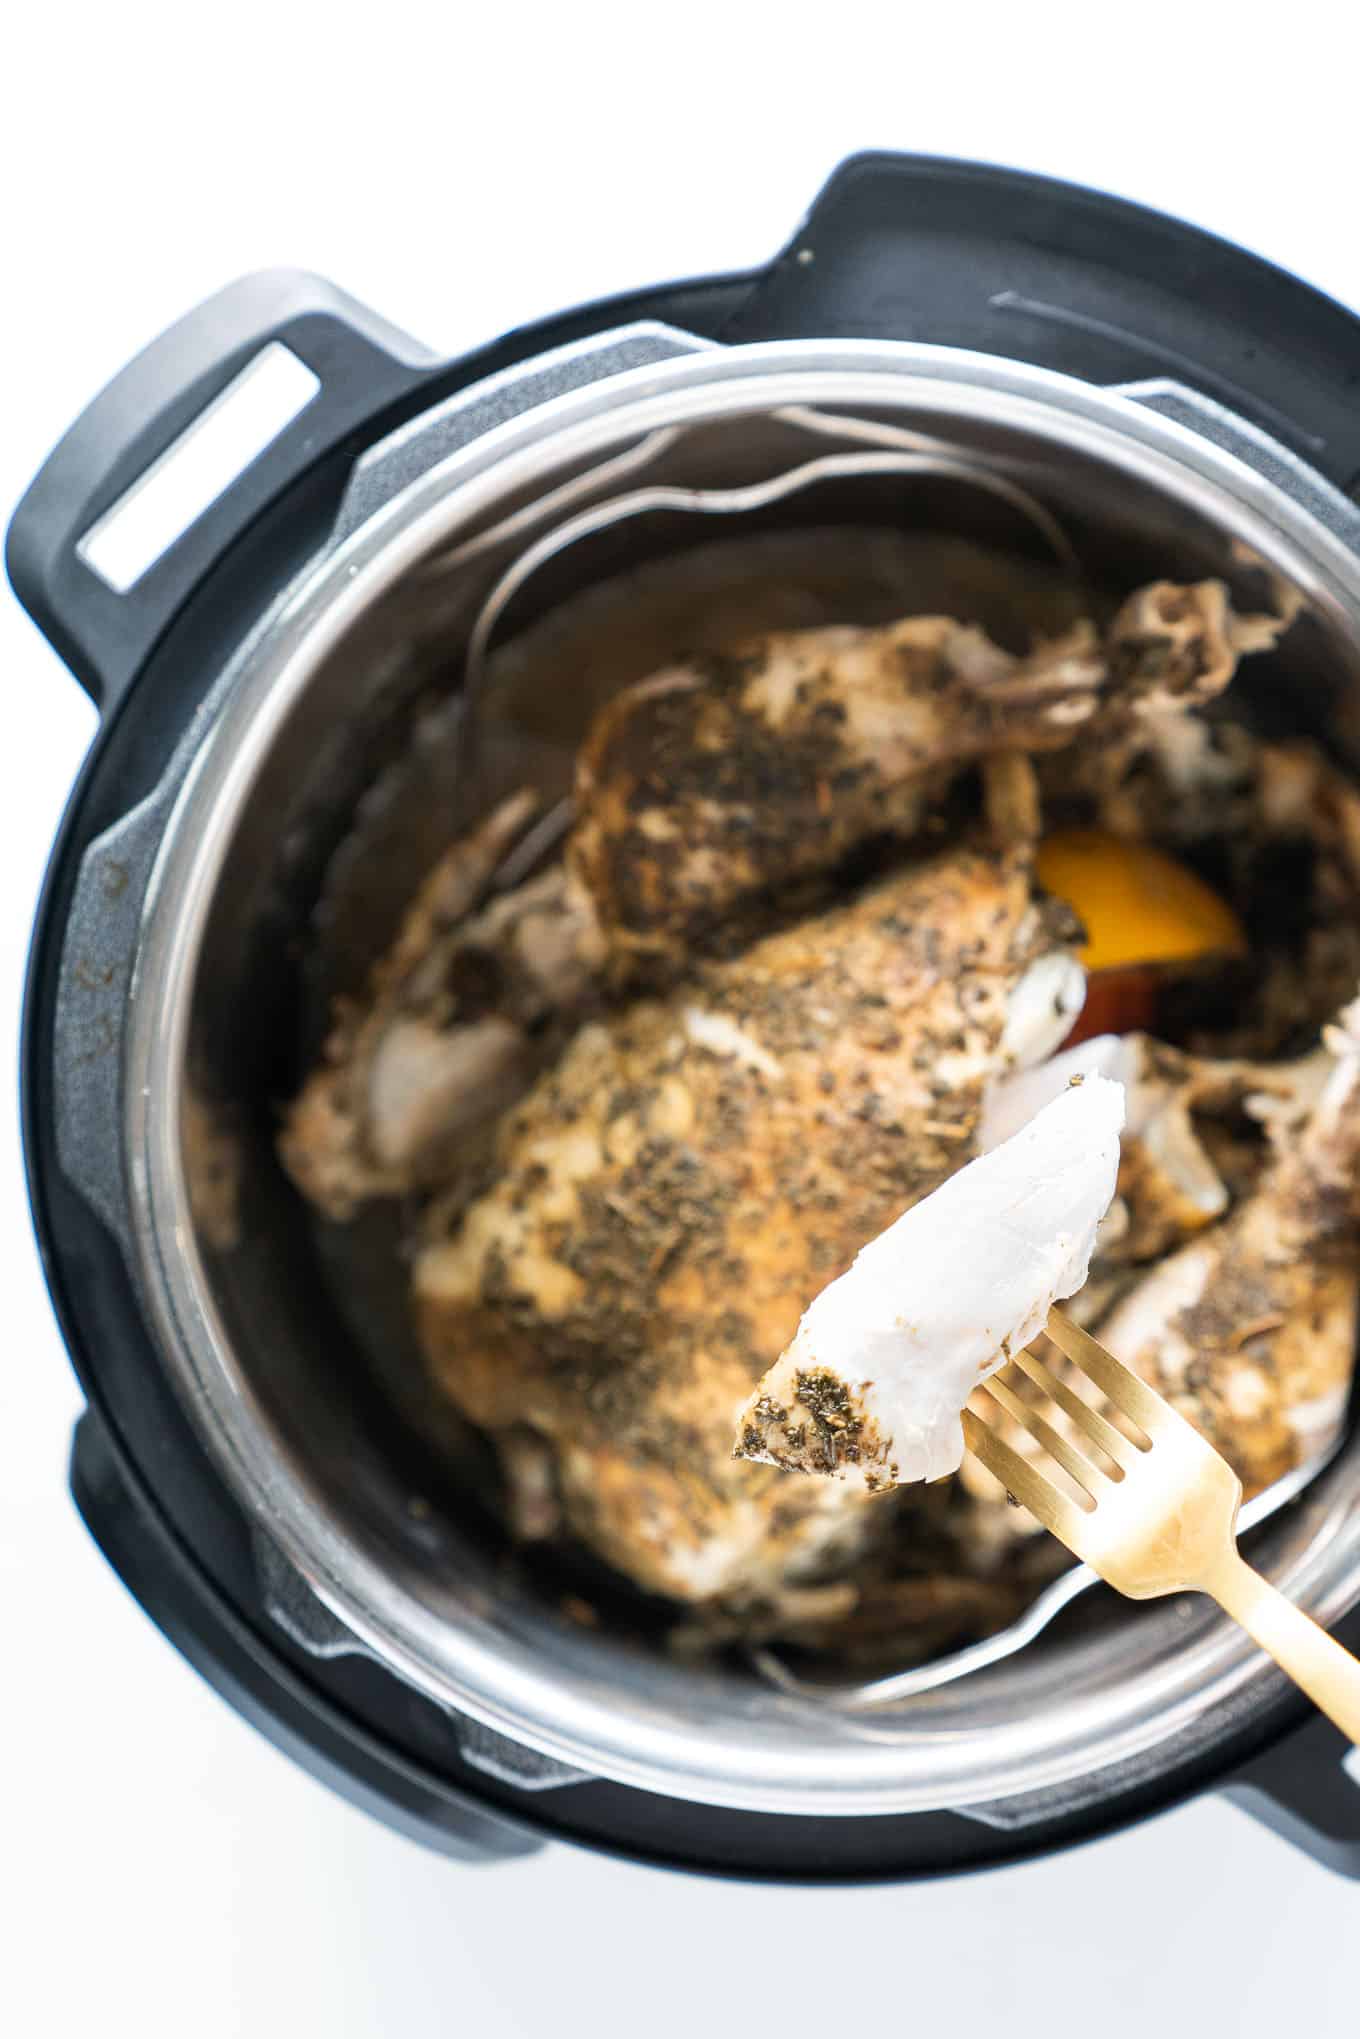
The meat itself is very similar to rotisserie chicken – one of the main differences you’ll find is in the skin. You’ll notice that mine in these pictures doesn’t have that golden color you’d come to expect in a whole roasted chicken. And that’s simply because he hasn’t been roasted. He’s been pressure cooked – which locks in all the moisture and mimics the same fall-off-the-bone tenderness of a regular rotisserie chicken.
I’ve seen that some other recipes suggest to either brown the skin in butter/oil beforehand. When I want it to be truly crispy I do this step AFTER pressure cooking - just place it under the broiler of your oven for a bit after the whole bird has been cooked and crisp up the skin that way. You can even brush it with a bit of olive oil or melted ghee / grass-fed butter (y
But I gotta give it to you straight – most week’s I don’t feel like throwing in an extra step. Maybe someday I’ll get my act together and summon some extra motivation to spruce up my chicken prep. But until then, here’s the lazy girl’s version of “roasted” chicken in the Instant Pot!
Size matters when it comes to roasting a chicken
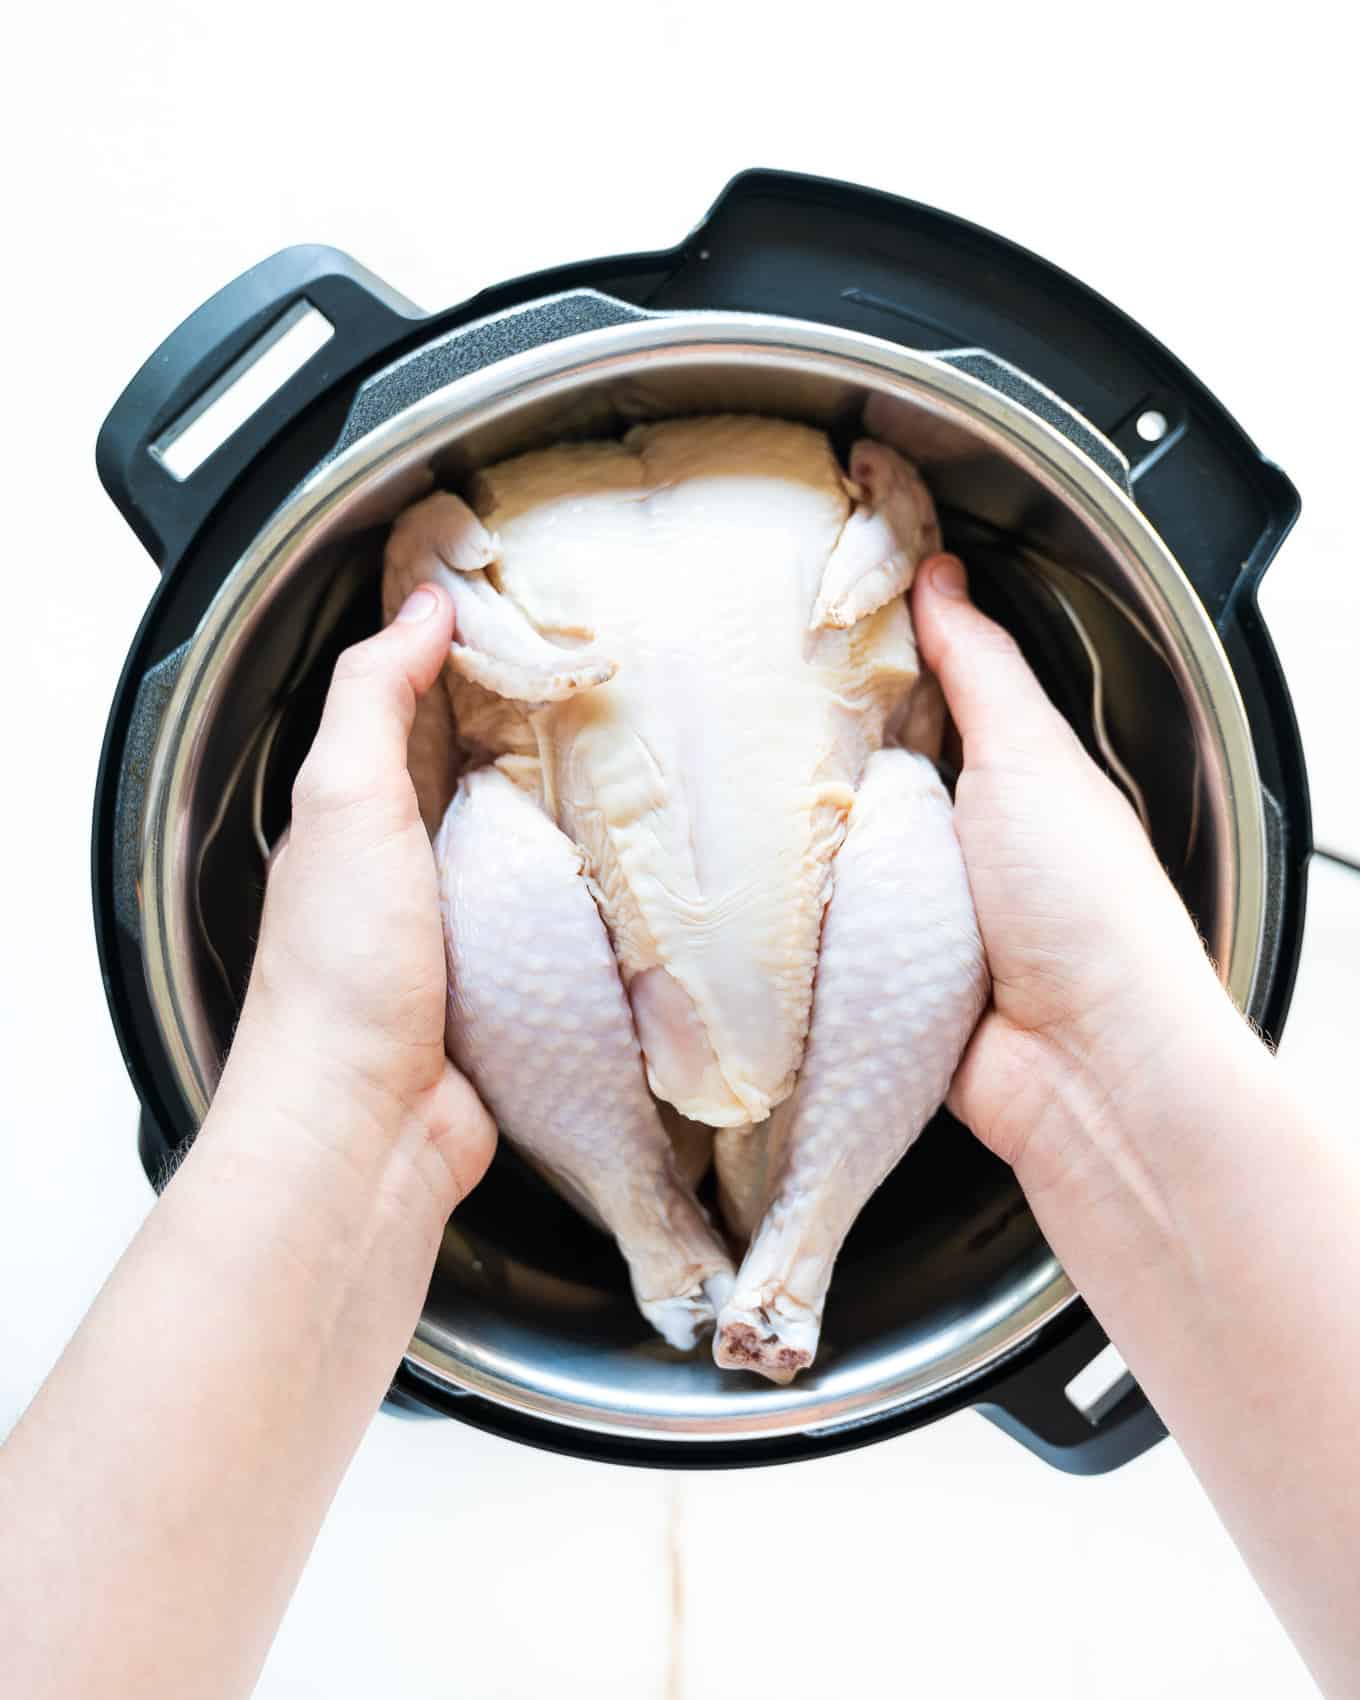
You’ll need to use a chicken that is small enough to fit into your Instant Pot (so if you can, try to choose one that is between 3-5 lbs) WITH the trivet insert in the bottom. In my experience 5 ½ lbs is pushing it to fit in the one I have – which is a 6 Quart Model. By the way, I use the Instant Pot Duo Plus 60, 6 Qt and I absolutely love it!
Knowing the weight of your bird is also hugely important for setting the most accurate cooking time. You can either use a kitchen scale to weigh it if you have it, or you can ask your butcher to weigh it for you when you’re buying it (if you forget when you get home, check and see if the tag on the side has it printed on there).
How the weight of the chicken affects your instant pot cook time
The manual that came with my instant pot recommended 20-25 min for a whole chicken – but it didn’t say how large that chicken was. When I did some further searching online, I found a recommendation for cooking 6 minutes per pound of chicken and that has worked great for me so far. So you’ll see a guide in the recipe card below telling you how to adjust the 30 min cook time according to how big of a bird you bought.
Use a trivet or steamer insert in your instant pot to prevent the bottom of the chicken burning
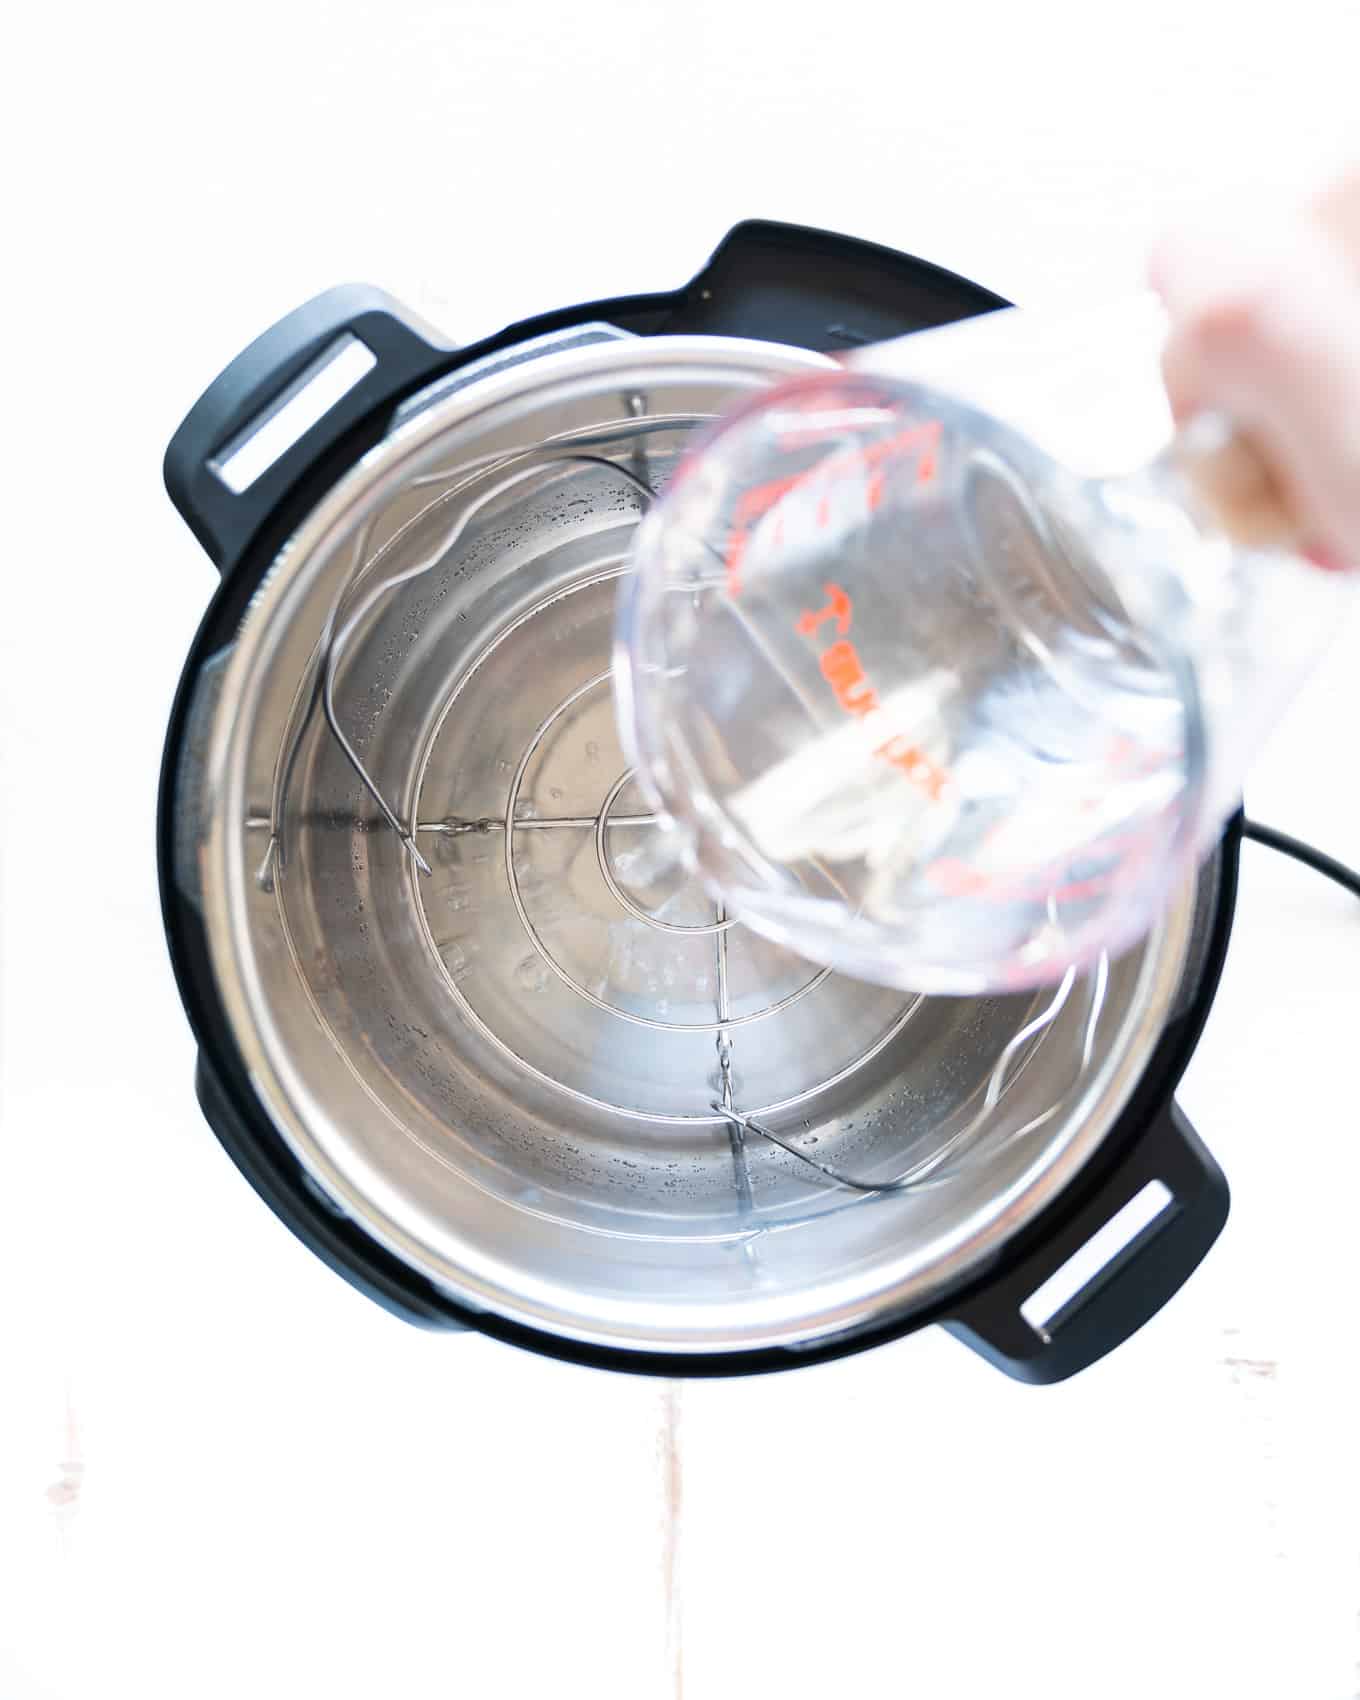
This recipe requires that you use the trivet or steamer insert (looks similar to this one on Amazon) so that you can cook the chicken without part of it sitting on the bottom. You’ll add just enough water to cover the bottom feet of the trivet insert but not enough so that it is touching the chicken (about 1 cup of water is all you need).
How to fit the bird in the instant pot
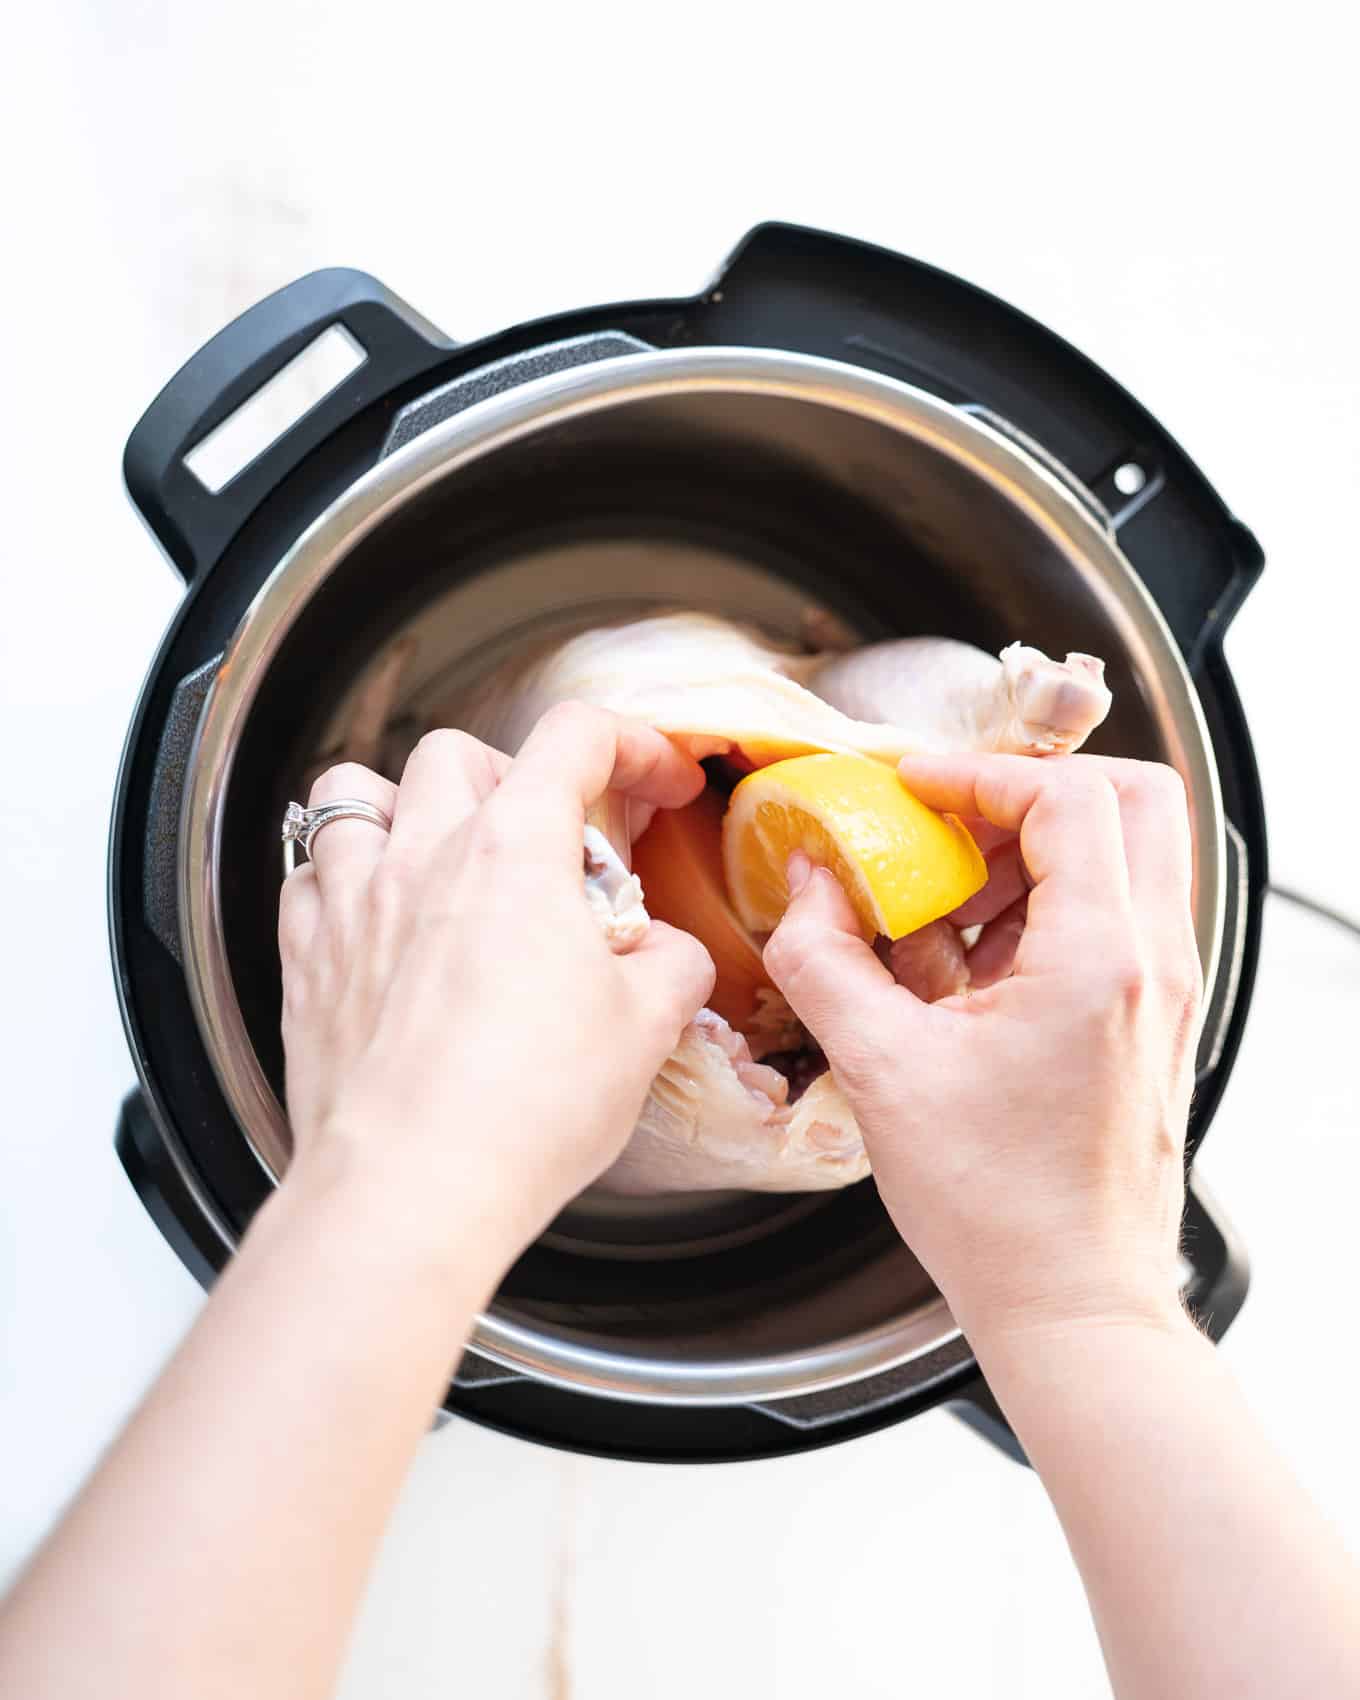
Next comes the chicken, you’ll position the bird inside the pot with the cavity facing up towards you. This makes it super easy to stuff with aromatics like garlic, onion, and lemon and allows them all to stay inside during the cooking process.
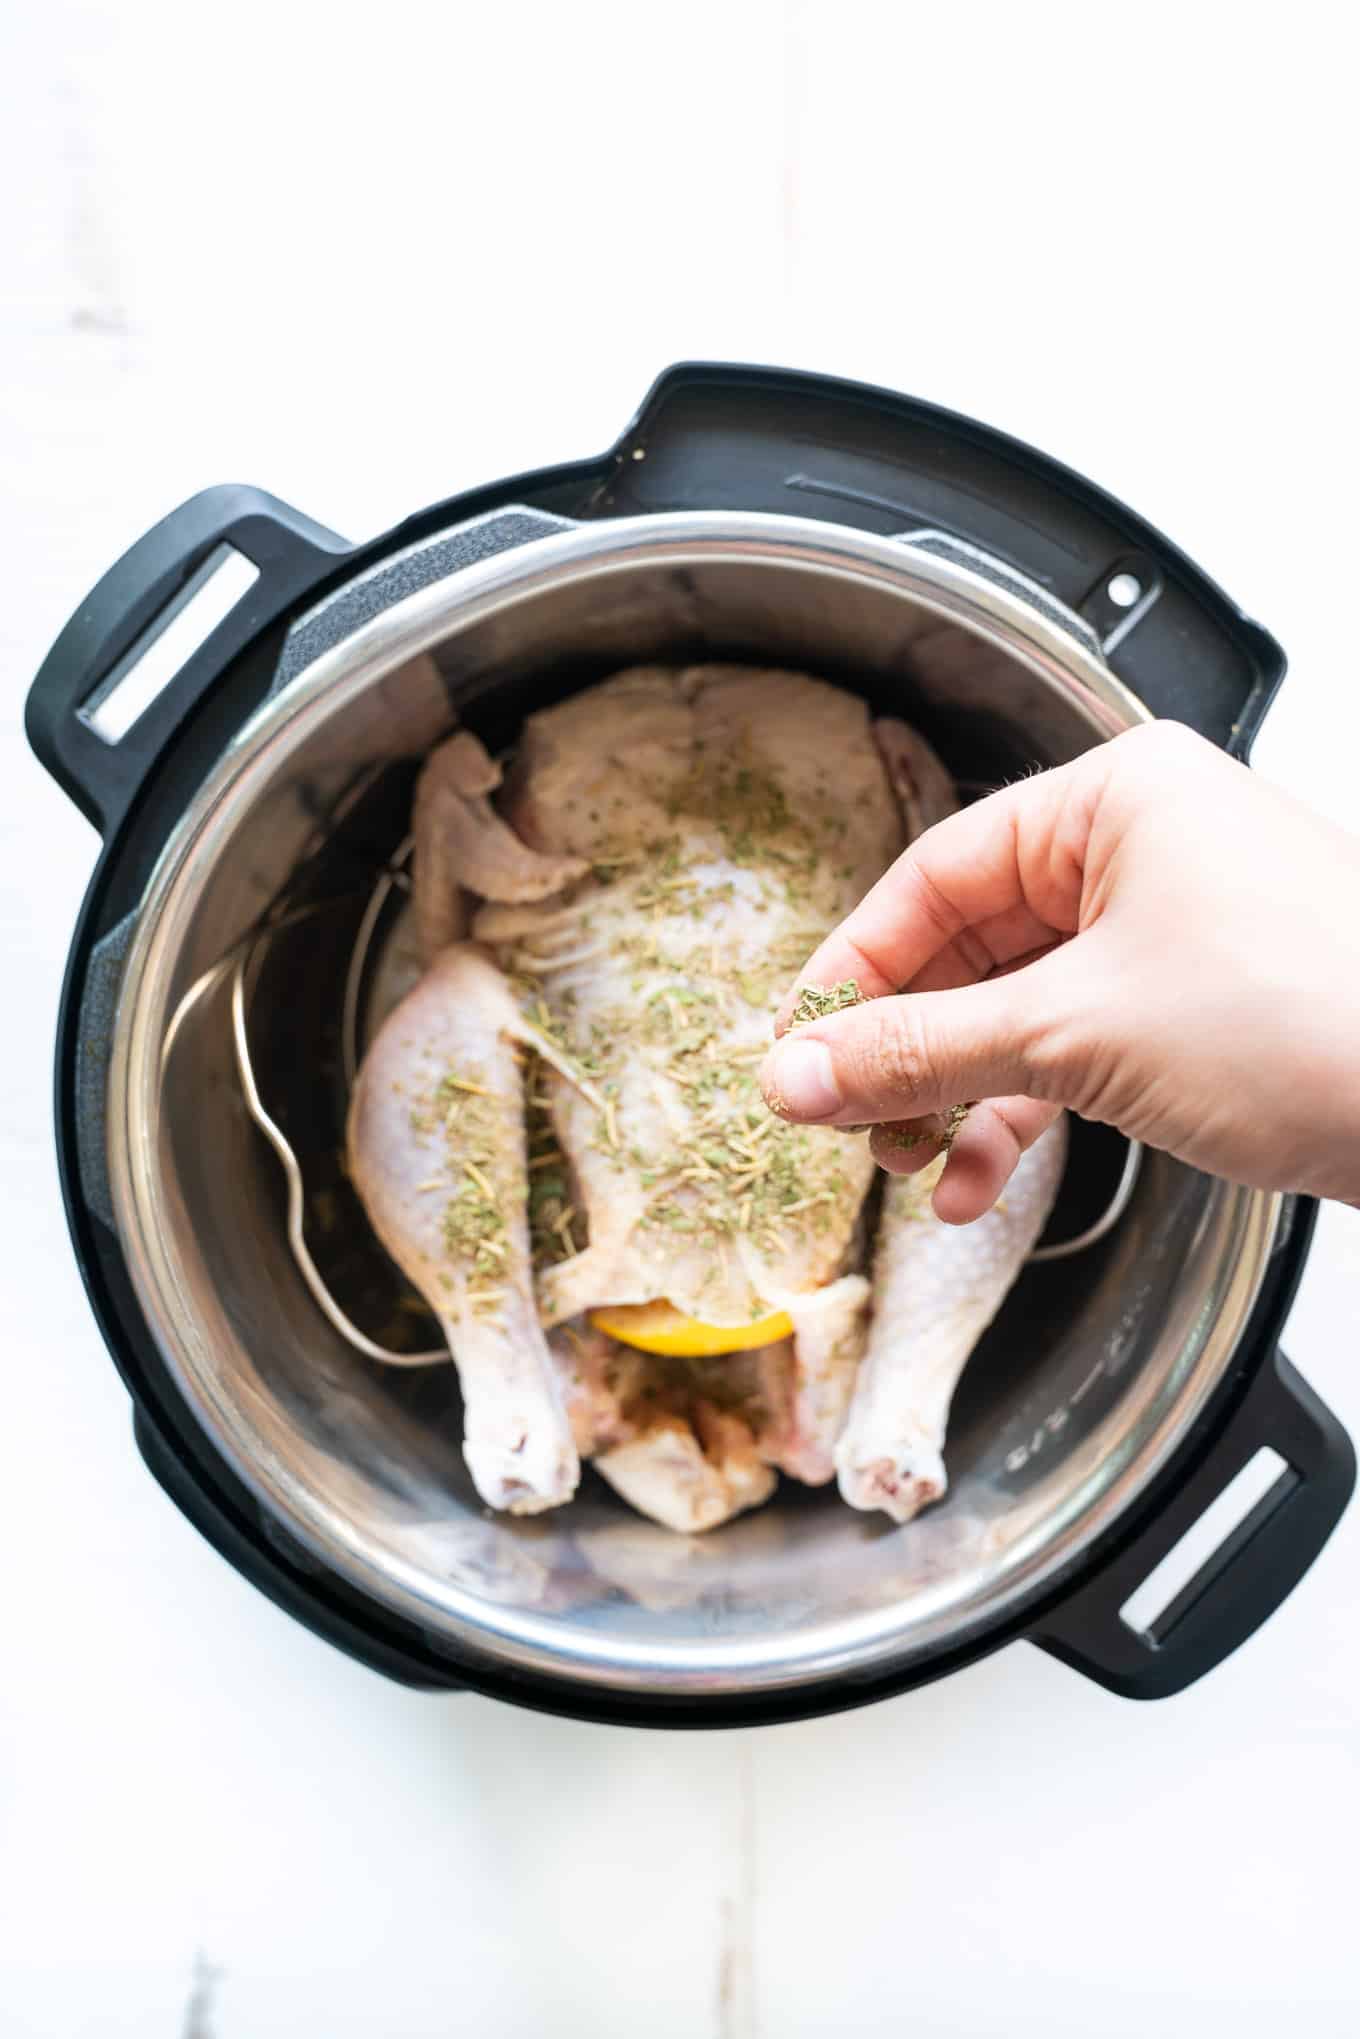
Then you’ll season it up – I put the suggestions for the spice mix I like to use (which has some classic herbs that you’d typically use for roasting poultry in the oven) but it’s entirely up to you to use whatever spices you’d like to flavor it. Mixing the spices and salt together in a separate small bowl before adding to the chicken can help save you from having to wash raw chicken off your hands everytime you need to open a new spice jar.
And finally you cook it up! Set it to pressure cook on high, then do a natural release, wait until it’s cool enough to handle and pick it apart to store in the fridge.
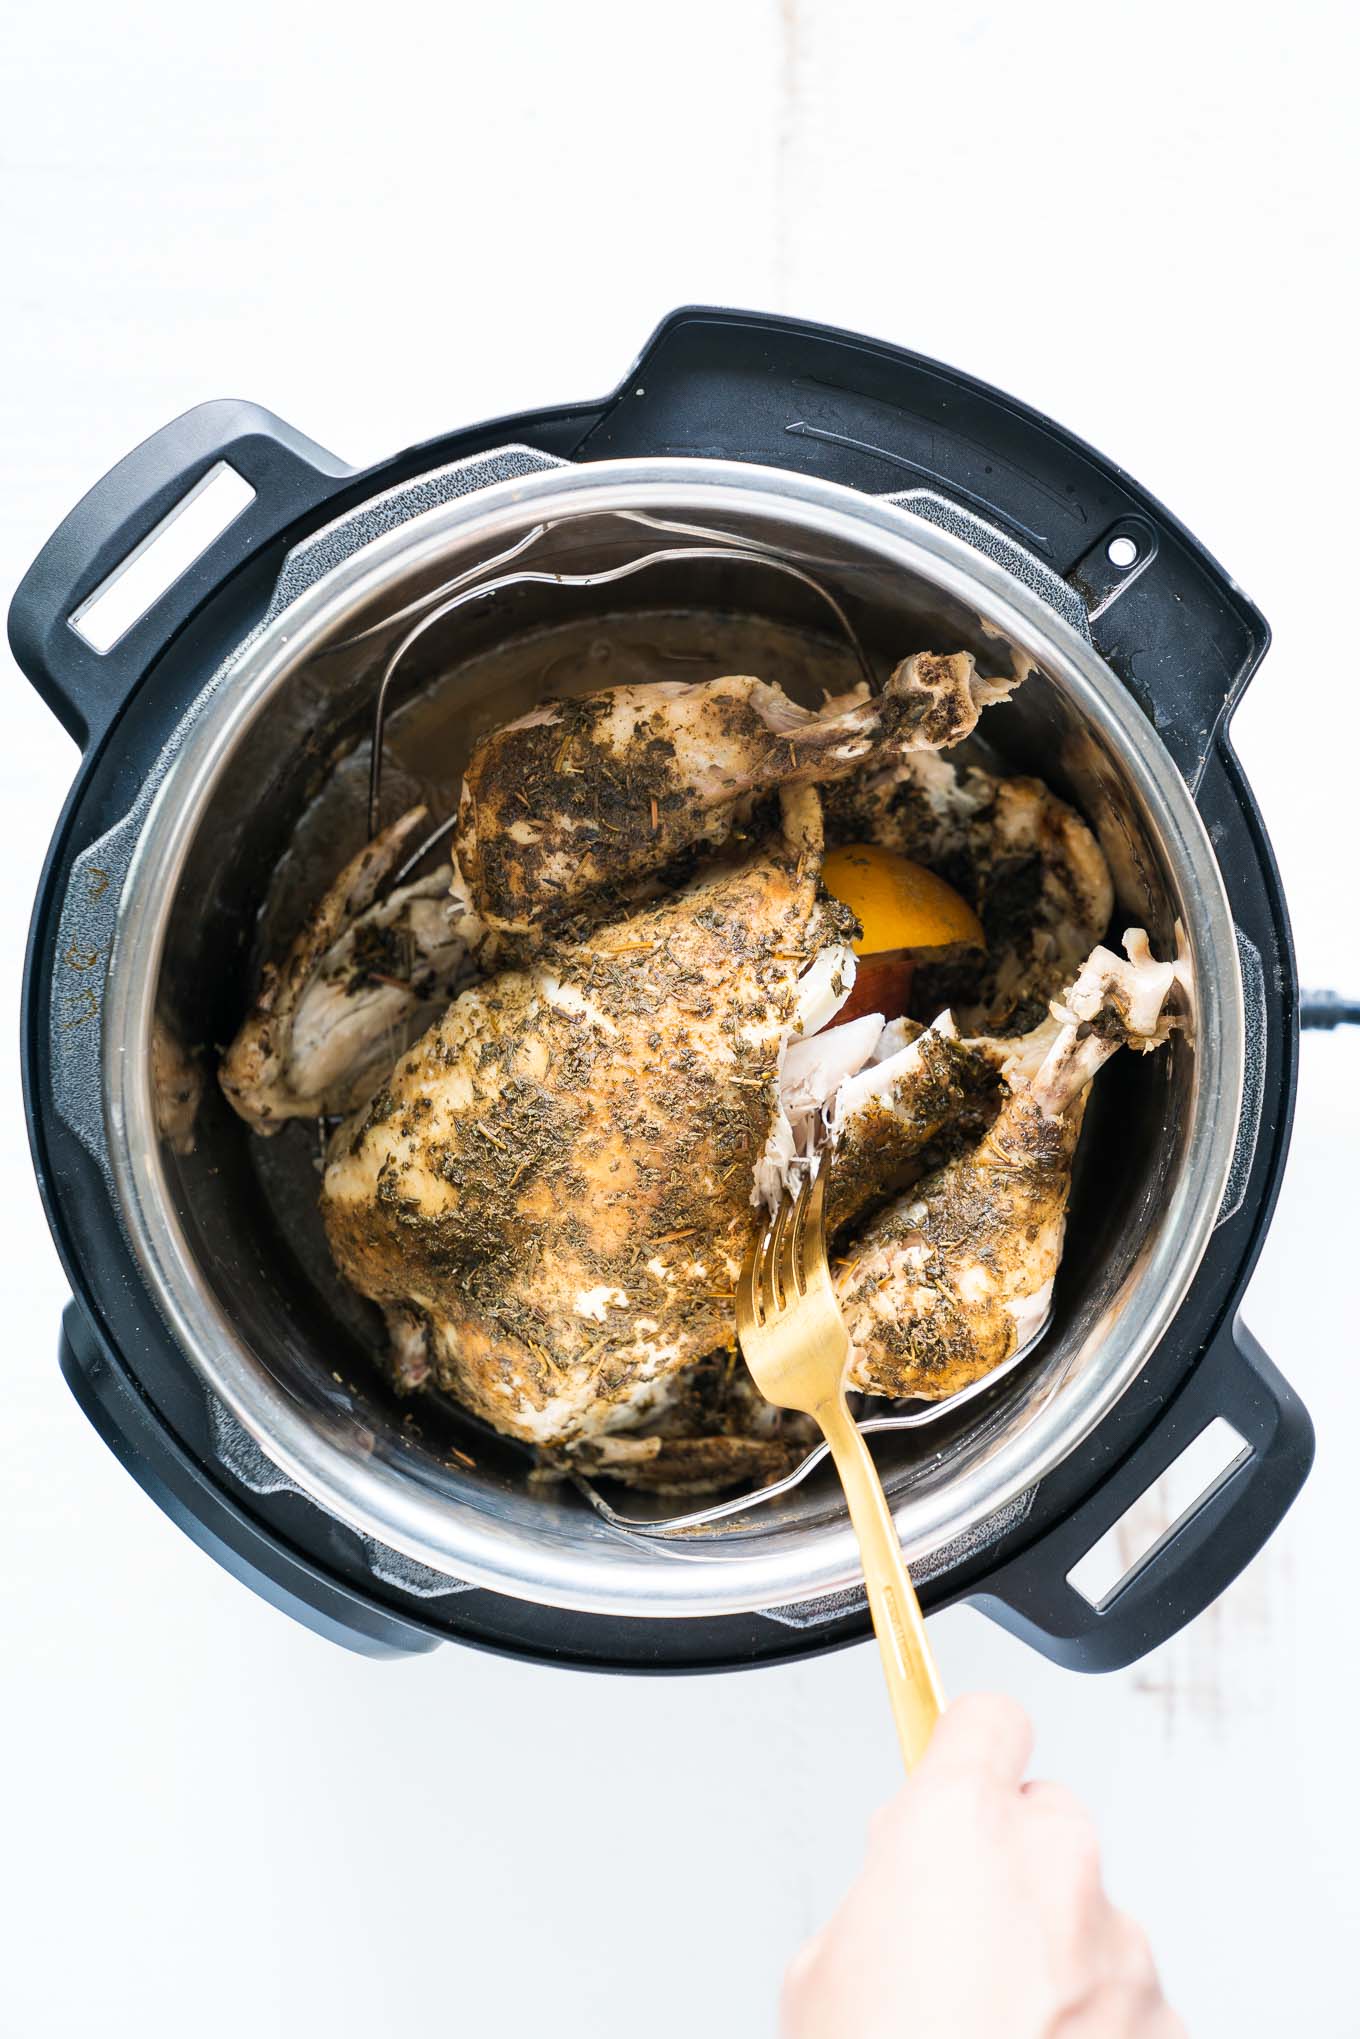
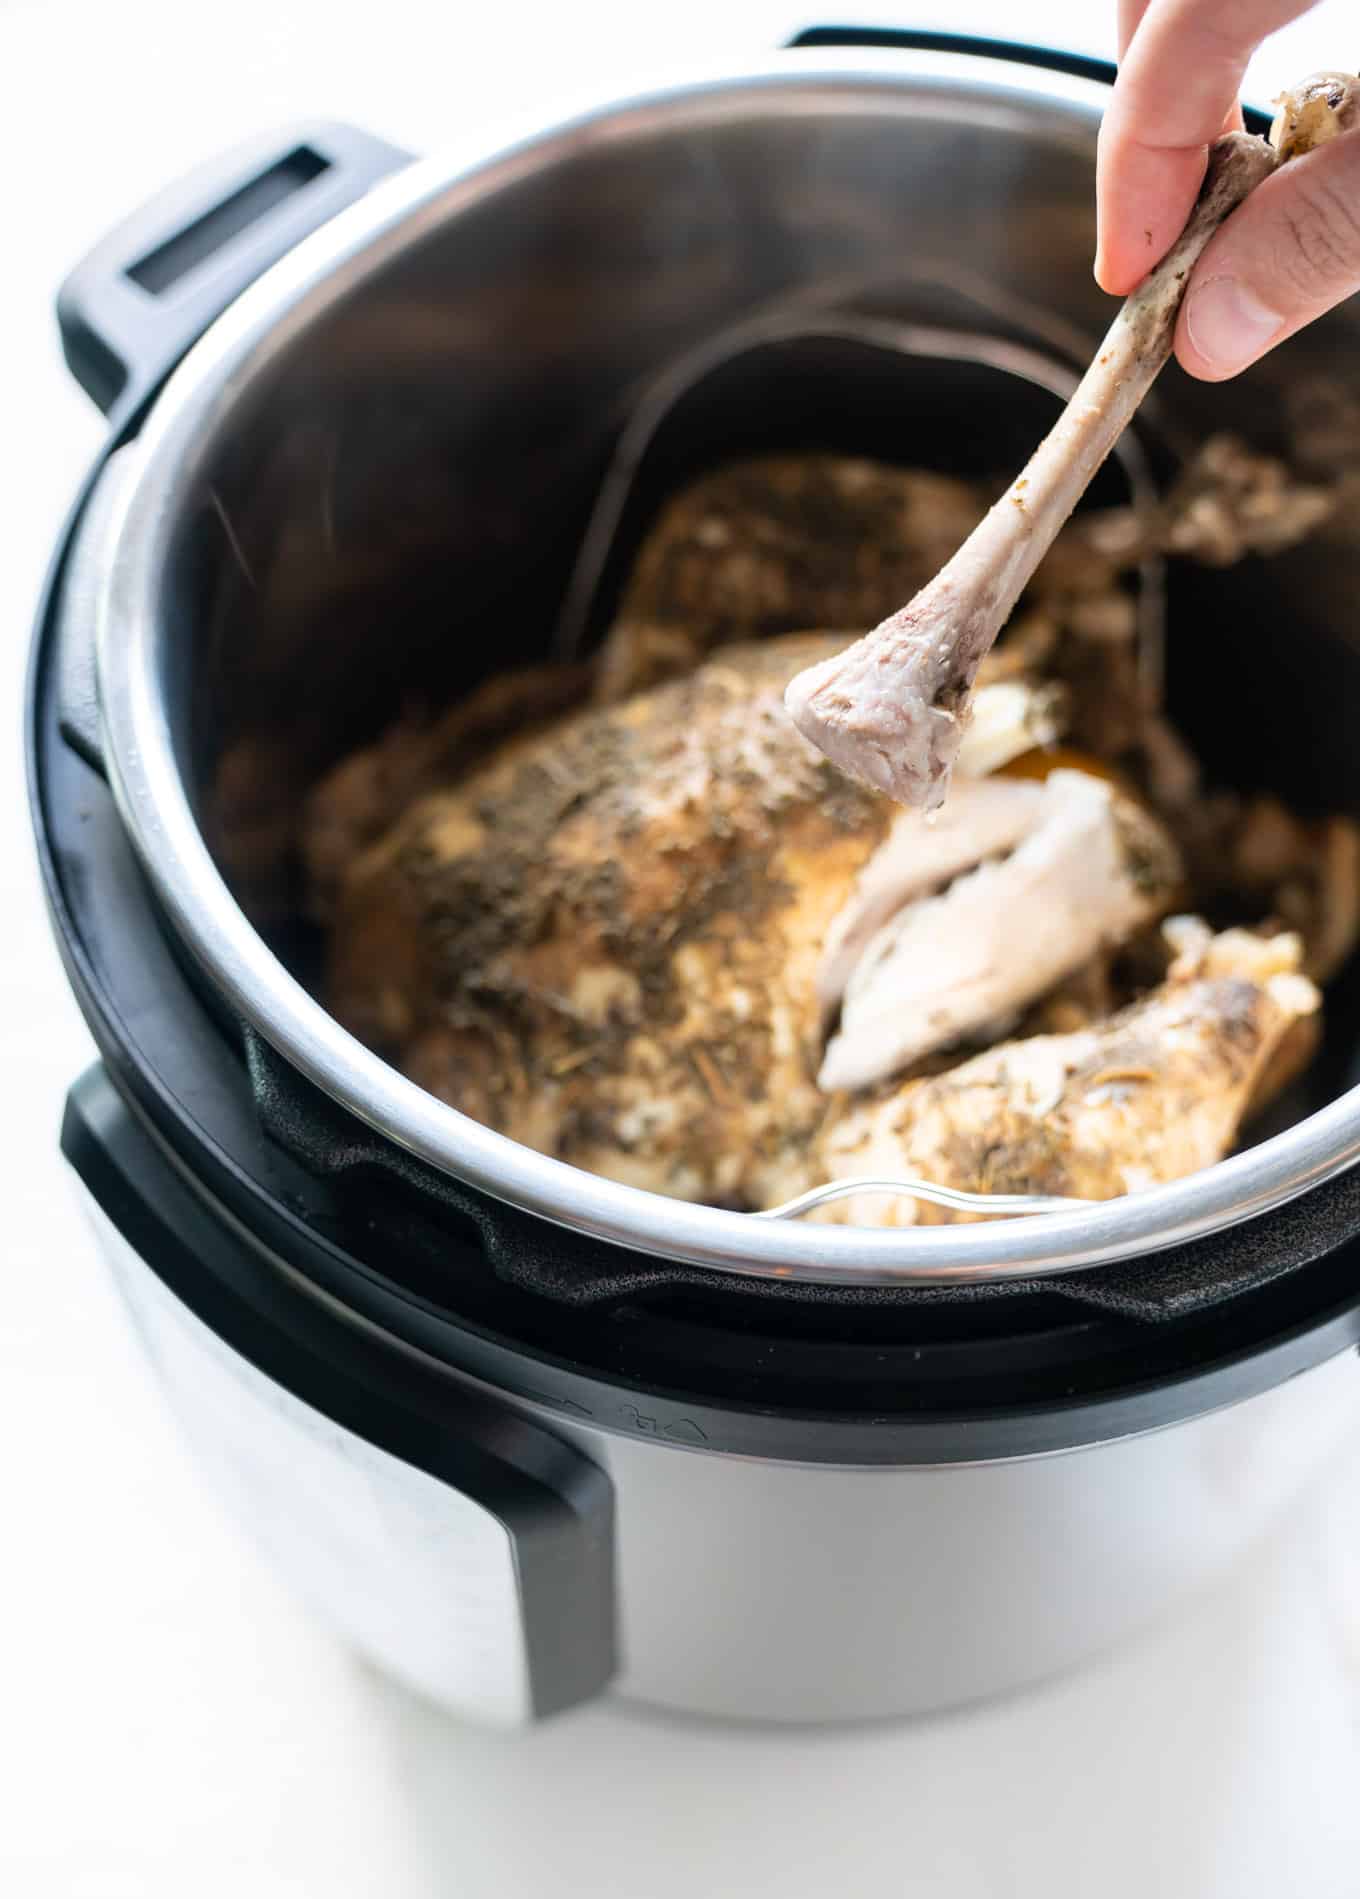
TIP: If you want to pick it apart and separate the bones from the meat, it is easiest to do this while the chicken is still warm. Once refrigerated, it becomes more difficult to separate these pieces.
And don’t forget to…
- Save the bones – You can use these to make homemade bone broth later on. Just put them in a bag and store them in the fridge. Or if you don’t want to make bone broth right now / don’t have enough bones saved (in case of a very small bird) then you can store them in the freezer for later use.
- Reserve the cooking liquid at the bottom - strain out and set aside, you can use this flavorful liquid to add to the bone broth too. Let it cool in the fridge and you’ll see it gels up, jiggling like Jello. This is a great thing – it means there’s gelatin and collagen in it, not to mention a whole host of nutrients and minerals that got released from cooking bone-in meat. The fat will rise to the top and you’ll have the option to scoop this out and discard it. Much easier to do when it has chilled and separated from the bone broth.
Both of these are awesome ways to reduce food waste by re-purposing the bones and the cooking liquid into bone broth – which would normally run you anywhere between $9-14 for just a few cups!
Here’s a list of the tools I used in this recipe:
FYI these are affiliate links – which means if you use these links I will make a small commission of whatever you purchase. The price of the item remains the same whether or not you use this link and it's at zero additional charge to you. All commissions support this blog.
.
MORE HEALTHY CHICKEN RECIPES:
- Crockpot Salsa Chicken
- Yogurt Marinated Greek Chicken
- Instant Pot Chicken Tortilla Soup
- Green Chicken Enchilada Casserole
Instant Pot Whole Chicken
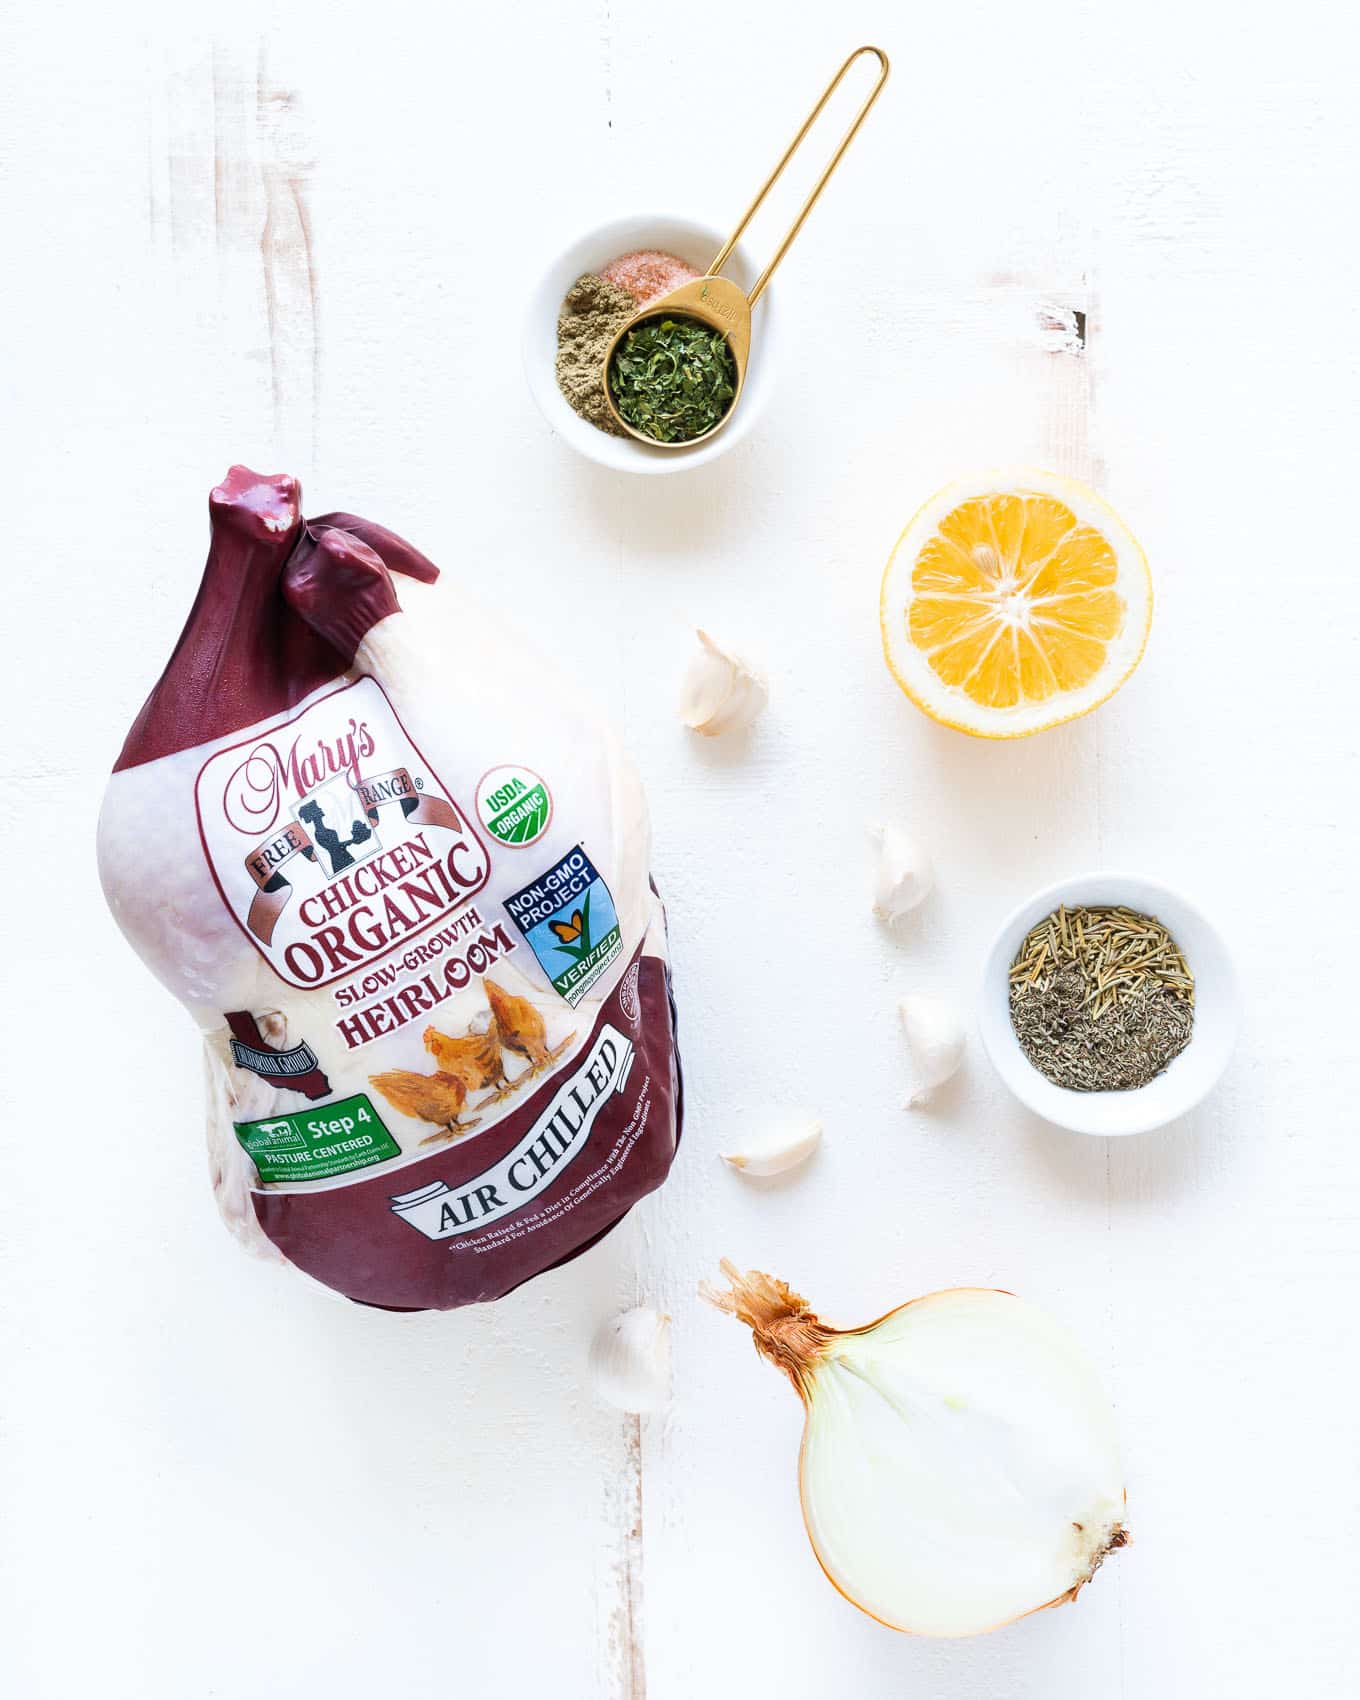
Ingredients
- 1 whole chicken
- 1 c water
- ½ tbs dried parsley
- ½ tbs dried thyme
- ½ tbs dried rosemary
- ½ tbs ground sage
- 12 teaspoon salt
- 4 cloves garlic lightly smashed
- ½ onion*
- ½ lemon*
Instructions
- WEIGH THE CHICKEN / MAKE SURE IT FITS IN THE POT: This is important because it will help determine a more accurate cooking time AND if you can cook it in your instant pot. First check to make sure the chicken fits into your pot WITH the trivet insert (you don’t have to be worried about the ⅔ fill line, just make sure the entire bird easily fits into the pot with the lid on). Then determine the weight. If you don’t have a kitchen scale then see if the butcher can tell you the weight when you are purchasing it (or check the price sticker to see if it says what the weight is).
- STUFF THE CHICKEN: Place the trivet insert into the bottom of the pot with the handles up and leaning against each side of the pot. Add water to the bottom. Then add the chicken, with the cavity facing up towards you. Stuff the chicken with the garlic, onion, and lemon. And season with the spice and salt mixture (you may find it easiest to mix this together in a small dish beforehand and then add the mix to the bird). Use your hands to get the spices evenly distributed.
- COOK THE CHICKEN: Add the lid and then set the venting knob to seal, pressure cook on high for 30 minutes (if using a 5 lb bird). Add 6 minutes for every pound more than that, and subtract 6 minutes for every pound less than that. Once done cooking, allow to natural release for 20 min before releasing remaining pressure. Serve immediately or store in the fridge in airtight containers. Can also pull apart (easiest to do while still warm) into “rotisserie” chicken shreds for using in salads etc.




Leave a comment, question, or rate this recipe