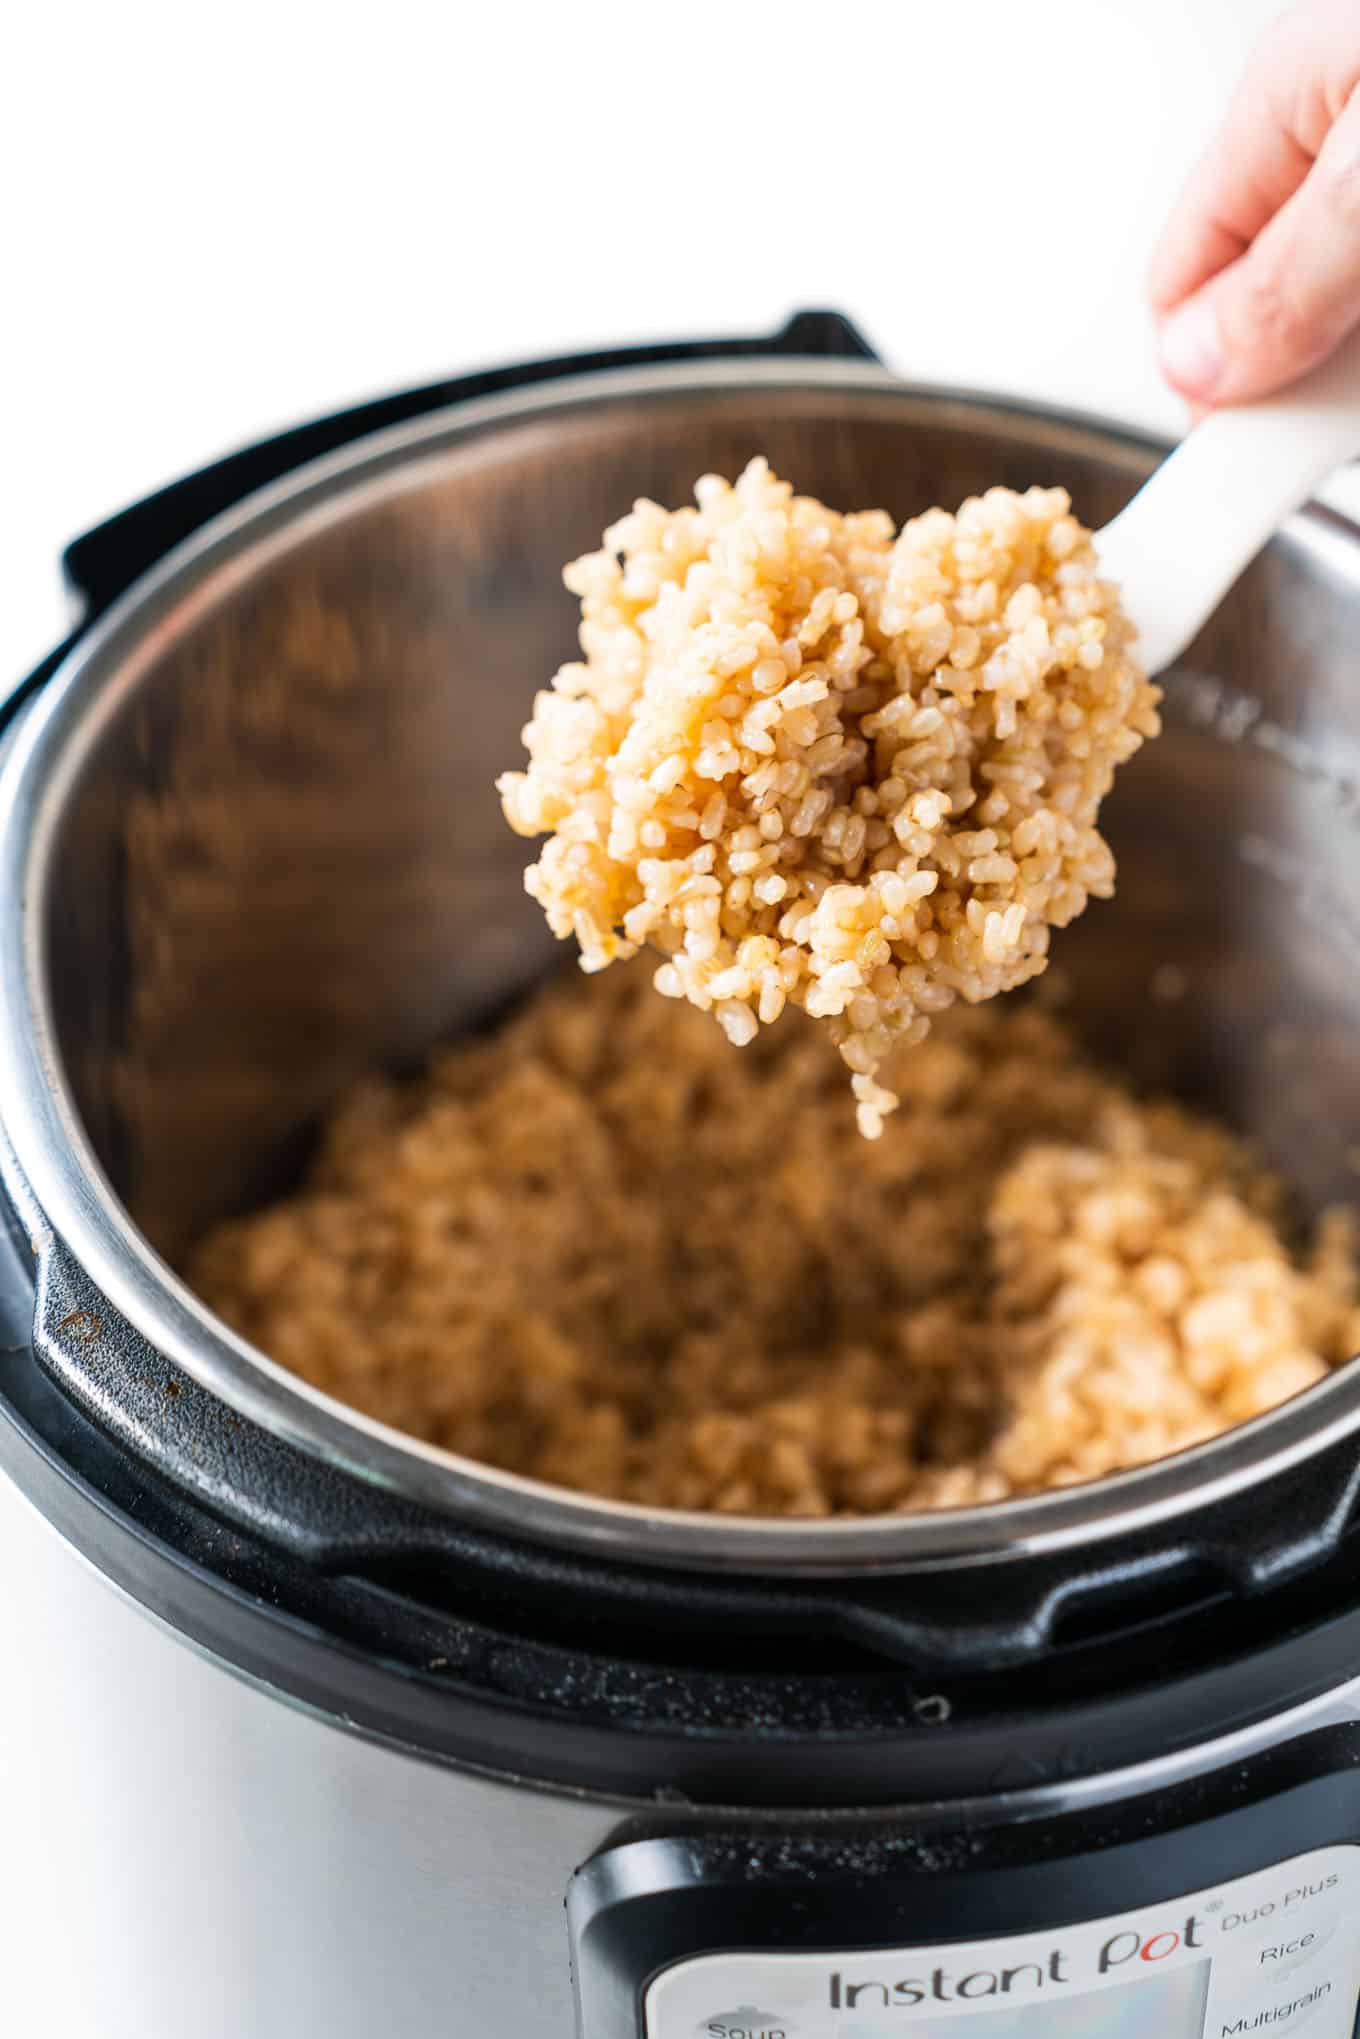
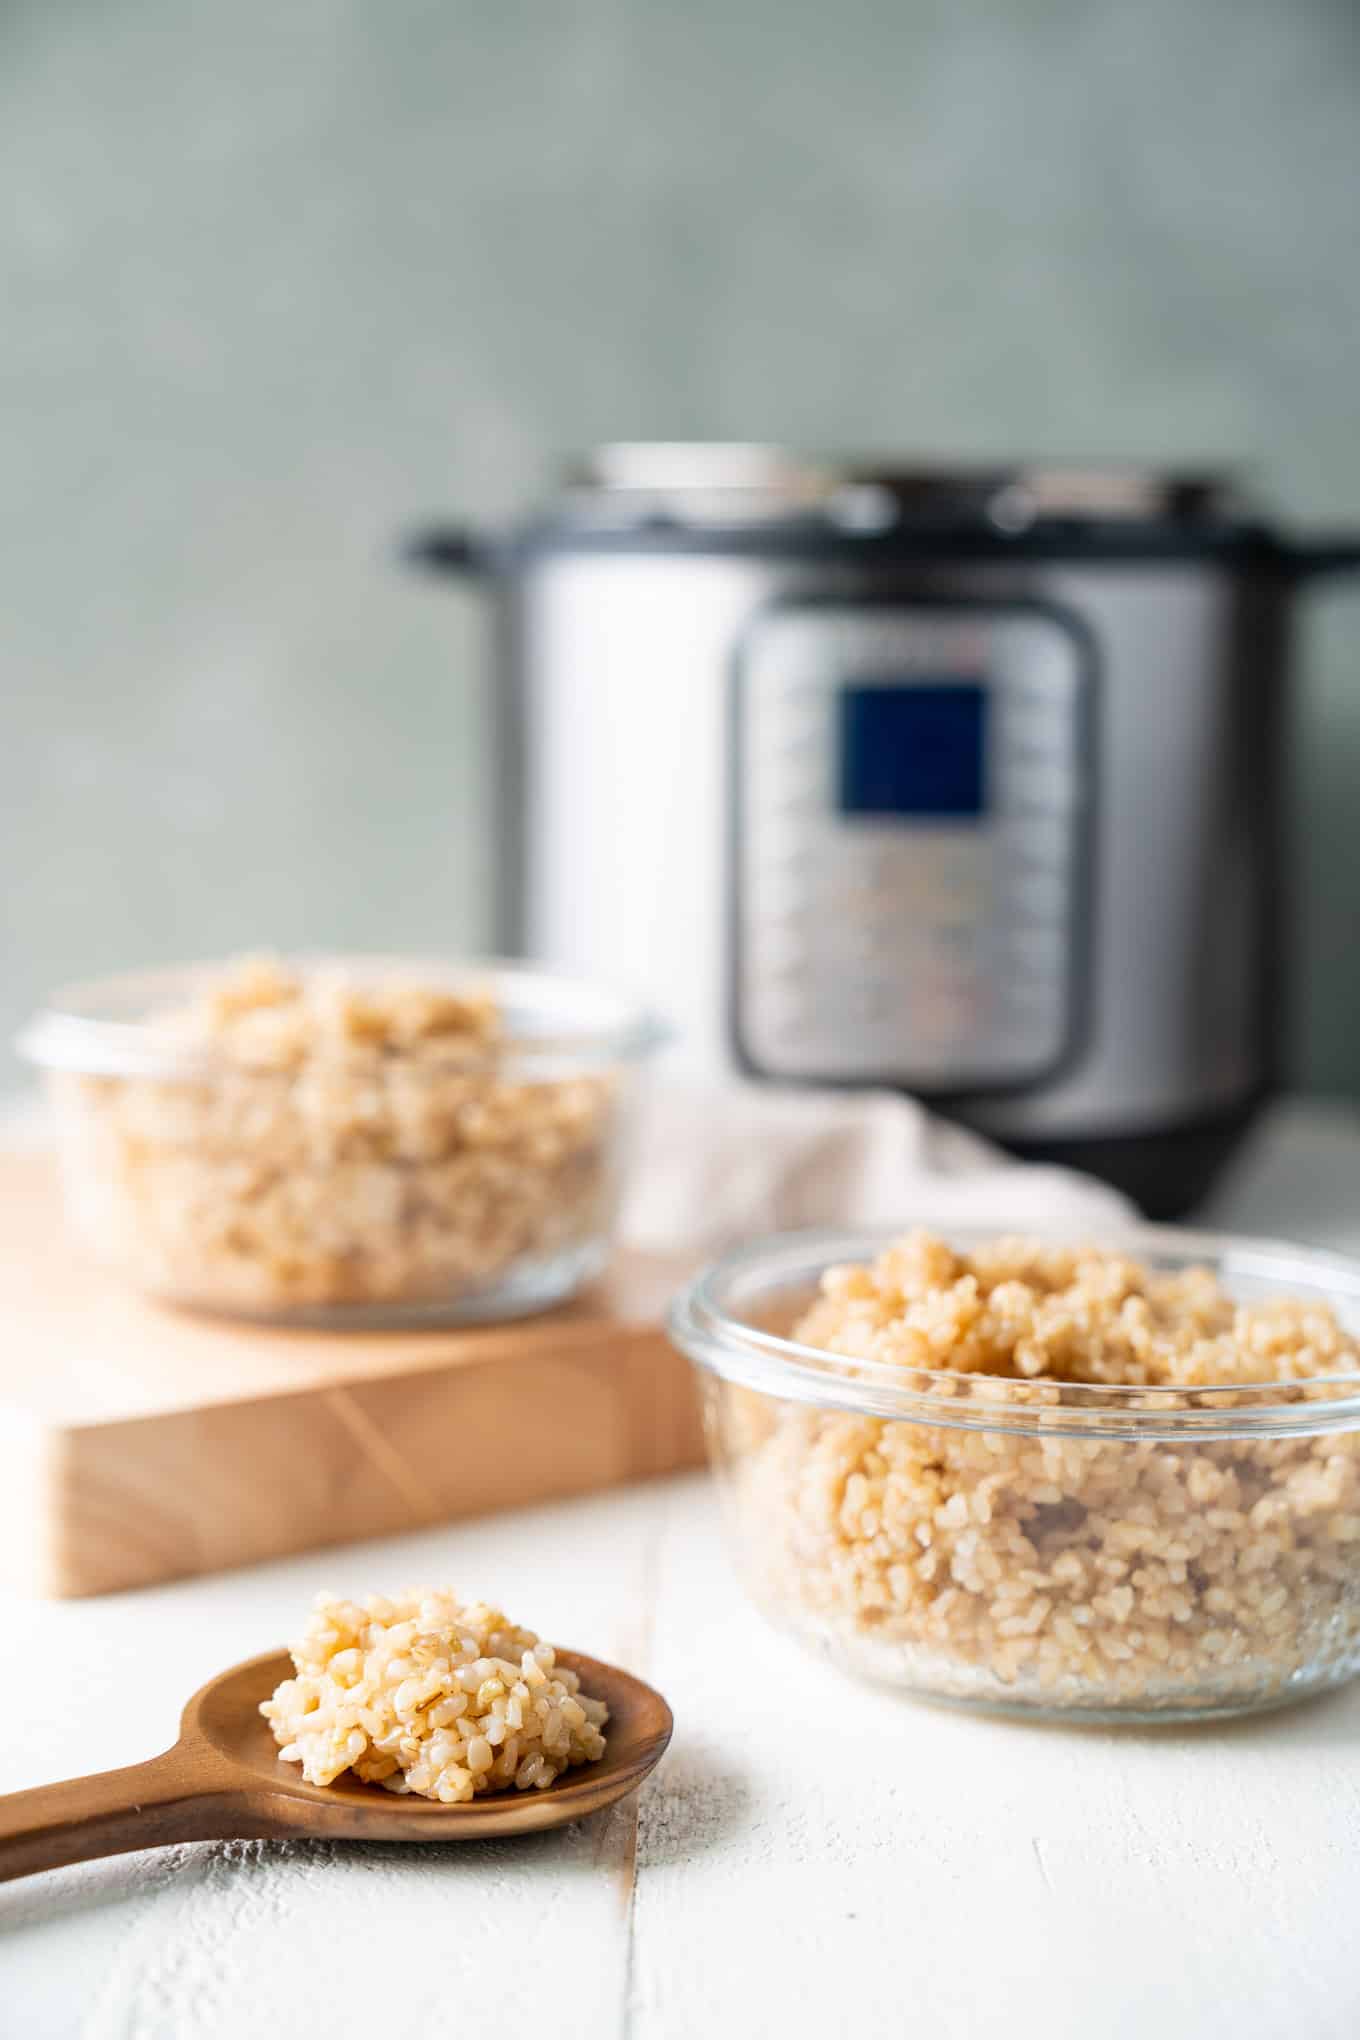
The easiest way to meal prep a big batch of brown rice is in the Instant Pot! The grains come out perfectly cooked every time – tender without being mushy or losing it’s texture. You can even double the recipe to make double the rice (such a time saver if you’ve got a lot of mouths to feed)!
Some meal prep looks like fully prepared meals, divvied up evenly into neat little containers, each totally ready to grab and eat throughout the week. Like these favorite fully prepped recipes:
- Meal Prep Burrito Bowls
- Black Rice + Butternut Squash Bowls
- Easy Overnight Oats
- Berry Green Smoothie Meal Prep Bags
But other meal prep looks like just making big batches of ingredients that you can use to get a jumpstart on meals you’ll make throughout the week. And that’s the kind of meal prep recipe that this is today!

The kind where you maybe don’t know what you’ll be in the mood to eat later on in the week - but you DO know you want to (1) keep your options open and (2) have some building blocks available so dinner comes together quickly. Whatever it is, whenever it is. You'll be ready.
It’s why I really like to cook big batches of protein or grains all at one time. And I love that I’ve found a way to do it in my Instant Pot so that I can retire another appliance (BYE-BYE rice cooker!!) and make some more space in my apartment-sized kitchen.
It feels like I get more consistent cooking results making it in the instant pot than on the stove top, plus I like that I don’t have to watch the pot to make sure it doesn’t bubble over.
Why would you want to cook such a big batch ahead of time?
Spend a little time now and save a ton of time later. I’m a big fan of the “cook once, eat twice” rule. So meal prep that allows me to stretch “twice” out to three, four, maybe even five times…that’s the ULTIMATE kind of recipe as far as I’m concerned.
If you’ve never tried meal prepping before and are hesitant to give it a whirl, just imagine for a second what your answer to this next question would be. What would your life be like if you could spend less time in the kitchen? What would it feel like to have more hours and more energy to devote to something else after work besides whats-for-dinner?
If that kind of freedom sounds like a sweet deal to you – then I HIGHLY encourage you to give it a try. Start small. It doesn’t have to be every meal, for a whole week. You can pick just one meal OR if you really just wanna test the waters – try picking just one component you’d normally make fresh from scratch on the day that you intend to eat it.
For example some great, healthy carbohydrate sources to prep ahead include – oats, quinoa, lentils, black beans, and brown rice.
Is brown rice “healthier” than white rice?
They two are very similar in terms of their macronutrient profile – with essentially identical amounts of carbohydrates, protein, and fat. What makes them different is how they are processed upon harvesting.
A grain of rice has several parts to it:
- the hull
- the bran
- the germ
- the endosperm
Each grain is a seed that could sprout into a new plant – these seeds are also called kernels. In whole grains the outer hull protects the kernel from the elements. It is not edible, which is why it is removed from both brown & white rice. However - the bran, the germ, and the endosperm are all edible.
The bran contains fiber, antioxidants, and B vitamins. The germ (the embryo inside the kernel) contains B vitamins, minerals, healthy fats, and a bit of protein. The endosperm (which makes up the largest part of the kernel) is the food supply that feeds the embryo (germ) – it contains starchy carbohydrates, proteins, and small amounts of vitamins & minerals.
In order for something to be considered a “whole grain” then all three of the edible portions must be kept in tact after processing. In brown rice (a whole grain) you get the bran + the germ + the endosperm. But after the refining process, white rice is only left with the endosperm.
Without the bran and the germ – you’re missing out on valuable fiber, protein, and nutrients. And while some companies sell enriched white rice to add nutrients back into the grain - it only does so with four of them (and it elevates them past levels naturally found in rice).
This graphic is really helpful at demonstrating the loss in nutrients when you go from a whole grain to a refined grain.
Is the instant pot cook time the same for white rice as brown rice?
I find that you need to cook white rice a bit longer (about 23 minutes) - and I'd be remiss if I didn't tell you to wash your white rice first! Rinse it until the water runs clear.
I'm Asian American and grew up eating a lot of Filipino-influenced dishes as a kid. And rice was on the table every week. Lots of white rice, which I still eat often in our house.
Rice in general is a huge staple food in my own kitchen today too. It’s super versatile and can be easily flavored to suit whatever cuisine you’re in the mood for that day – whether that happens to be a spicy burrito bowl, a garlic-ginger stir-fry, a refreshing citrus salad, or a warming curry dish.
So that no matter what I want to make - a salad, a stir-fry, some tacos, a hot macro-bowl, or a cold wrap – I’ll have what I need. All I have to do is change up the spices, sauces, veggies, and protein and I’ve got dozens of potential combinations at my fingertips.
Here’s a list of the tools I used in this recipe:
FYI these are affiliate links – which means if you use these links I will make a small commission of whatever you purchase. The price of the item remains the same whether or not you use this link and it's at zero additional charge to you. All commissions support this blog.
.
MORE MEAL PREP RECIPES:
- Meal Prep Burrito Bowls
- Black Rice + Butternut Squash Bowls
- Easy Overnight Oats
- Berry Green Smoothie Meal Prep Bags
- Baked Lemon Pepper Asparagus

Instant Pot Brown Rice
Ingredients
- 2 cups brown rice
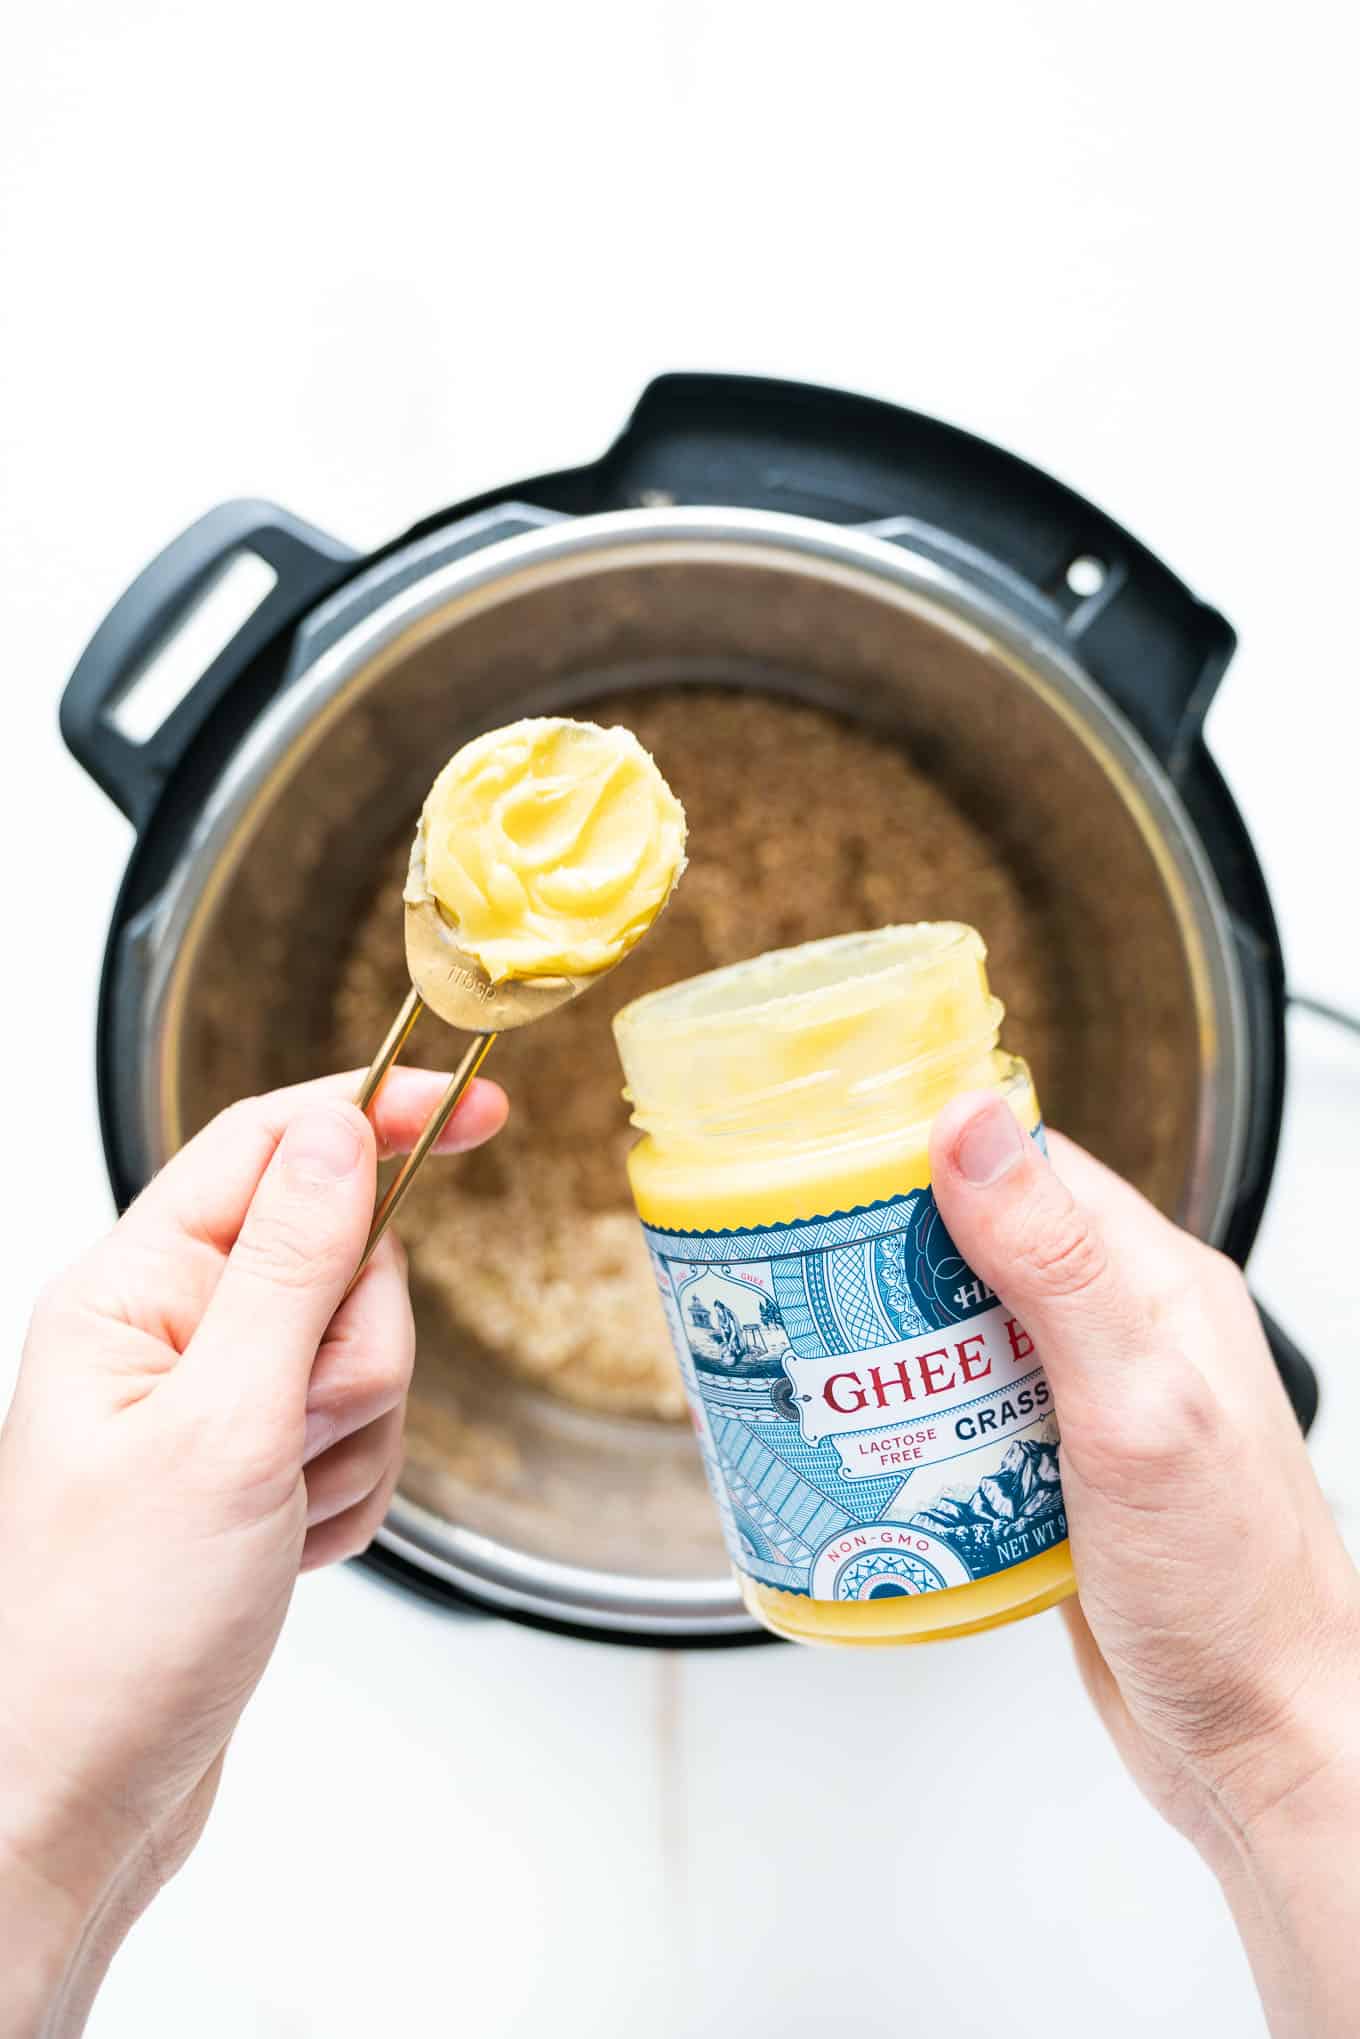
- 1 tbs ghee* optional
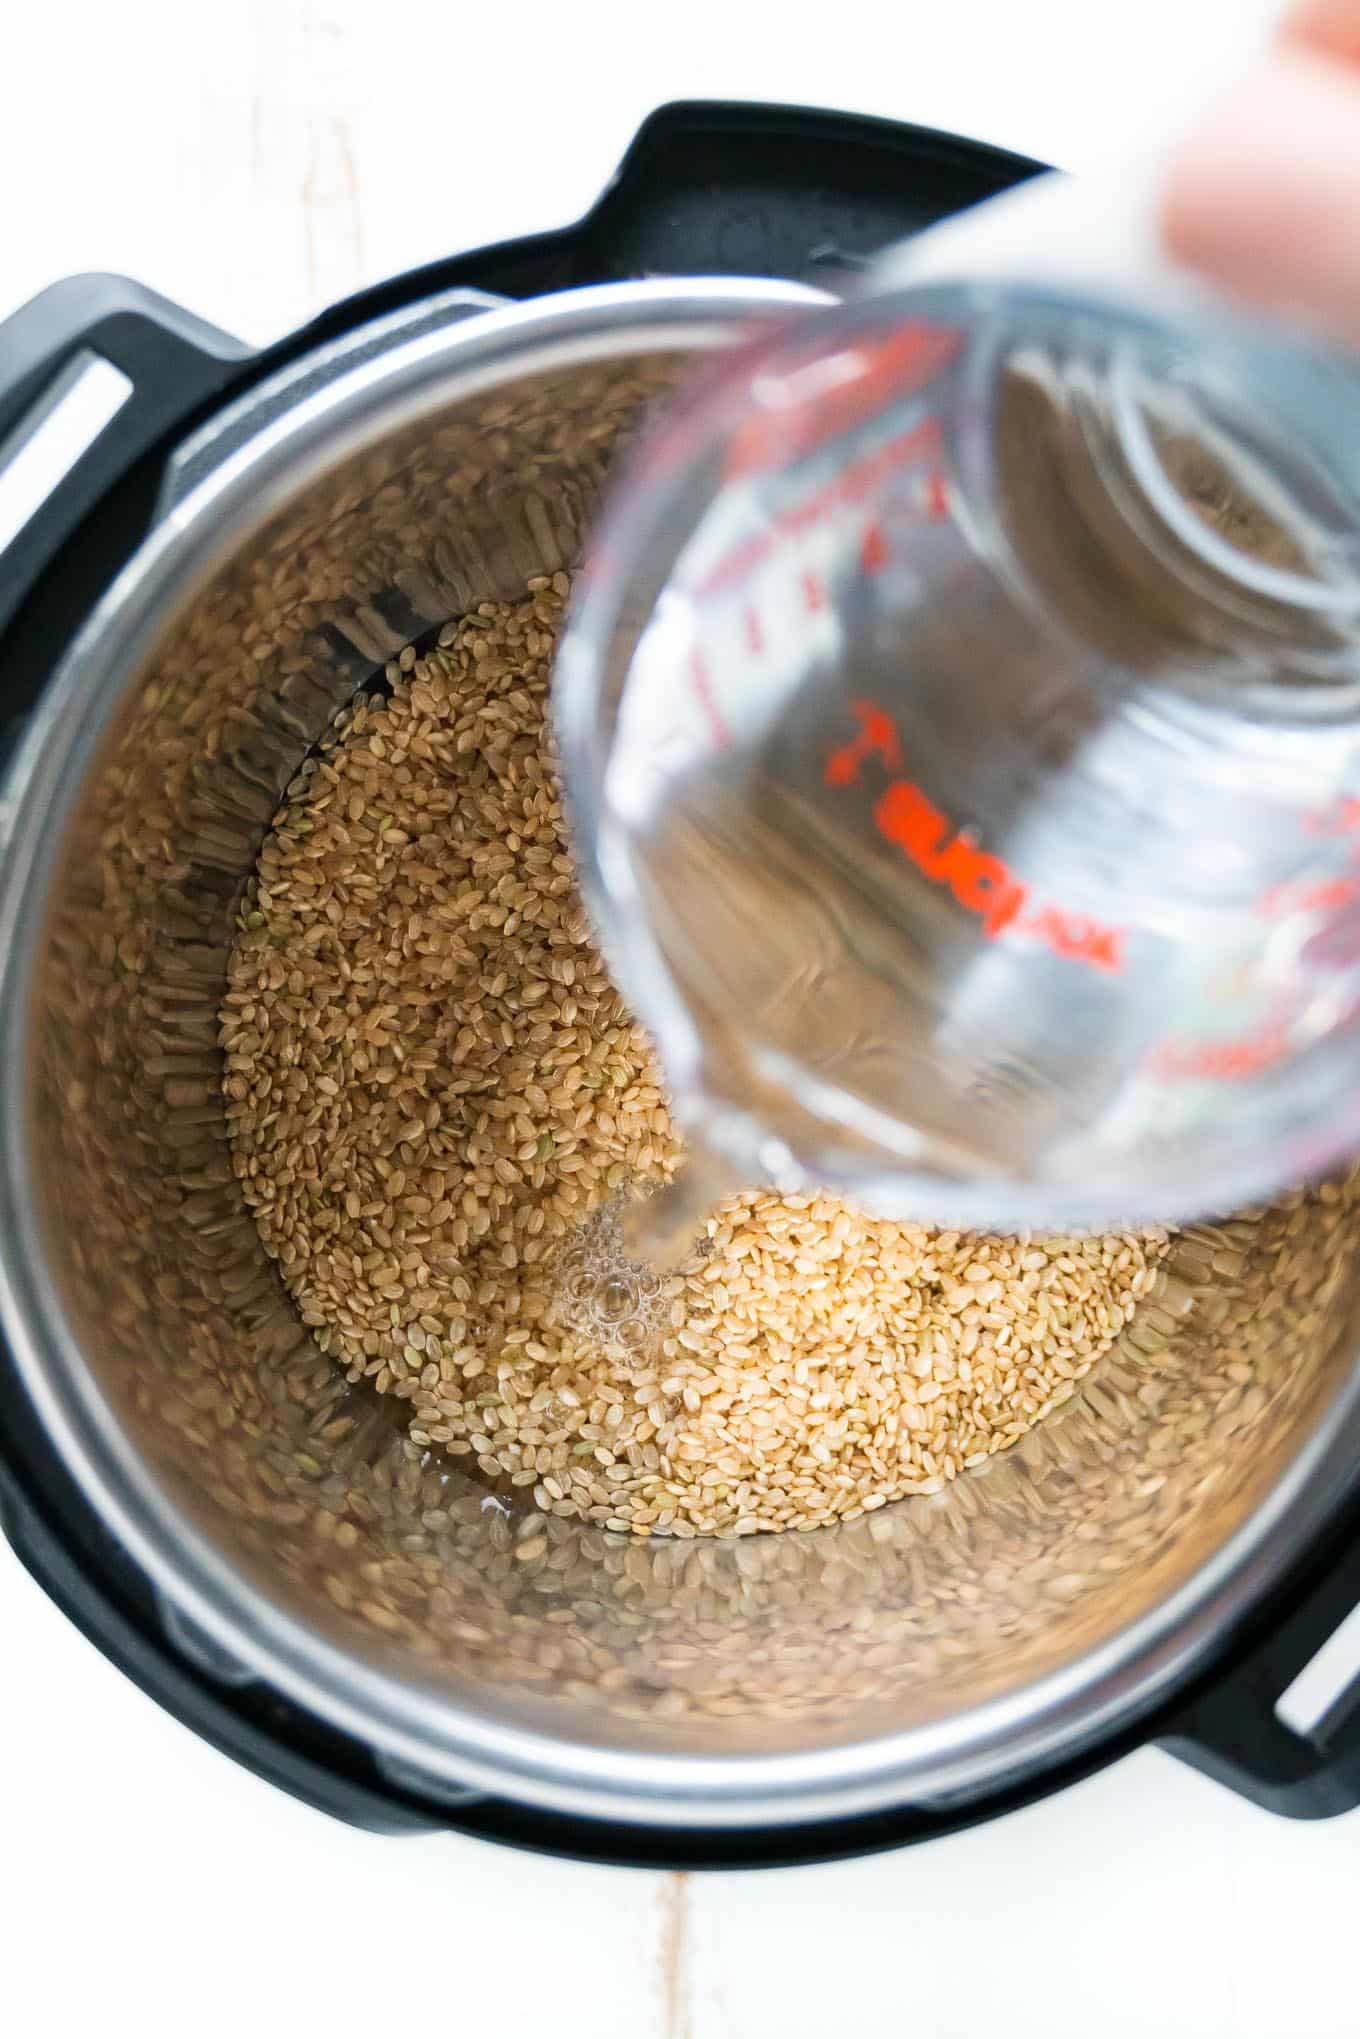
- 2 ¼ c water
Instructions
- ADD GHEE (OPTIONAL): This step is totally optional but I love the extra bit of flavor it gives to the rice. Set the instant pot to saute, and add the ghee. When melted, add the rice in and toast for a few minutes (stirring often) – until fragrant and lightly toasted. Turn off the saute function. You can also just melt the ghee and skip the toasting part - it still adds great buttery flavor without the extra time investment.
- COOK RICE: If you skipped step 1 then add the rice to the pot now. Then add water, stir until well combined. Put lid on instant pot and set venting knob to the sealed position. Pressure cook on high for 22 minutes.
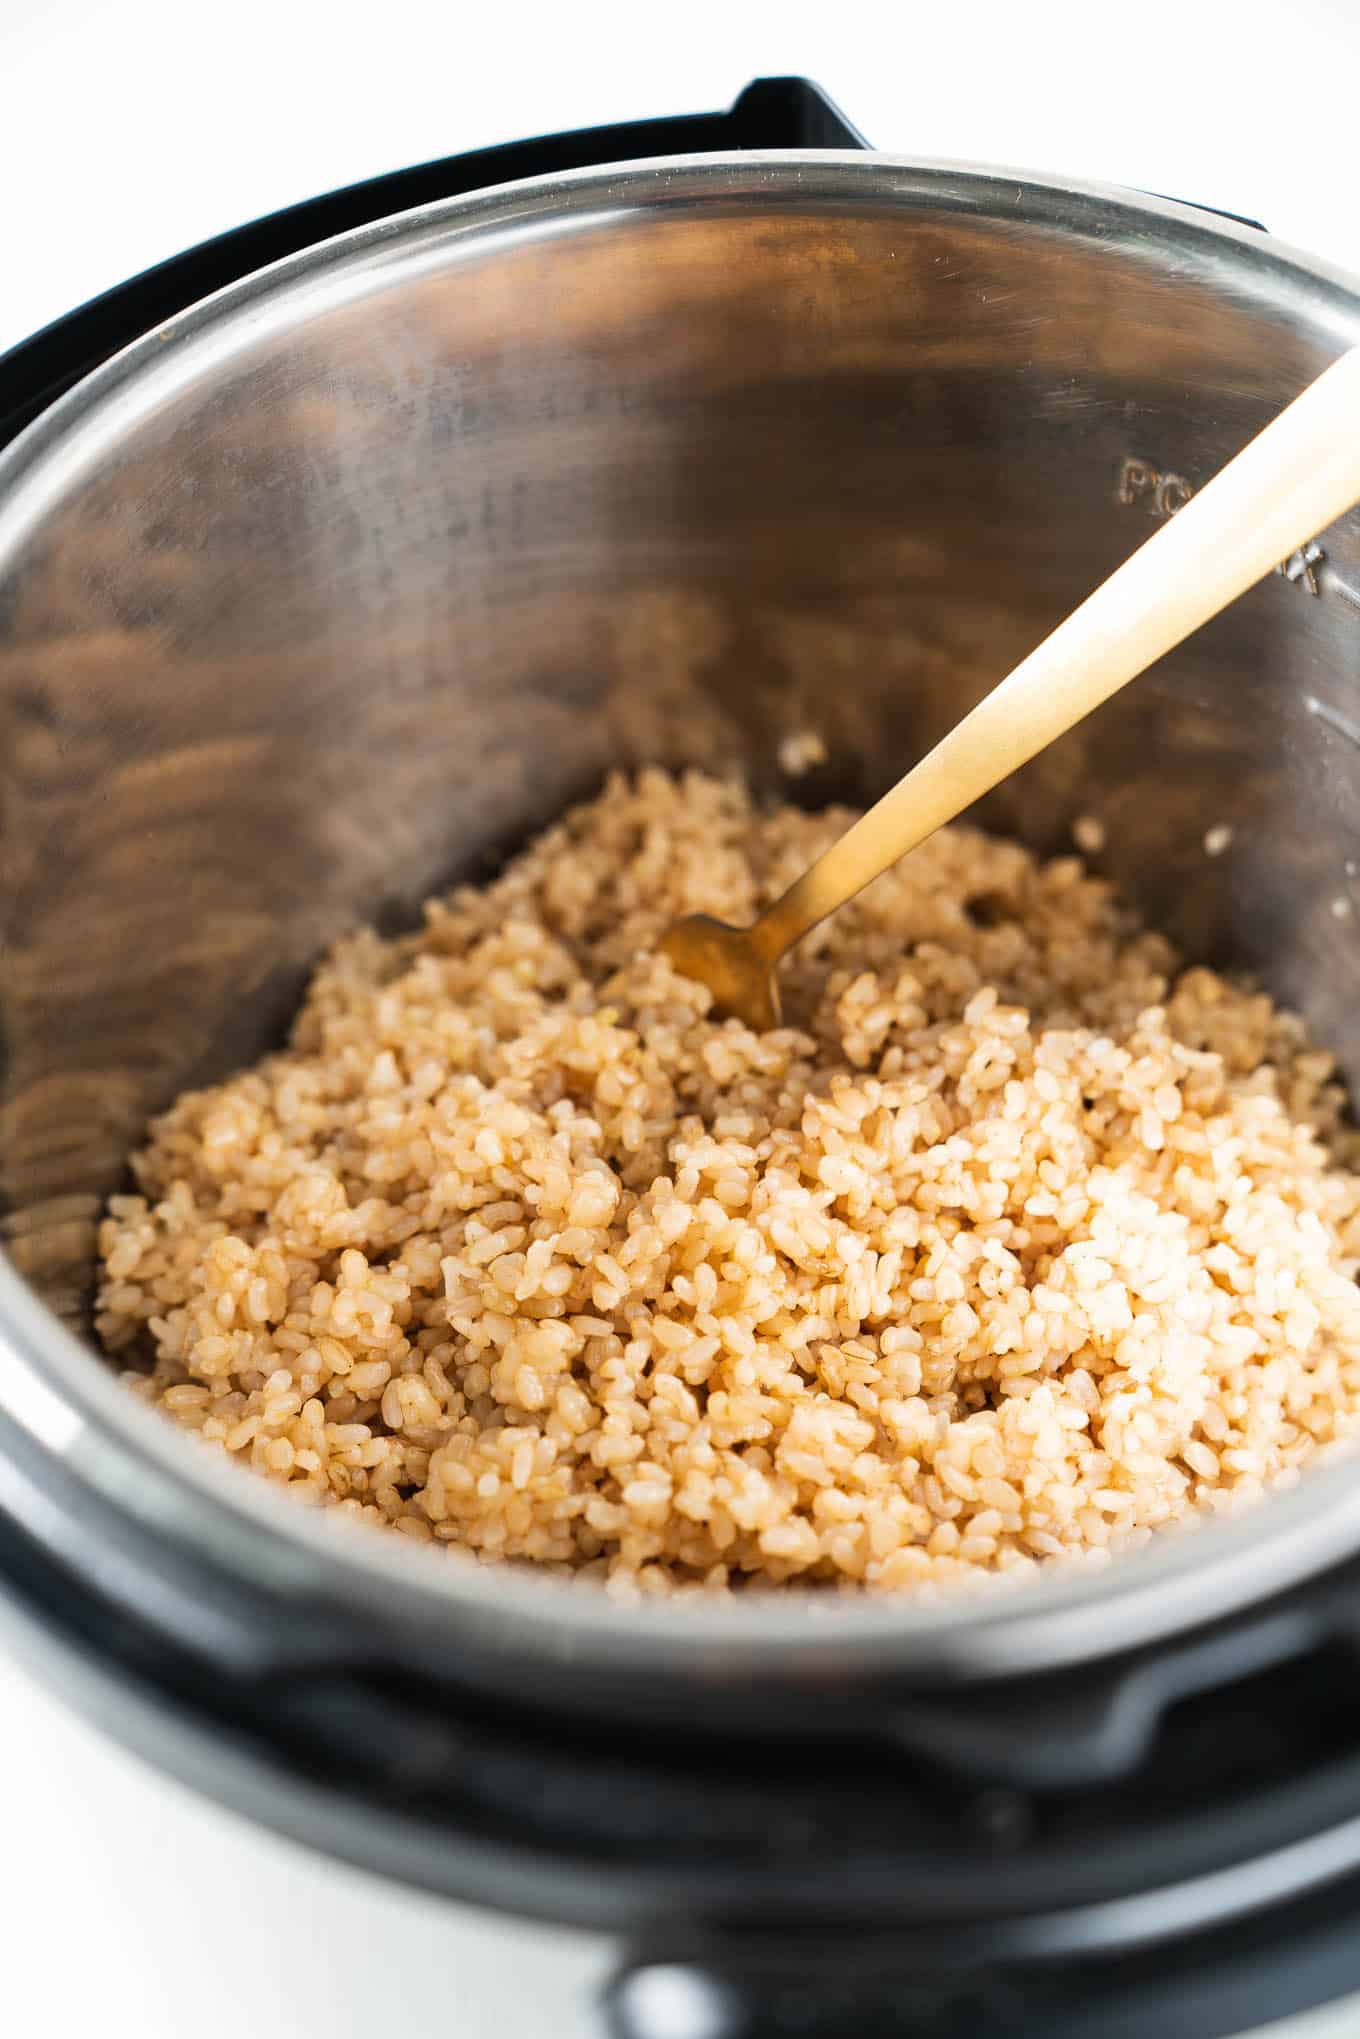
- NATURAL RELEASE: When the cook time is done make sure to either unplug the instant pot or turn it off the keep warm function. Then allow it to do a natural release for 15 minutes before flipping the venting knob to release the remaining pressure. Remove lid and fluff with a fork, then transfer to lidded containers and store in the fridge for up to a week.



Leave a comment, question, or rate this recipe