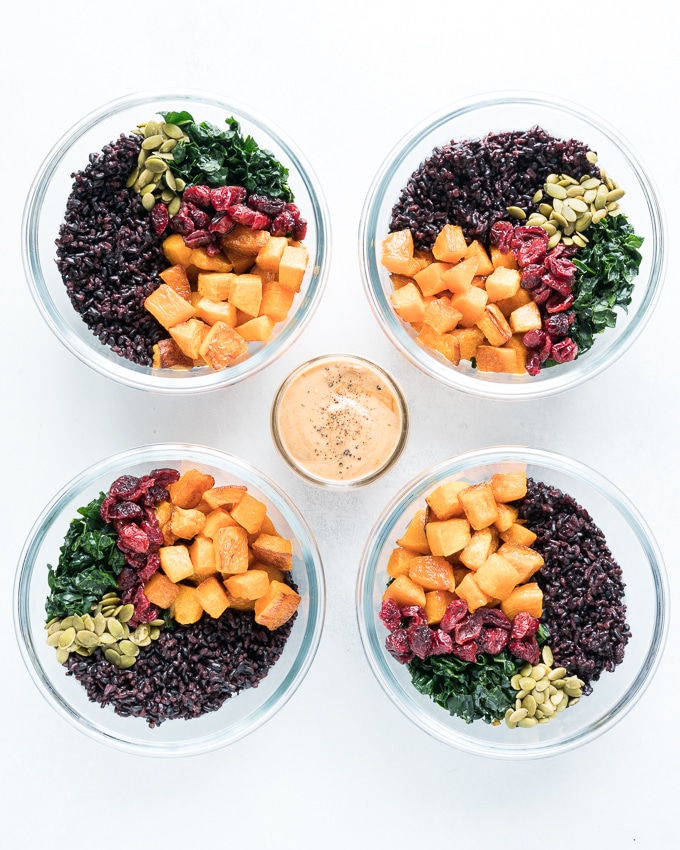
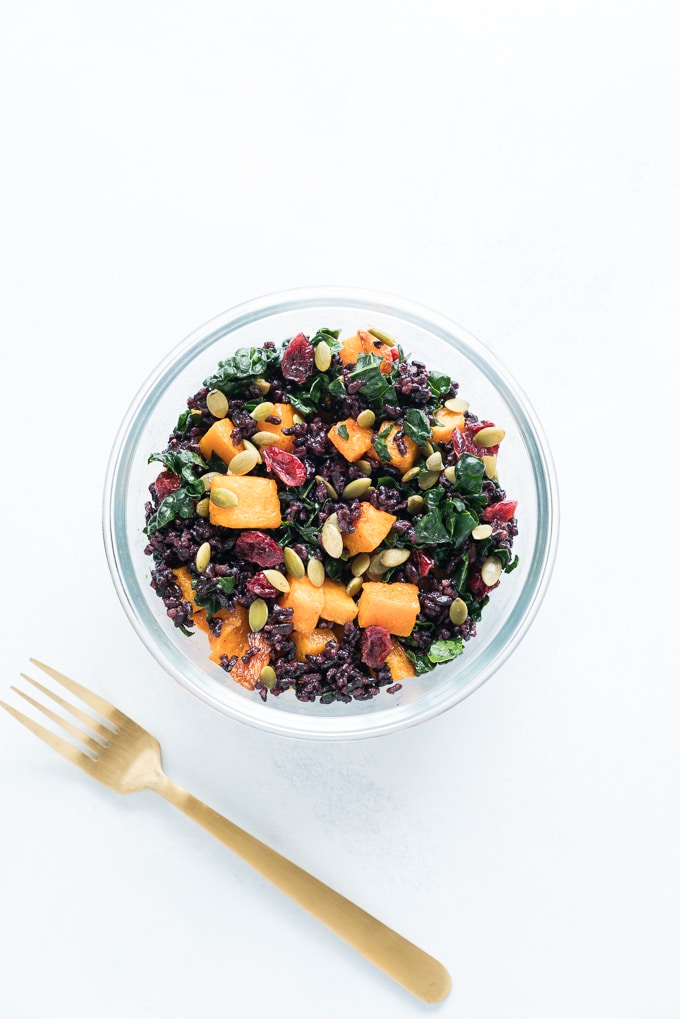
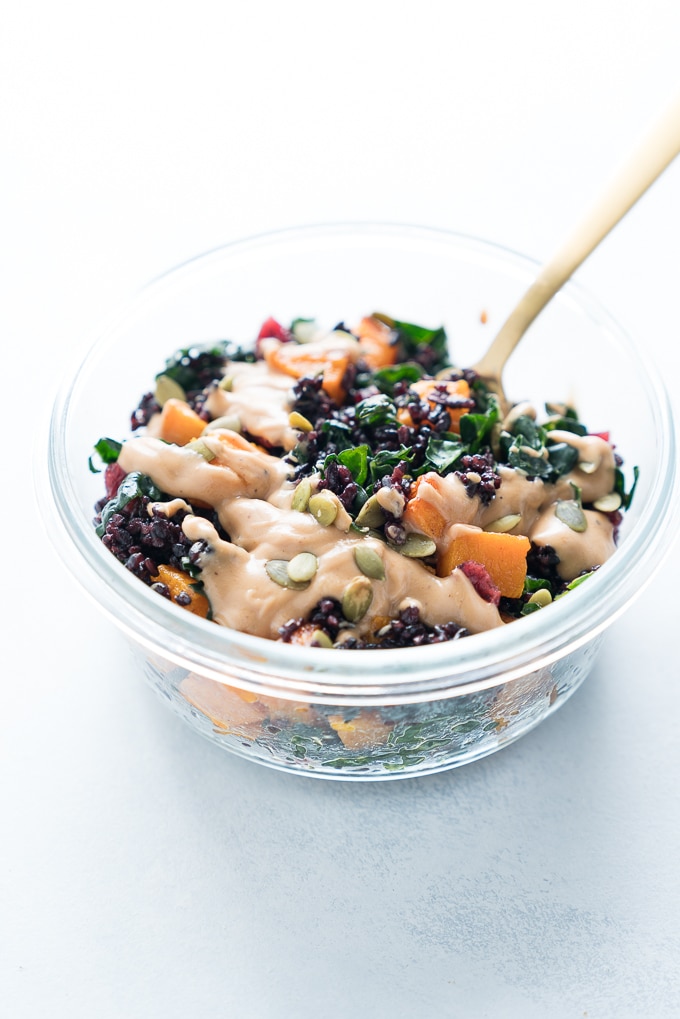
Today we're making these Black Rice and Butternut Squash Bowls! Super colorful, fall-meets-winter, feast for your eyes (and for your belly) kind of glow bowls that work perfectly for weekly meal prep.
FOUR days of lunches (or dinners) ready in just an hour and a half. That means at least four straight days of not having to cook one of your meals. Saving you precious time + valuable energy. Sounds pretty glorious, right??
This meal prep is vegan and vegetarian friendly but can also be easily converted for omnivores (like yours truly) by popping your protein of choice right up on top. Grilled chicken or some cubed roasted turkey breast are pretty great on this peanut-sauce inspired salad bowl. I wouldn't say no to some seasoned crispy tofu on top of here either.

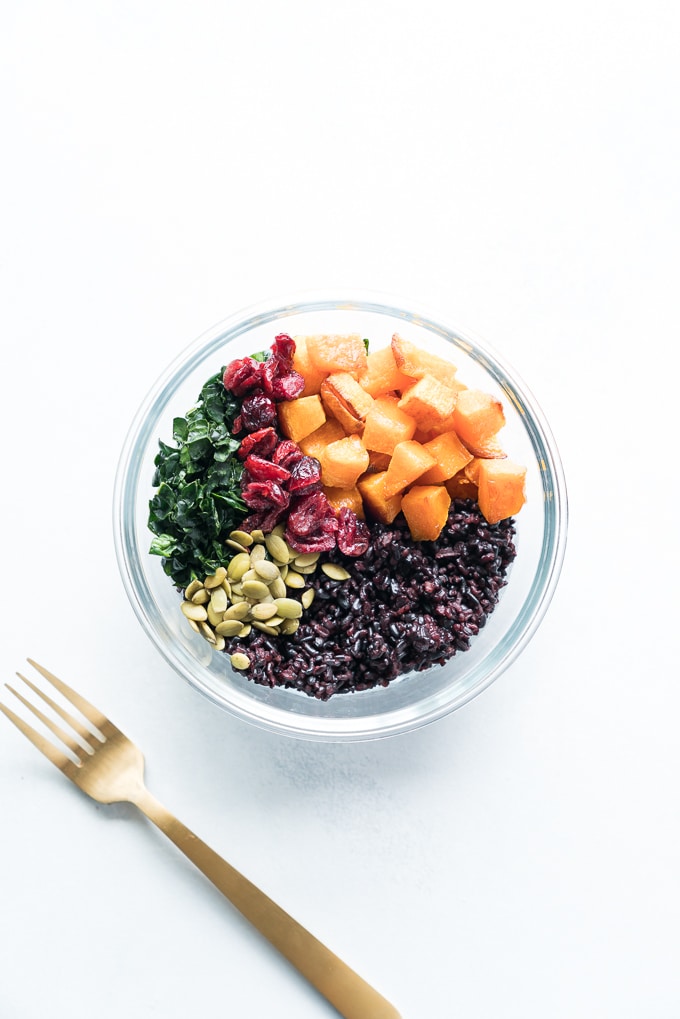
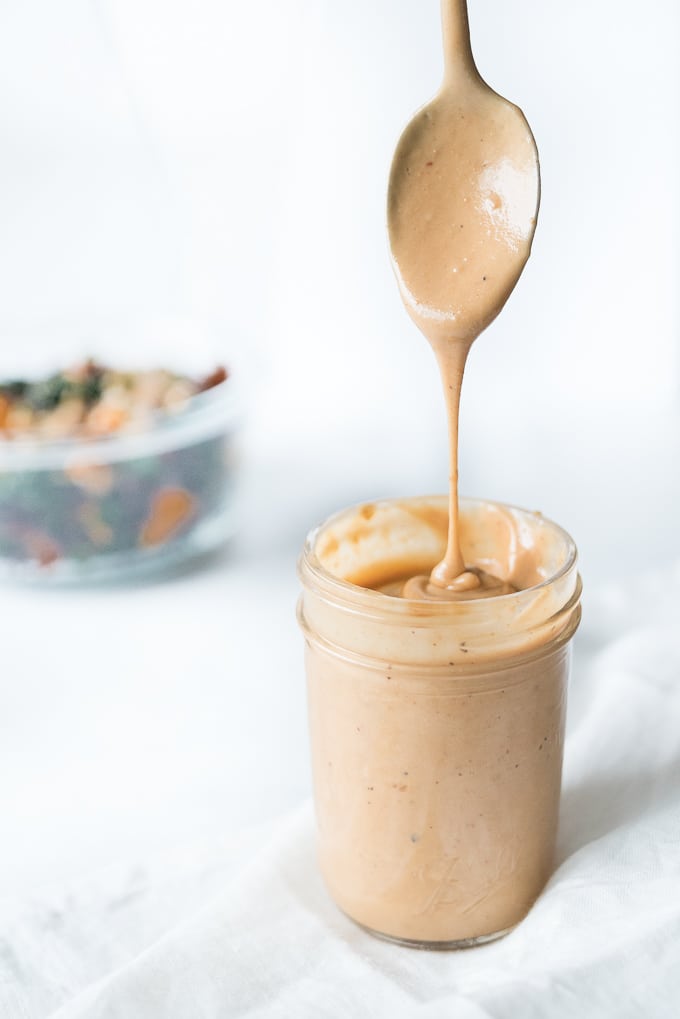
This healthy glow bowl recipe is packed with tasty seasonal ingredients. Like cozy roasted butternut squash + tart, chewy cranberries + crispy pumpkin seeds + toasty black rice + nutrient-dense kale. With a thick and saucy, creamy cashew dressing drizzled on top (to tie it all together and bring some major flavor to the party). Because if there’s one thing that I can’t stand, it’s a bland, boring, flavorless meal prep situation.
If you’re going to eat the same dish a few days in a row, then why not make it into something you can’t WAIT to eat again? Dressings and sauces always make restaurant food feel special and taste delicious, so they are one of the first places I turn to jazz up an otherwise plain set of ingredients. The creamy cashew dressing helps add some healthy fats into this hearty salad bowl, making it into a filling and satisfying meal.
RELATED: Mediterranean Salad Bowls
Let’s dive into a little Q&A before you get cookin…
Why do you have to "massage" the kale before adding to the bowl?
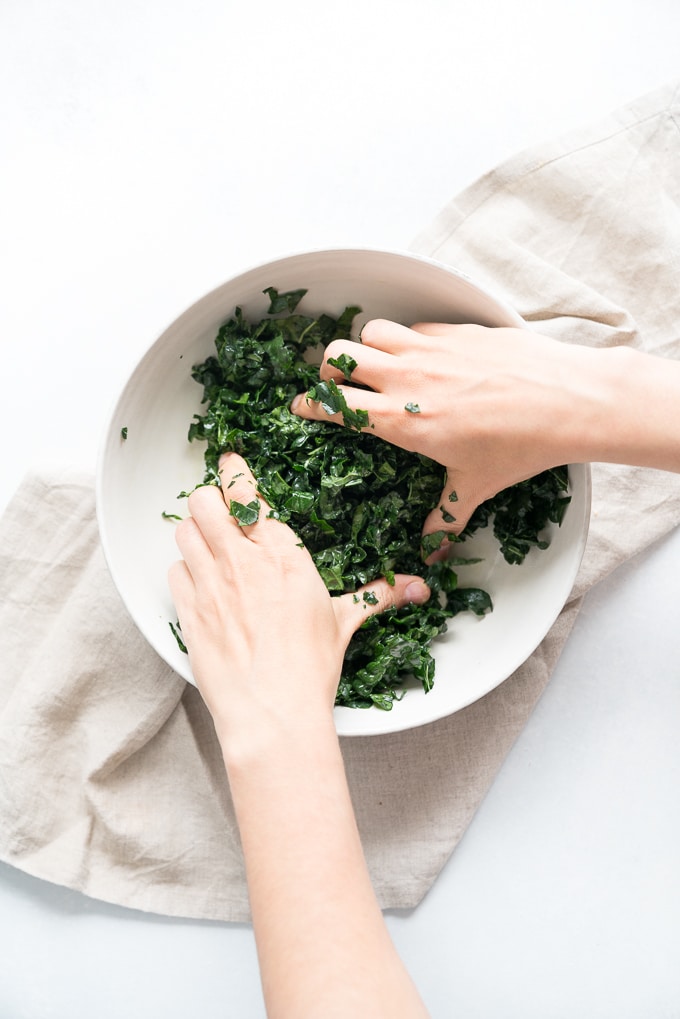
Massage the kale. I know. This sounds a little weird. And definitely more than a little creepy. But this is an awesome trick I learned from watching one of Aarti Sequeira’s episodes on Food Network. She showed her viewers how to “massage” the kale so that tenderizes the raw greens without having to cook them.
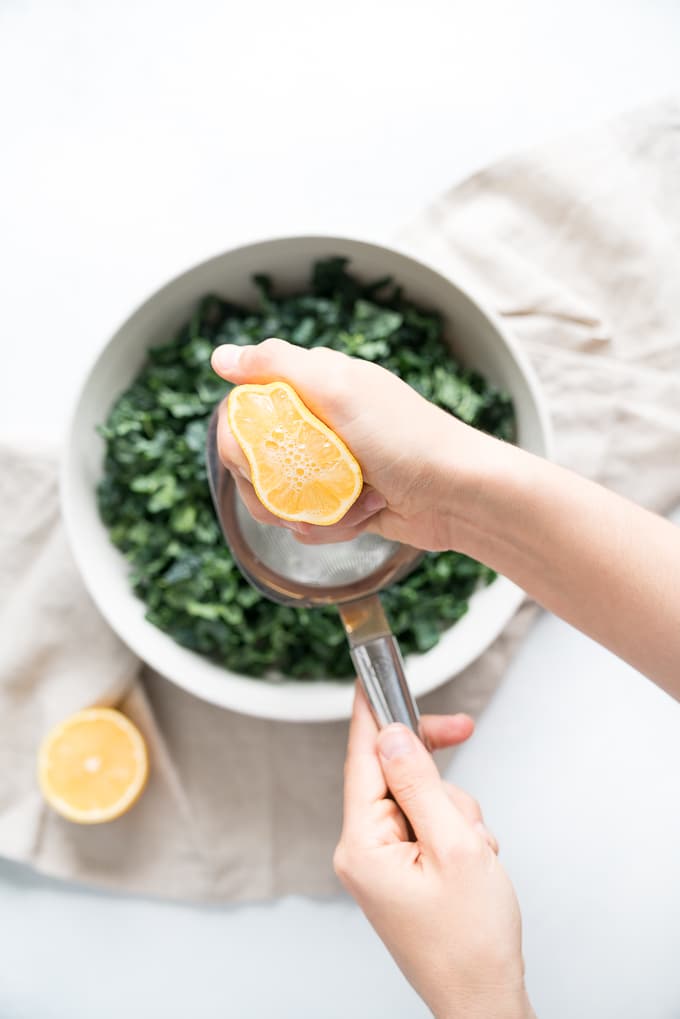
You just add some lemon juice on top of the chopped greens and “massage” them (as in squeeze them between your hands) for a few minutes until they wilt down. You can see in the pictures that the dark green color deepens even more after this manual marinating technique and that it draws some of the water out of the greens. You’ll see some light green streaks in the bottom of your bowl afterwards.
You’ll also notice a change in the scent, from smelling like freshly chopped greens (that smell well…green) to a lighter, sweeter, fruitier aroma. Aarti described it as smelling like bananas. When you do it, you’ll see what I mean! It’s one of those weirdly transformative things that happens in cooking, like when you see a liquid mushy batter become a springy cake. But this one happens right in front of your eyes (and nose).
The kale will keep for days in the fridge without getting strange or being too dry. This “massaging” technique makes it so much more palatable without any cooking needed. If you’ve ever wondered why that kale salad you’ve had in a restaurant tastes SO much better than the dry one you try to make at home, this marinating technique might be the secret to easier-to-eat greens from your own kitchen.

Can I use pre-cut butternut squash?
Sure! It’s a great way to save a little prep time or avoid having to break down a whole squash if that’s not something you’re super comfortable with. While I would love to save the 15 minutes or so it takes me to break down a squash (I mean...who wouldn't??), I still opt to cut it myself most of the time.
Here's why...
I don’t always find that the quality of precut squash is super consistent (ie: it’s been sitting for a while in the store and gets a little dry / slimy, or the pieces aren’t evenly cut or aren’t the ideal size for roasting). And sometimes I get the most bang for my buck by buying a whole, uncut squash instead of the already prepped variety.
But I have relatives who swear by precut squash. It works perfect for them every time and never gives them any trouble. And the convenience of it is hard to beat. So if you are one of those lucky people who always picks out a great batch, then by all means go for it!!
If I don’t have forbidden black rice, can I substitute brown or white rice instead?
YES! I just love the color contrast and boost of antioxidants I get from using this darker hued variety of rice (which has *the* bragging rights for the highest antioxidant content out of all rice varieties). That black / purple-ish hue means it has similar properties to other richly colored foods (like antioxidant-rich blueberries). Black rice has a nuttier flavor profile, and is slightly higher in protein + dietary fiber as well
It also helps that forbidden black rice is offered in bulk at my local Whole Foods (just like brown rice or jasmine rice), so I can get it at a bargain price if I buy it from the bins instead of as an individual package.
But the flavors in this dish will hold up beautifully with brown rice or jasmine rice as well.
If you are going to use black rice - I’ve found that it doesn’t need quite as much liquid to cook as the package says. If you want to go off of the package directly and find that you have some liquid leftover in the pot, you can absorb that extra water by simmering it for 10 more minutes than suggested (and then uncover, stir the cooked rice, turn off the heat but leave on the burner, and re-cover for another 10 minutes).

RELATED: Roasted Butternut Squash Salad with Maple Vinaigrette
Can I use frozen rice instead of fresh cooked rice?
Go for it! Precooked frozen rice is a great way to save time. You can usually find it in brown or jasmine varieties in the freezer section of most major grocery stores. This would cut the cook time of your rice down from 30 min in the oven to just 3 min in the microwave. Also saves you a pan in the process if you’re really in a bind for time (or patience).
But if you’re bigger concern is saving money, buying uncooked rice in bulk and cooking it yourself at home will always be your best bet to save a few bucks. Keep an eye out for whichever variety is on sale and stock up your pantry when needed. You can set aside a day where you stockpile your freezer with your own homemade *frozen precooked rice*. Cook a few extra batches, let them cool down, and then store them in freezer-friendly plastic bags or glass containers for easy heat-and-eat use in the weeks ahead.
Okay but what if I don’t want to use ANY rice?
A grain-free or low-carb option (if either of those are more your thing) would be to omit the rice and double the kale. Or you can add all the ingredients (minus the rice) on top of some fresh greens and enjoy this as a very greens heavy salad.
Mixing in a variety of other non-kale greens like baby spinach, baby romaine, pea shoots, sprouts, and even thinly shaved Brussels sprouts would all make for a super interesting bowl with lots of hearty textures.
Just be sure to store the fresh greens separate from the rest of your ingredients so that they don’t get mushy or weighed down by the other cooked ingredients.
One of the best parts about cooking at home is getting to customize each option to uniquely suit your taste + your dietary preferences + your needs.
HERE’S A LIST OF THE TOOLS I USED IN THIS RECIPE:
FYI these are affiliate links – which means if you use these links I will make a small commission of whatever you purchase. The price of the item remains the same whether or not you use this link and it’s at zero additional charge to you. All commissions support this blog.
(the ones I used in this post were a bargain buy from years back, but these ones are BPA free + durable + similar in functionality)
.
.
MORE MEAL PREP FRIENDLY RECIPES:
- Meal Prep Burrito Bowls
- Chicken Enchilada Casserole
- Crockpot Salsa Chicken
- Berry Green Smoothie Meal Prep
- Easy Overnight Oats
.

Black Rice and Butternut Squash Bowls (Meal Prep)
Ingredients
ROASTED BUTTERNUT SQUASH
- 8 c butternut squash cubed into ½”-¾” pieces*
- 2 ½ tbs avocado oil**
- 1 teaspoon salt
BLACK RICE
- 1 c forbidden black rice uncooked
- 1 ½ c water
LEMONY KALE
- 7-8 leaves of lacinato kale***
- juice of 1 lemon
CREAMY CASHEW DRESSING
BOWL TOPPINGS
- ½ c dried cranberries
- ¼ c pumpkin seeds
Instructions
- ROAST BUTTERNUT SQUASH: Preheat oven to 375 and prep a sheet tray by lining it with foil. Add squash cubes to baking sheet, toss with oil and sprinkle with salt. When oven has reached temperature, pop tray in oven and roast for 45 – 50 min (stirring once halfway through).
- COOK RICE: Meanwhile set the rice up to cook on the stove top. Add uncooked rice and water to a saucepot, cover and bring to a boil. Once it has reached a rolling boil, turn down heat and simmer (covered) for 30 minutes or until all water has been absorbed and rice is cooked through.
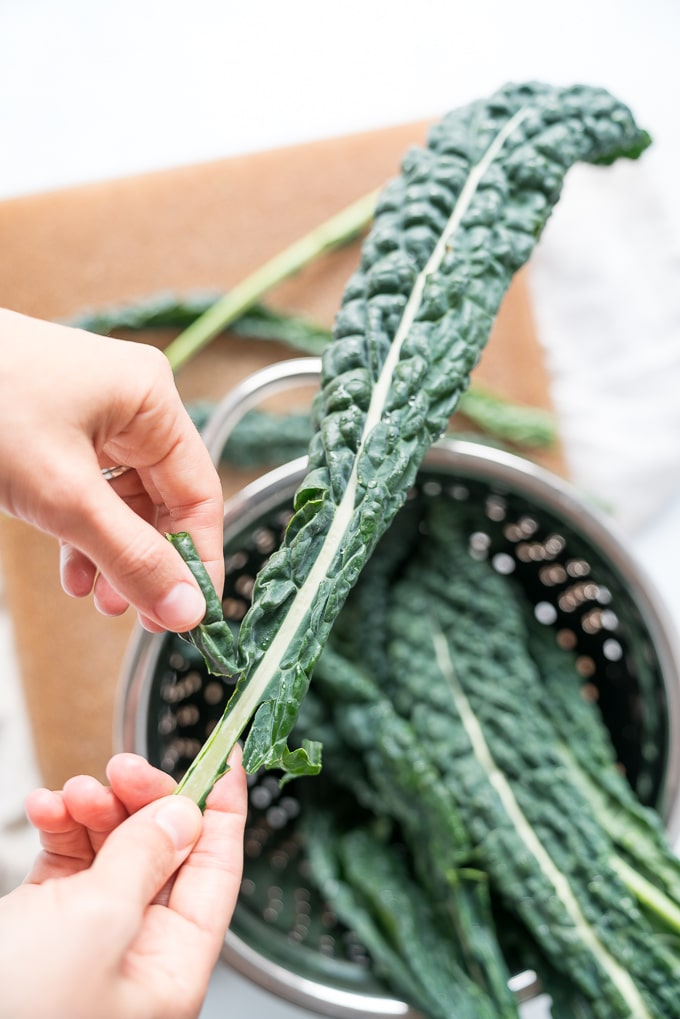
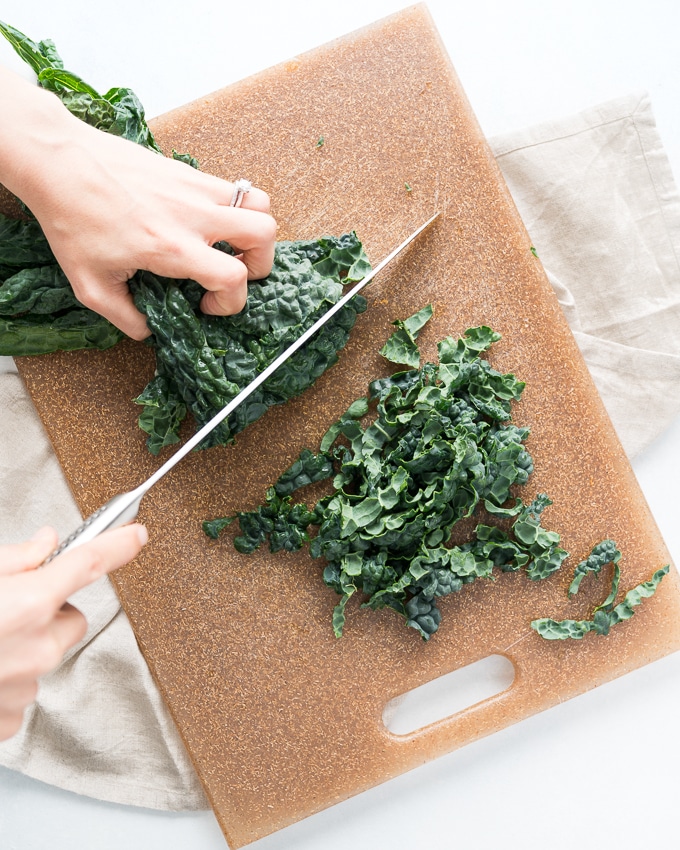
- MASSAGE KALE: While the rice and squash continue to cook, prepare the kale. After washing the leaves, strip each one of the hard center stem. To do this, hold the bottom of the stem in your right hand and use your left hand to lightly grasp around the stem (under your other hand but above where the leafy green part is). While keeping pressure on the stem with your left thumb and index finger, slide your left hand down the stem until you have stripped the leaf off of the stem. Repeat until you have done this for all the leaves (and discard the stems). Chop the kale into thin pieces and add all to a bowl. Squeeze lemon juice over top of kale and *massage* the kale between your hands for 2-3 minutes. Just until the color has darkened and the kale has been tenderized (you’ll notice the scent will change from very green to slightly sweet and fruity). Set aside. If you haven’t already check on butternut squash and stir before moving onto step 4.
- MAKE DRESSING: (see other recipe link for instructions on this 5 min recipe)
- ASSEMBLE BOWLS: Divide cooked rice, butternut squash, and kale evenly into your meal prep / food storage containers. Last, sprinkle dried cranberries and pumpkin seeds on top of each. Secure lids on top and store in the fridge for up to a week. You can drizzle the dressing on top of each one ahead of time (works fine for the first two days) but for best taste and texture for all 4-5 days, I recommend storing the dressing in a small separate container and using what you need each day.




Leave a comment, question, or rate this recipe