Easy recipe for cooking chicken breast in your Instant Pot (from fresh or frozen)! This Instant Pot Chicken Breast recipe has only 3-ingredients – making it perfect for making a lot of protein at one time. I love that this simple, healthy meal prep recipe can be used in salads, stir fries, and macro bowls!
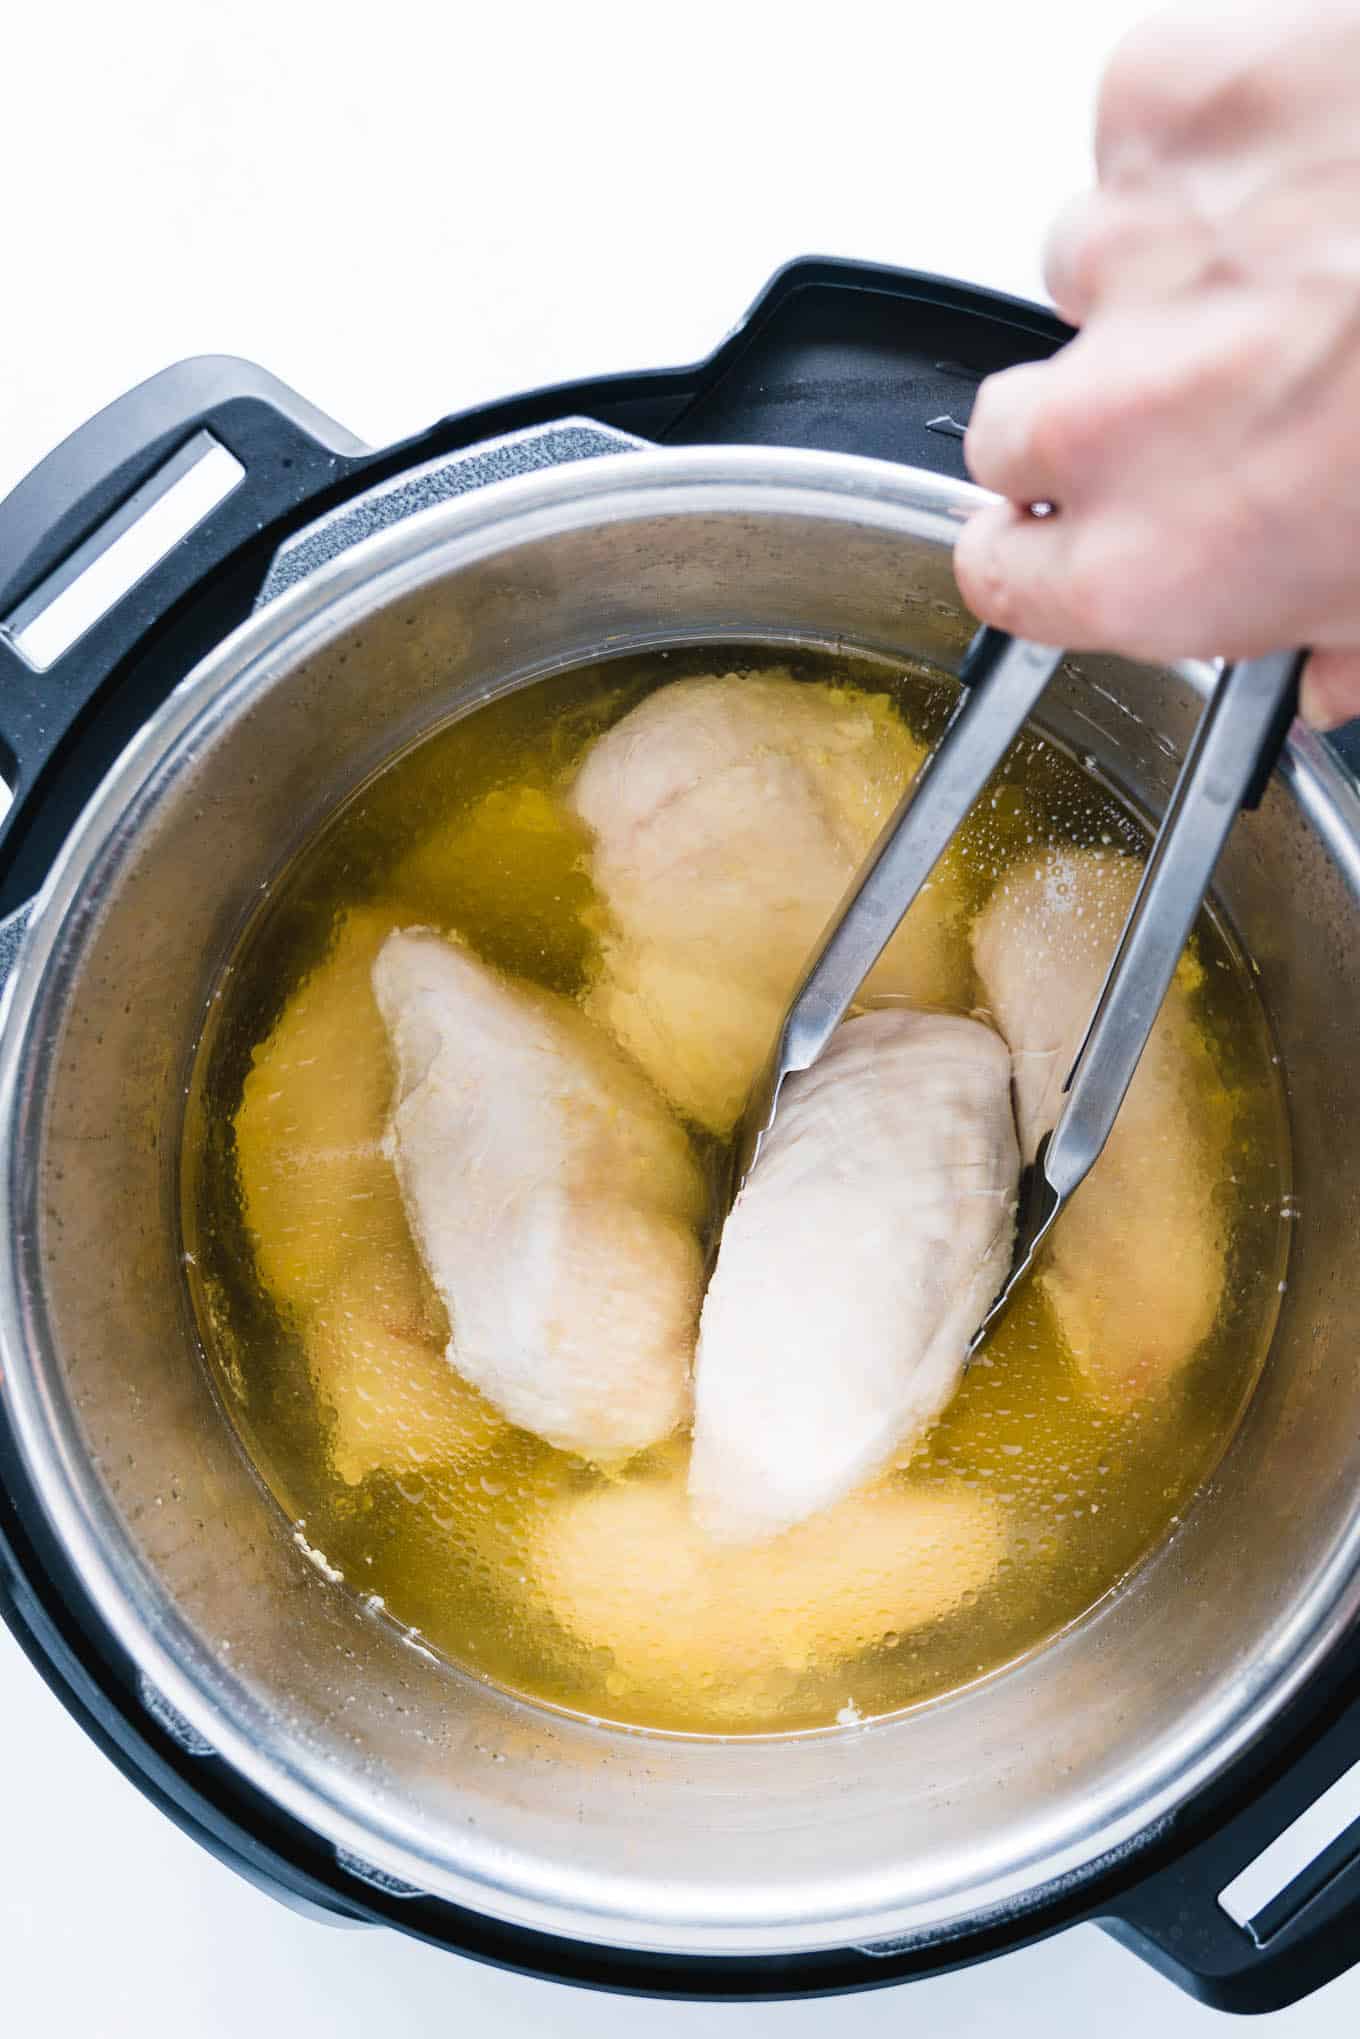
Just like my Instant Pot Whole Chicken recipe – I use this simple Instant Pot Chicken Breast recipe more like a building block for other meals (rather than as it’s own star entrée). This may not be a glamorous, gorgeously browned or exotically seasoned chicken breast – but it’s everything you need to be able to add in a healthy source of protein to meals throughout the week.
And it makes your meal prep routine an absolute BREEZE, my friends. You can cook it from fresh or frozen chicken, which is such a game changer for weeknights. I forget to thaw things all the time! This saves me.
I walked you through how to cook a whole chicken but I know a lot of you love the ease of cooking boneless, skinless chicken breasts instead. So I wanted to make sure I had a how-to in here for how to cook chicken breast in an instant pot too!
This is different than the shredded chicken you’d make in a crockpot. Which you guys KNOW I’m a huge fan of on here – my Crockpot Salsa Chicken is in regular rotation in our kitchen. But, my love of slow cooker shredded chicken aside…THIS has been my go to lately when I’m not 100% sure what I want to eat for the week.
This keeps things flexible. This falls under food prep more than meal prep. Keeps my options for ingredient swaps WIDE open.
You know when you order a salad in a restaurant with the option to add a protein (like $4 for grilled shrimp, $5 for free range chicken)? This is THAT kind of chicken breast. The kind you add ON to other things. The kind that is plain (not because plain is “boring”) but because plain + simple goes with EVERYTHING.
This is more like a rotisserie-meets-poached style chicken. Super tender, moist, and easy to pull apart into more substantial chunks with your fingers – but still something you could cut into slices or chop into cubes without it completely falling apart on you.
This chicken breast is like a blank canvas.
Can you cook frozen chicken breast in the instant pot?
Yes! Add it straight to the pot along with the other ingredients and just add a few minutes to the cooking time! I added instructions for you on the recipe card.
Finding the time + motivation to eat healthy on a consistent basis can feel overwhelming even on your best days.
But when it’s 7 pm on Wednesday, you’ve been working all day, and are that awful combo of hungry AND exhausted – a kitchen full of raw ingredients and a stove top isn’t exactly going to inspire you to want to cook yourself a balanced meal. Especially if it’s from SCRATCH.
Raw chicken? I know I’m probably not gonna bust that out and wait for it to cook. Boiling water plus cooking time to get rice on the table? Girl.are.you.HIGH
That’s when it’s a huge relief to look in the fridge and see that you have some already-cooked chicken waiting for you - you can throw it on top of some greens with dressing + nuts + blueberries for a meal-sized salad with MINIMAL EFFORT.
And if you’re sitting on a stash of cooked Instant Pot Brown Rice too? Then that’s even better.
Just add the chicken + rice + a handful of spinach + 1 egg + frozen veggies + coconut aminos + a healthy cooking oil all into a hot pan and you’ve got yourself a ready-in-under 10 minutes chicken fried rice. Healthy homemade with lean protein, fresh greens, full-of-fiber vegetables, and healthy fats…kind of fried rice.
Cheaper, faster, and better-for-you than ordering takeout + waiting for it to be delivered + forking over cash plus a tip + then trying to sleep with an upset stomach.
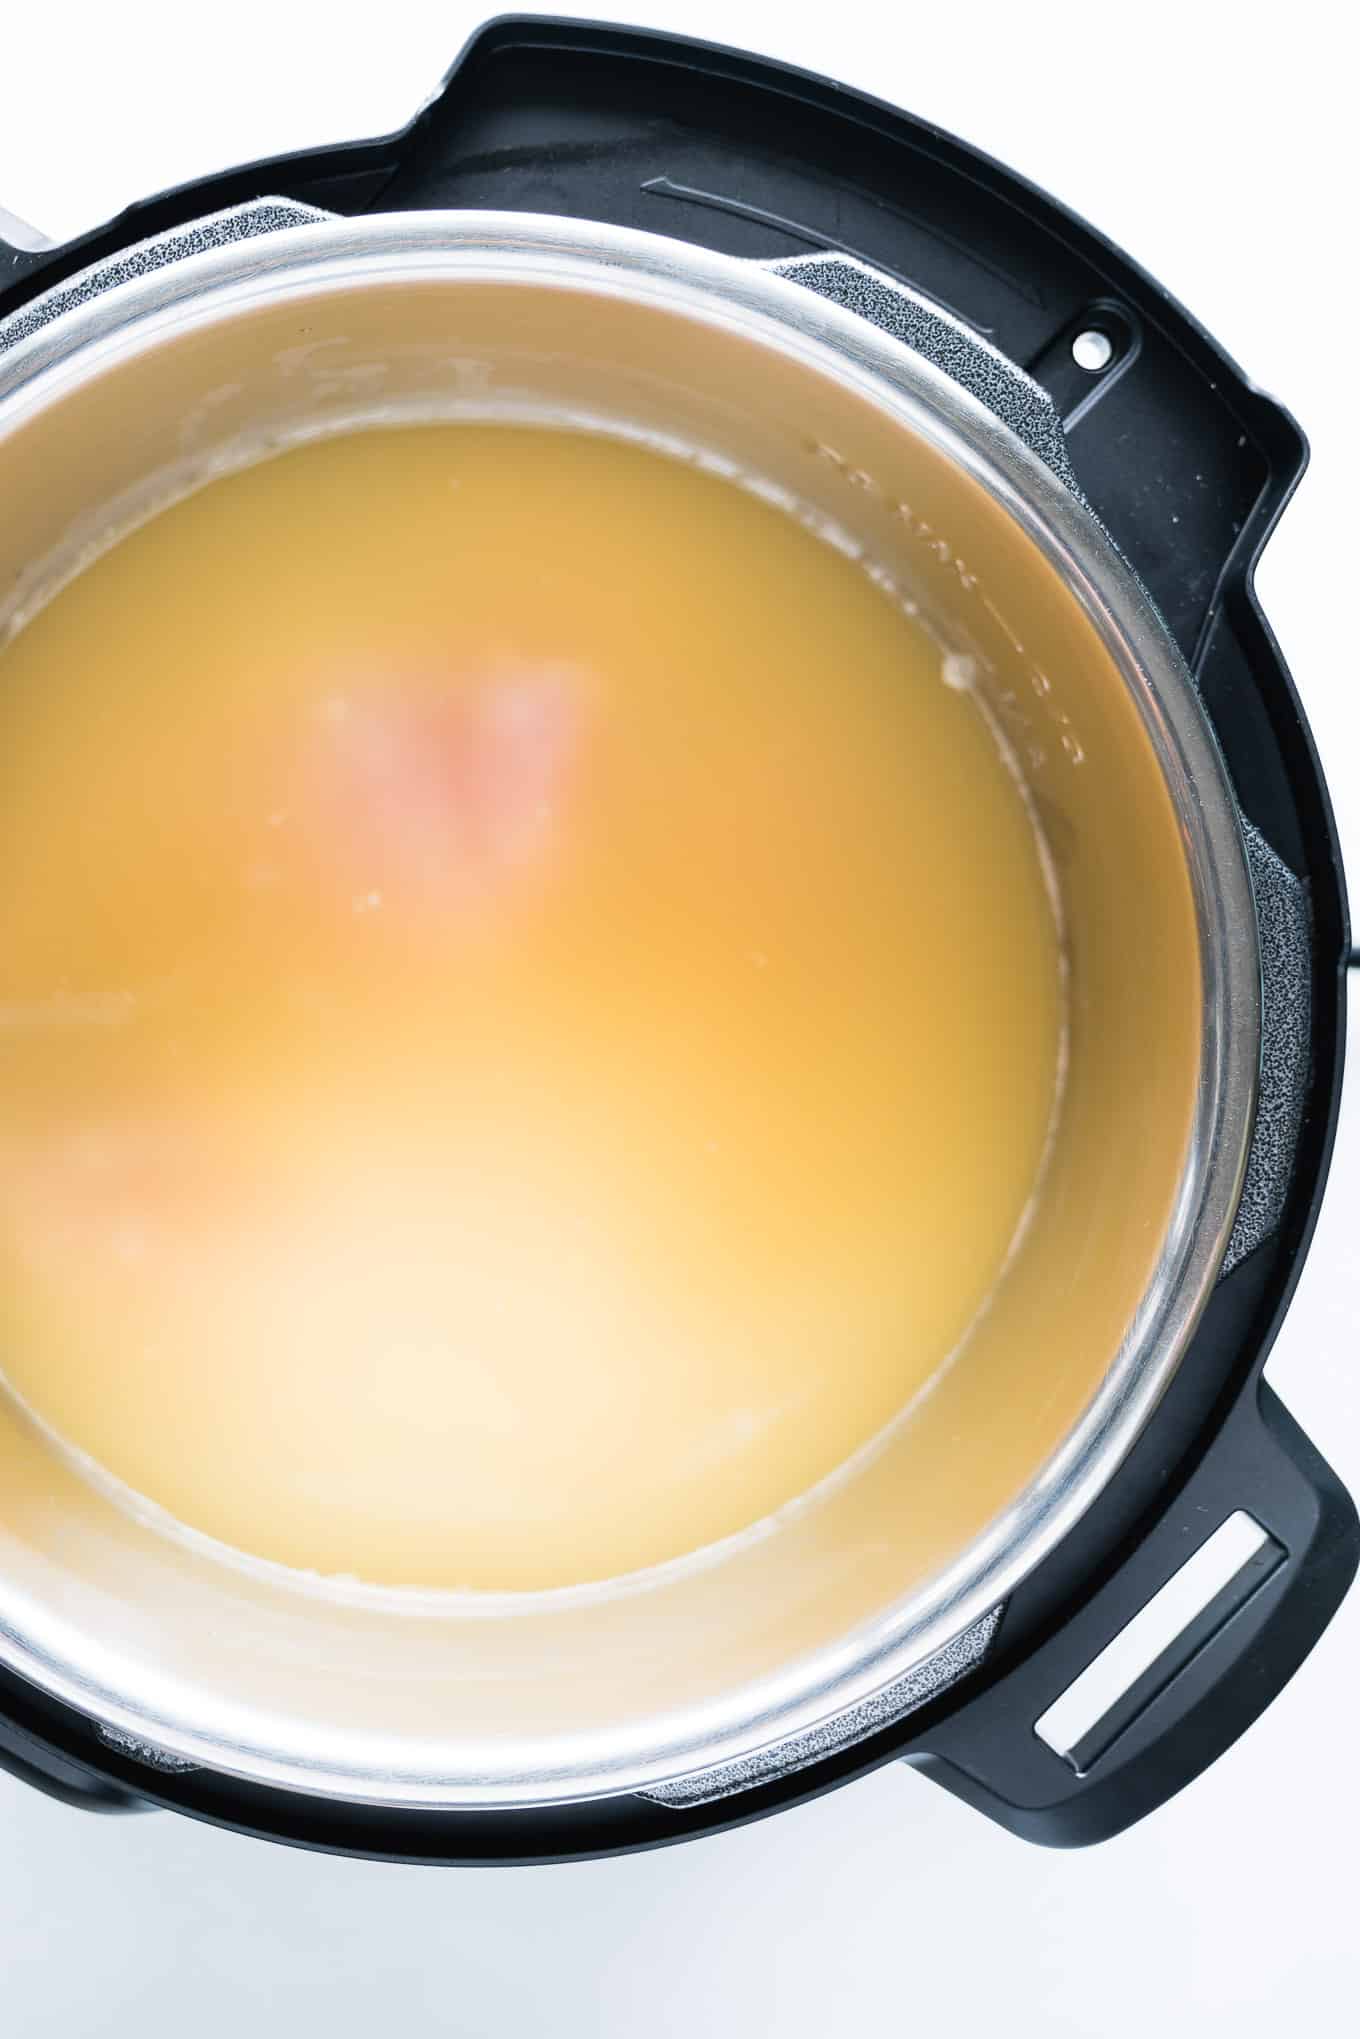
If this sounds like a sweet plan to set yourself up for success here’s 3 quick pointers for this recipe before you make it at home…
TIP #1: How to Know If Your Chicken is Cooked or Not
Since the pressure cooker is essentially poaching the chicken in broth, when you take it out and cut into it don’t be super surprised if there is still a pink tint to it in certain parts. We’ve all got a (probably healthy) fear of salmonella but there’s a more important determinant for whether or not the chicken is fully cooked.
The most accurate way to tell if your chicken is fully cooked is by taking the temperature - 165 F is the target according to the USDA. This is why I keep a meat thermometer in my kitchen, it really comes in handy to reassure yourself that you did things right.
If you cook it and it’s still has a slight pink tinge then it could a variety of factors – ranging from what’s in the chicken feed, frozen//fresh, or the hemoglobin in the muscles reacting with air during cooking (check out this article from The Kitchn that explores it a little more).
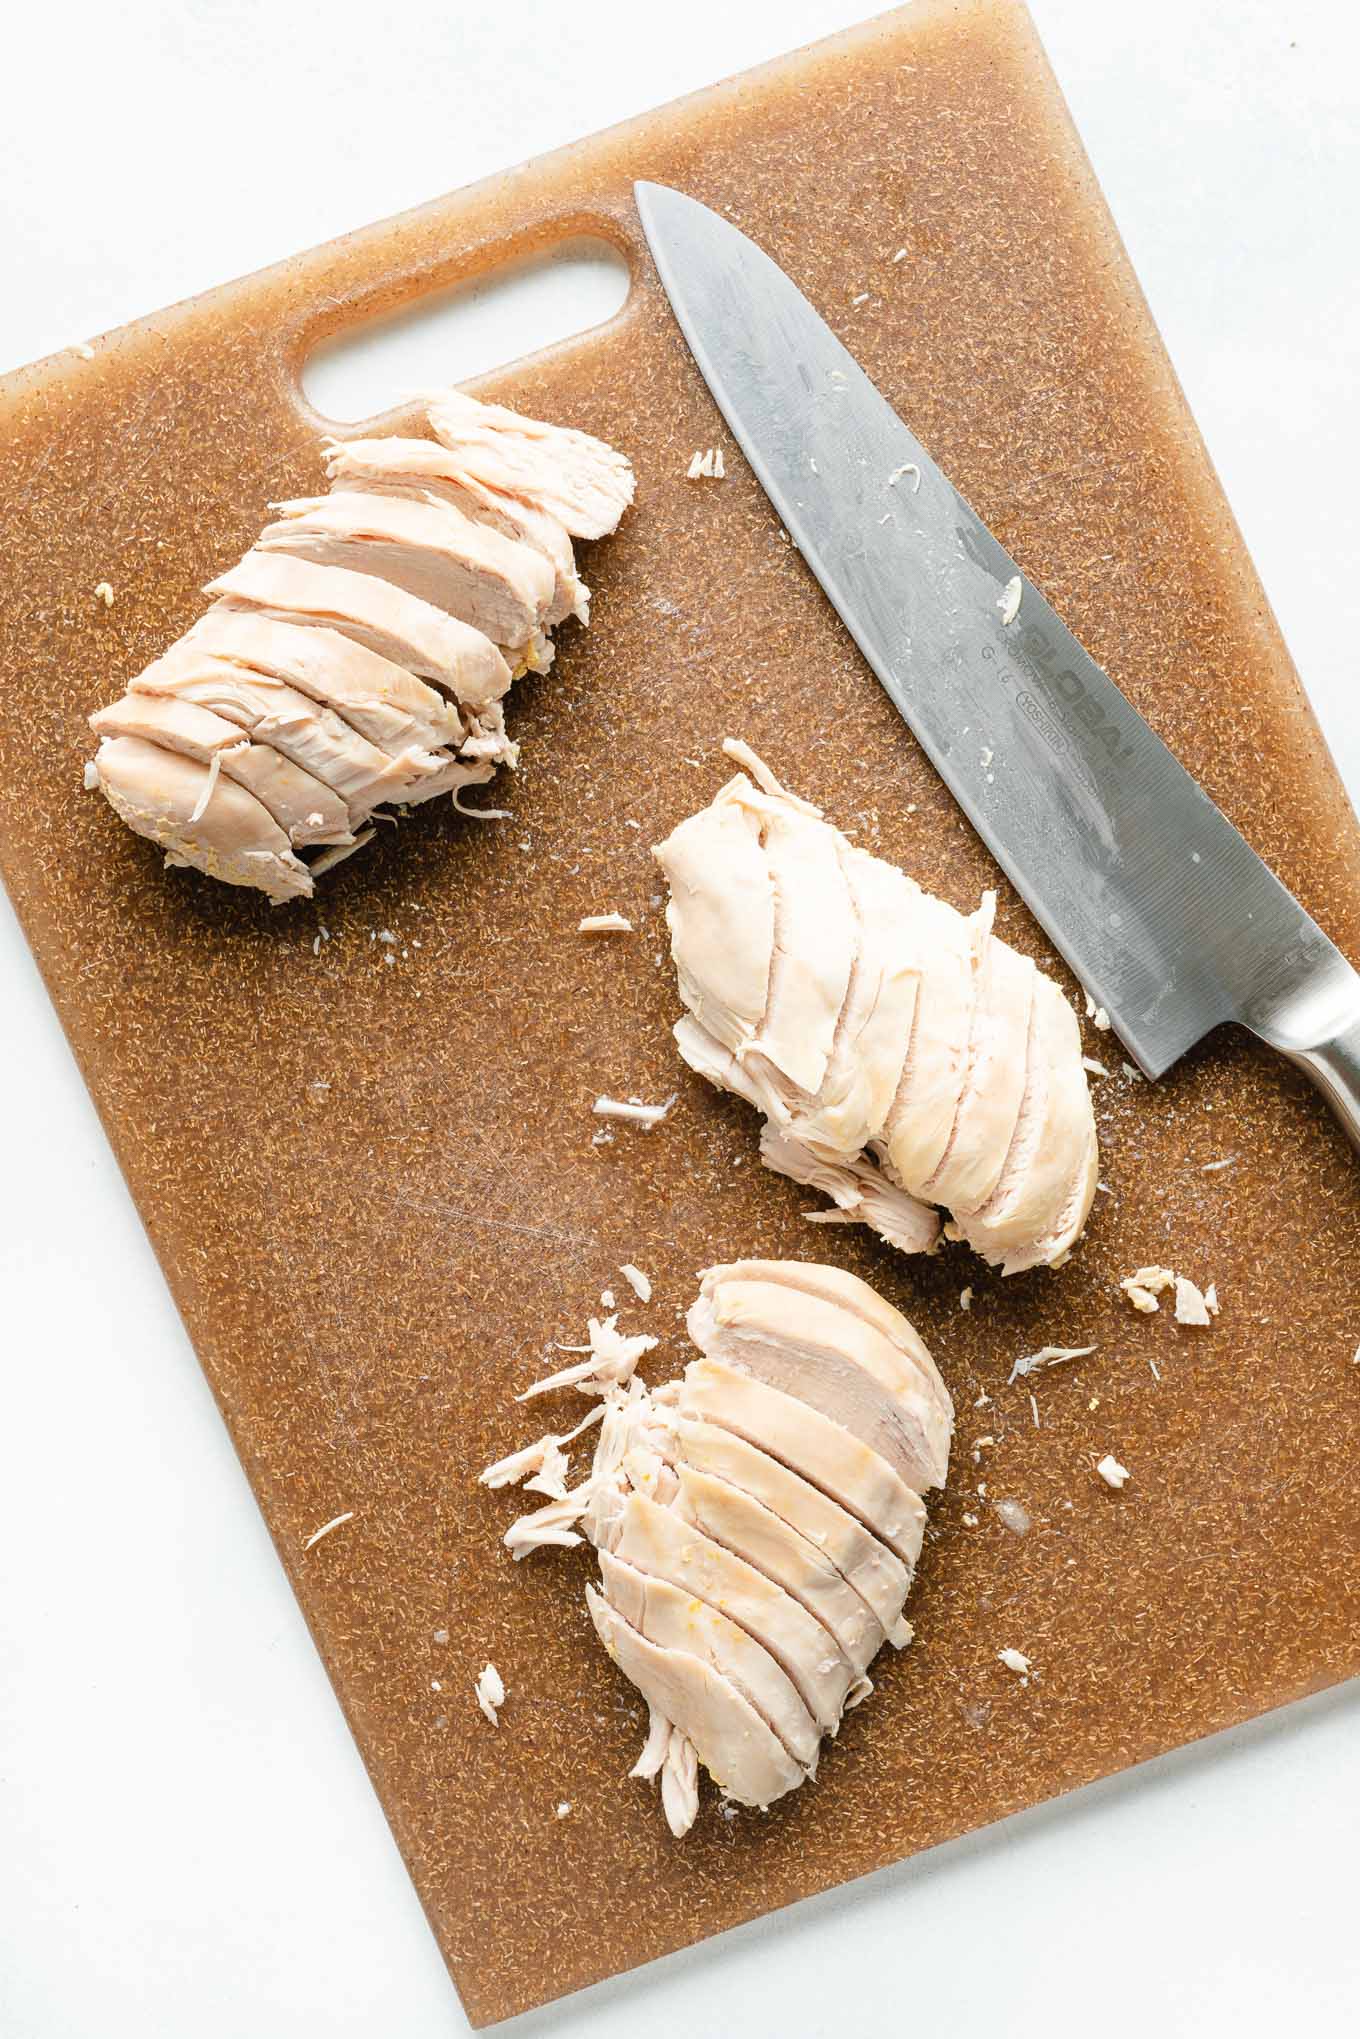
TIP #2: How to make sure the chicken doesn't get too soggy while cooking
Don’t let the chicken sit too long in the broth after it’s cooked or it’ll take on too much moisture and turn into shredded slow-cooker-style chicken instead. Which isn’t as fun to add to salads or use to soak up sauces if it’s already kind of “saucy”. You want it to maintain a bit of firmness and texture – especially if you plan to use it cold or reheat it again.
When the chicken is done cooking, you’ve let the pressure cooker do a little natural release, vented the knob to let out the remaining pressure, and removed the lid – take a pair of tongs and move the chicken breasts to a cutting board to cool. Then you can choose to slice, chop, pull them apart, or leave them whole before storing them in the fridge.
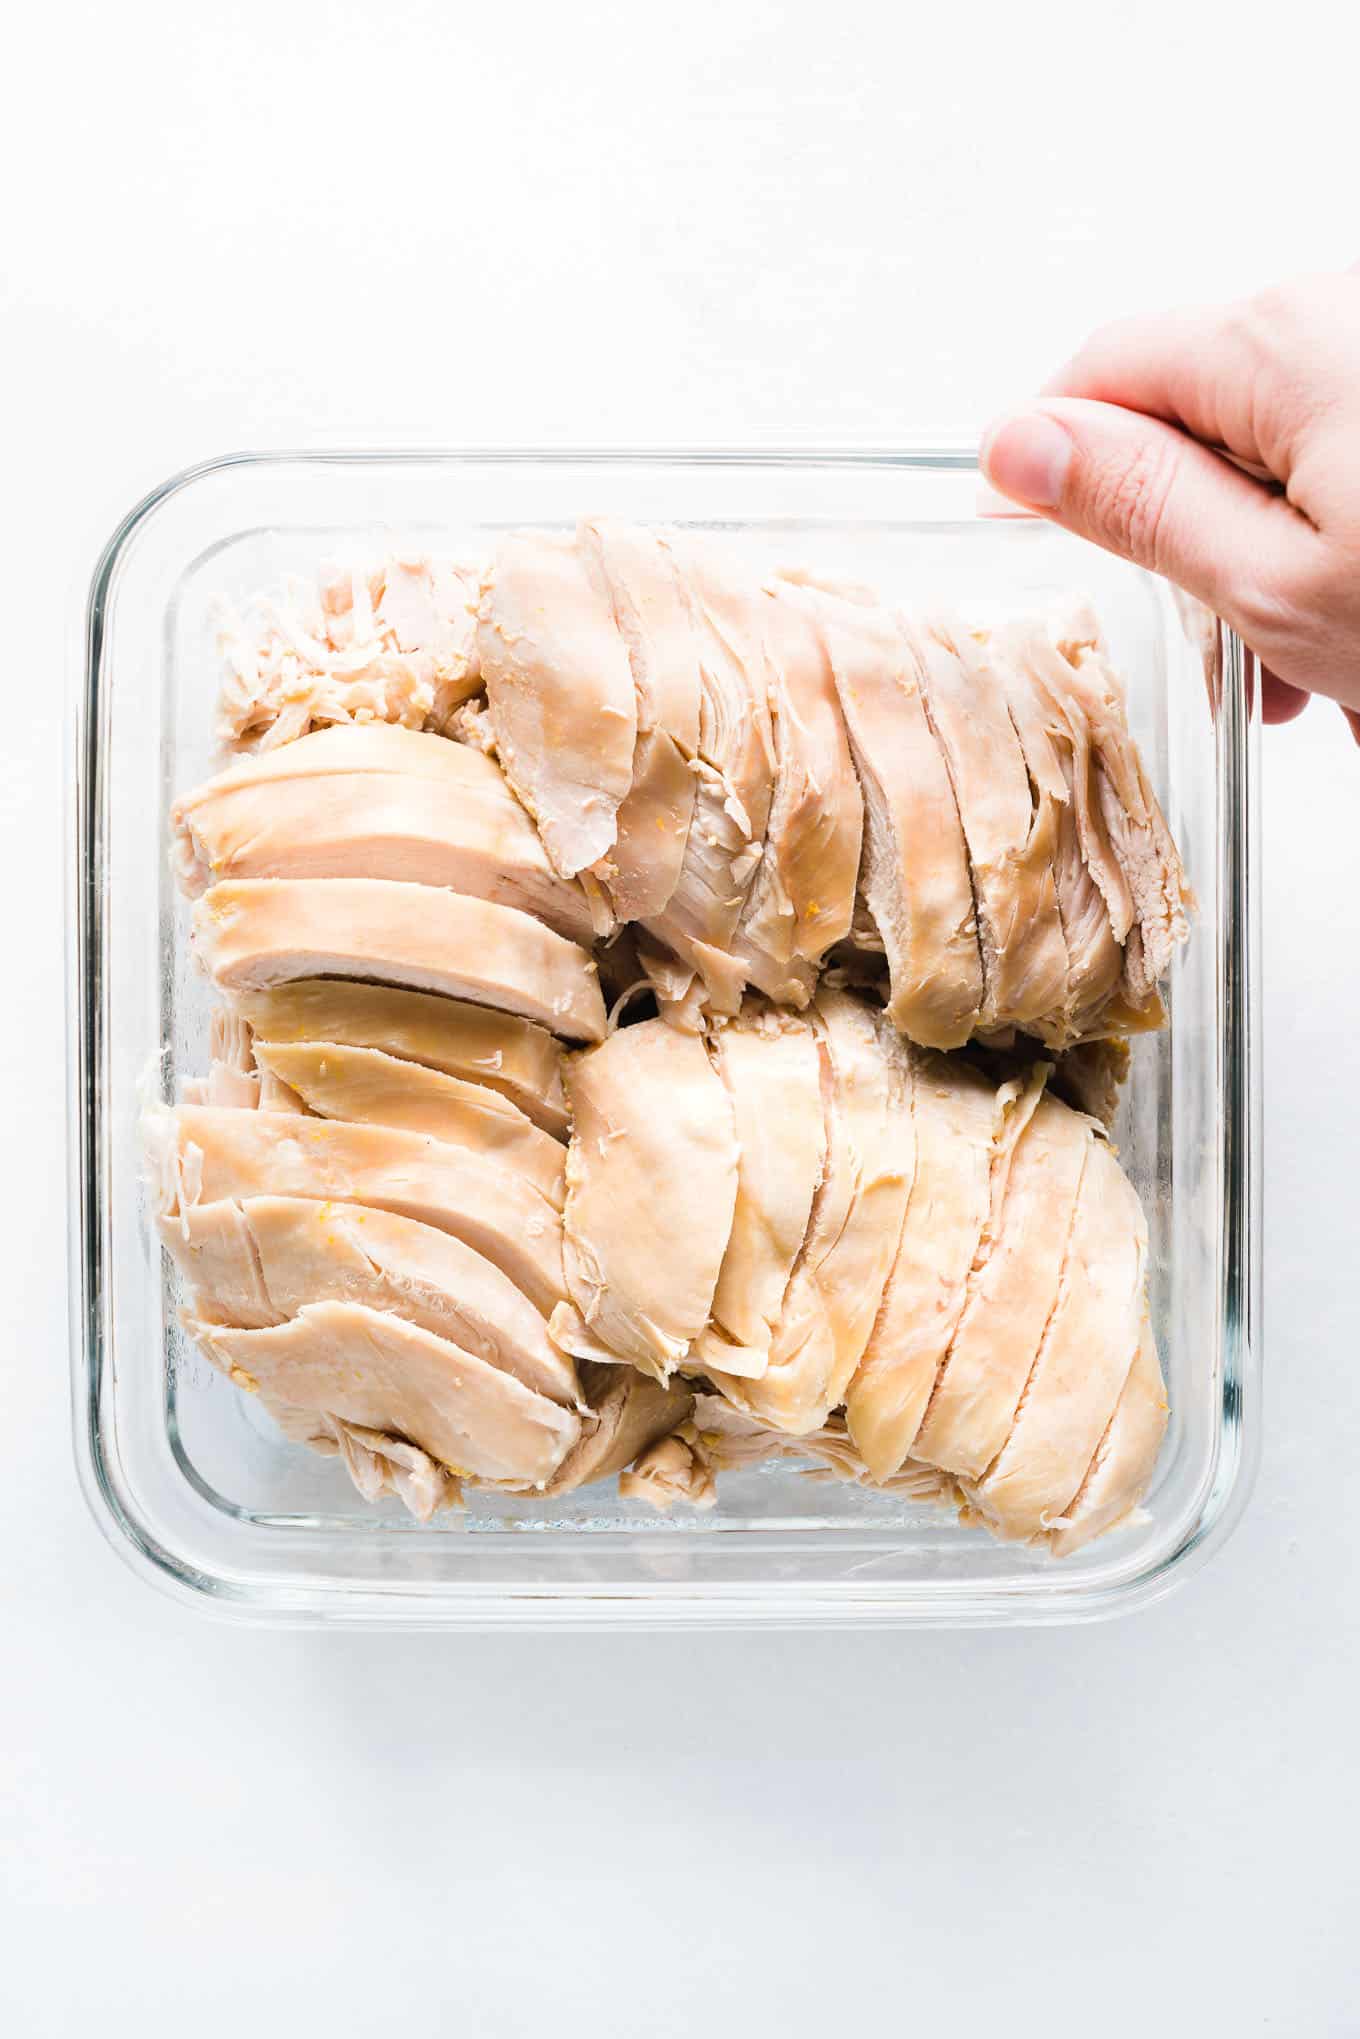
TIP #3: Remember - your food doesn't have to be instaworthy, it just needs to taste good
Don’t worry if your chicken looks pale and unattractive or just downright weird when it comes out. The fat will have boiled instead of rendering (or melting down) like it would in an oven or hot pan. It may look yellow and weird sitting on top of the cooked meat if you don’t remove it before it goes in the pot.
I’m not all that freaked out by it and I like to just put everything straight from the fridge into the pot without much fuss, so I don’t trim the chicken breasts of their fat before they go in. Instead of dirtying a cutting board or pair of kitchen shears to trim the raw chicken breasts, I wait until the fat has cooked and find that it slides off super easily after being in the hot broth. You can use tongs or the side of a spoon to scrape / pull it off before storing it. I just pick it off with my hands.
My fellow waste-free warriors will want to strain out the chicken broth (to get rid of any floating remnants of fat or meat) and save it to reuse in another dish - like in a soup or in place of water for cooking instant pot brown rice or quinoa.
It’ll just be doubly as flavorful now that you gave it a second round of flavoring. I like to set mine aside to use with veggie scraps + leftover chicken bones to make some warming Instant Pot Bone Broth.
.
HERE’S A LIST OF THE TOOLS I USED IN THIS RECIPE:
FYI these are affiliate links – which means if you use these links I will make a small commission of whatever you purchase. The price of the item remains the same whether or not you use this link and it’s at zero additional charge to you. All commissions support this blog.
.
MORE HEALTHY MEAL PREP RECIPES:
- Instant Pot Whole Chicken
- Instant Pot Brown Rice
- Meal Prep Burrito Bowls
- Easy Overnight Oats
- Crockpot Salsa Chicken
- Crispy Crockpot Carnitas
.

Instant Pot Chicken Breast
Ingredients
- 4 c chicken broth
- 6 chicken breasts boneless and skinless
- 1 teaspoon salt
Instructions
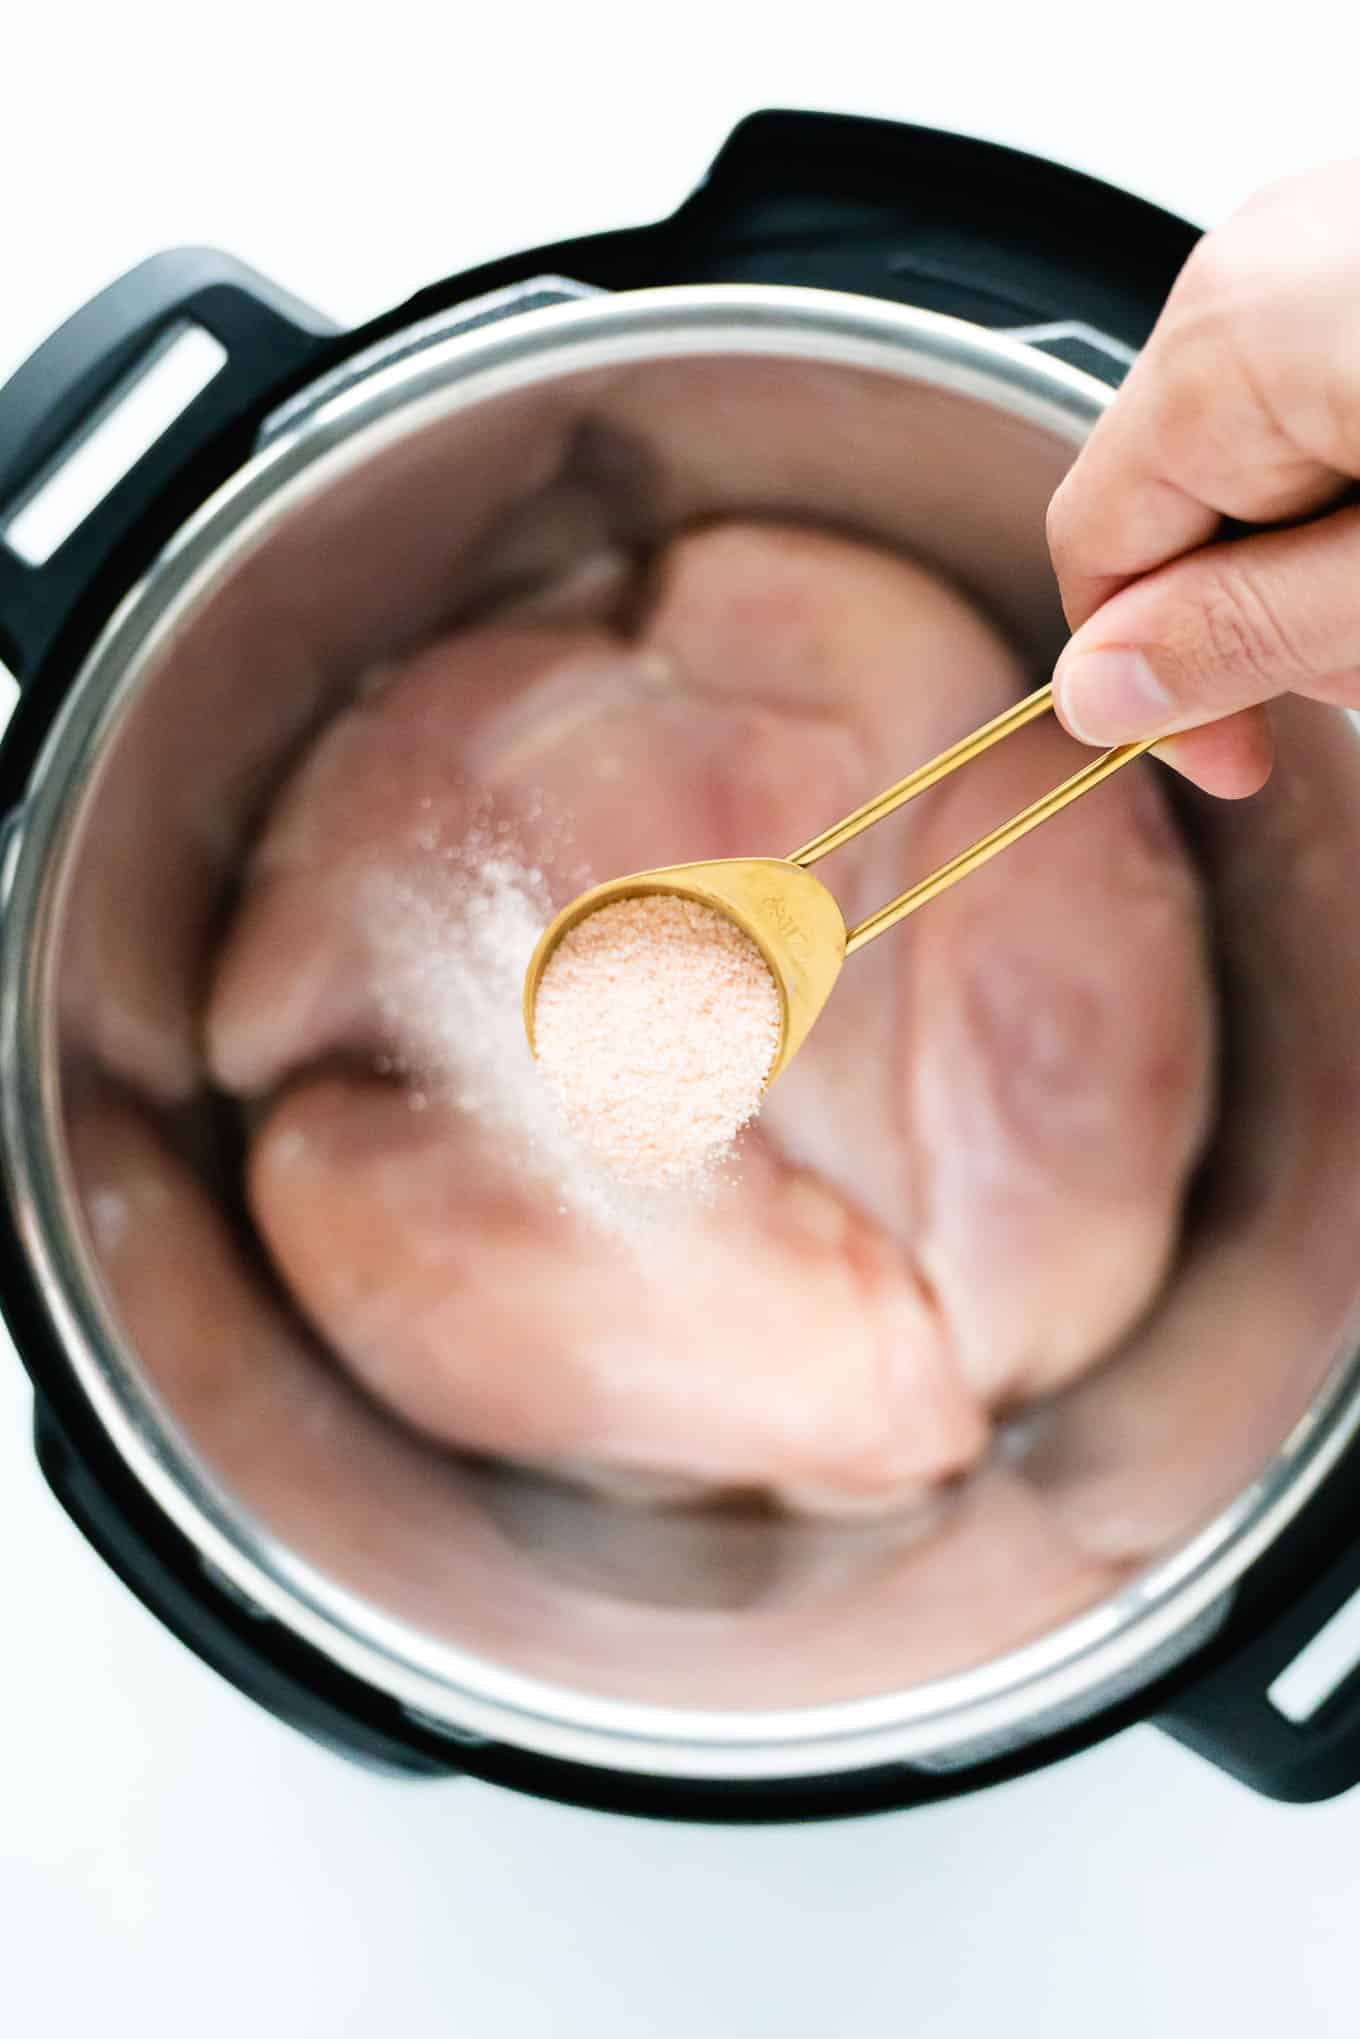
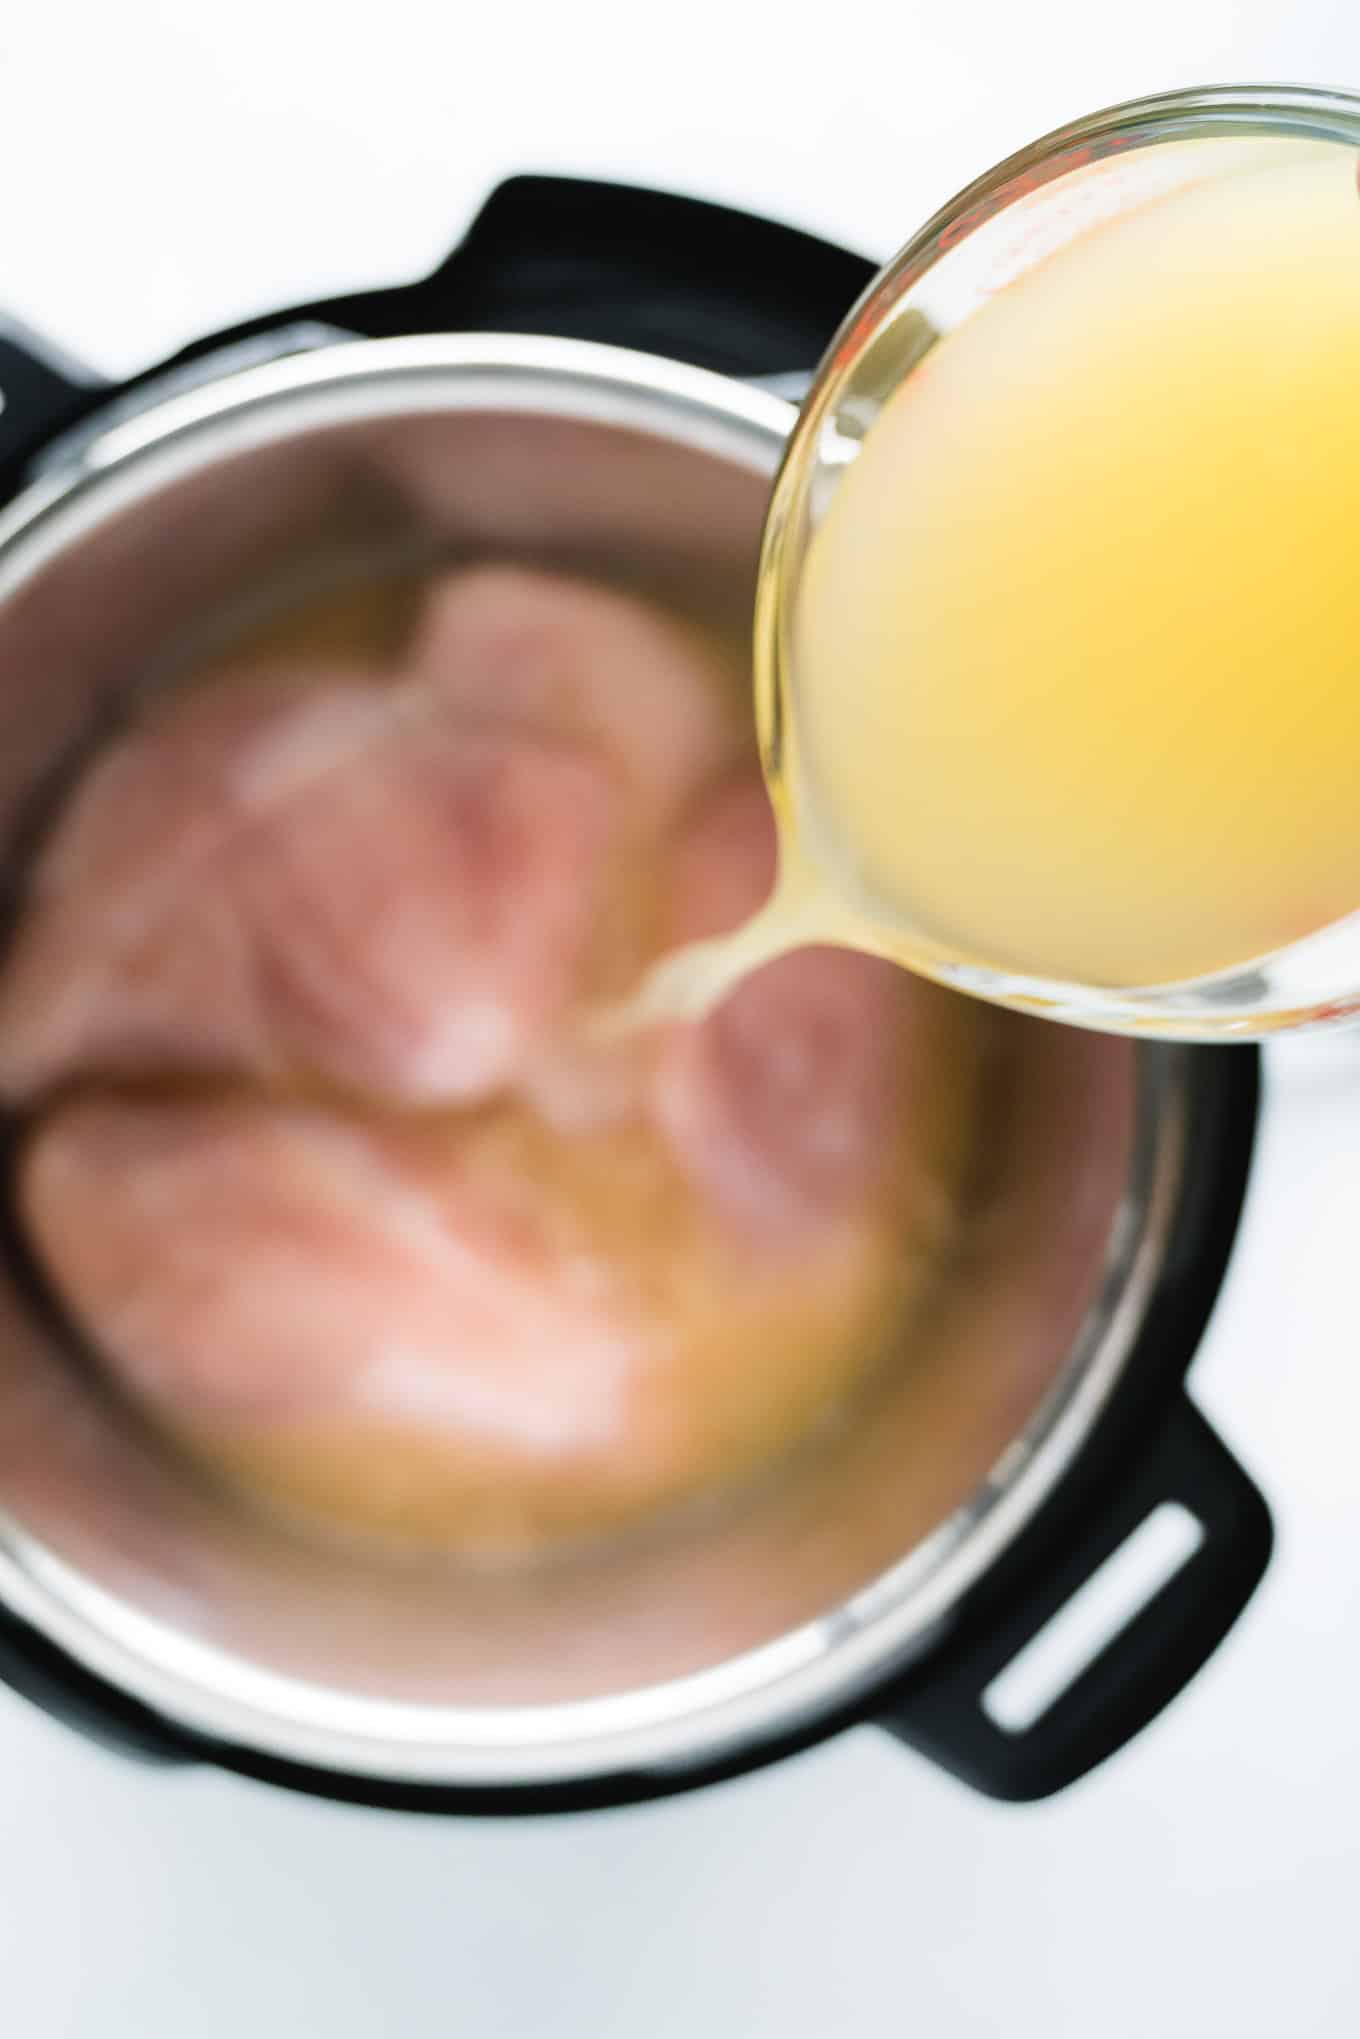
- ADD INGREDIENTS TO POT: Layer in the chicken breasts, sprinkle with salt, and then pour enough broth to just cover the chicken (for me this is anywhere between 3 and 4 cups, depending on the size of the chicken breasts).
- PRESSURE COOK: Lock the lid into place, make sure the knob is set to “sealing”, and set to Pressure Cook on High for 11 minutes (or 13 minutes for frozen chicken). May take up to 20 minutes to reach pressure. When the cooking time has finished, make sure the cooker is turned off (and not to keep warm). You can opt to do a quick release or 10 min natural release – I’ve done both and the chicken comes out great either way.
- CHOP / SLICE CHICKEN (or store whole): Remove chicken from the pot to a cutting board, and chop into large chunks. Store in a sealed container in the fridge for up to a week. You can strain the broth and store in a separate sealed container to use for other recipes throughout the week, but do not store the chicken and broth together (the meat will get soggy and turn into mushy shredded chicken instead). You can also opt to keep the chicken breasts whole so you can use them in multiple recipes throughout the week


Don Bonin says
11 minutes was way too long and dried out my chicken breast (it was a plump breast, not frozen)
I would start with 9 minutes and check it from there.
Lauren Kenson says
Hi Don, hmm I'm sorry to hear this method didn't end up working out for you since other readers have had success with this one (and it's the one we make every week in our house). When we fully submerge the chicken breast in broth and allow it to fully naturally release (I don't recommend a quick release for this recipe) for 10-15 minutes, we get tender chicken every time. Hope that helps!